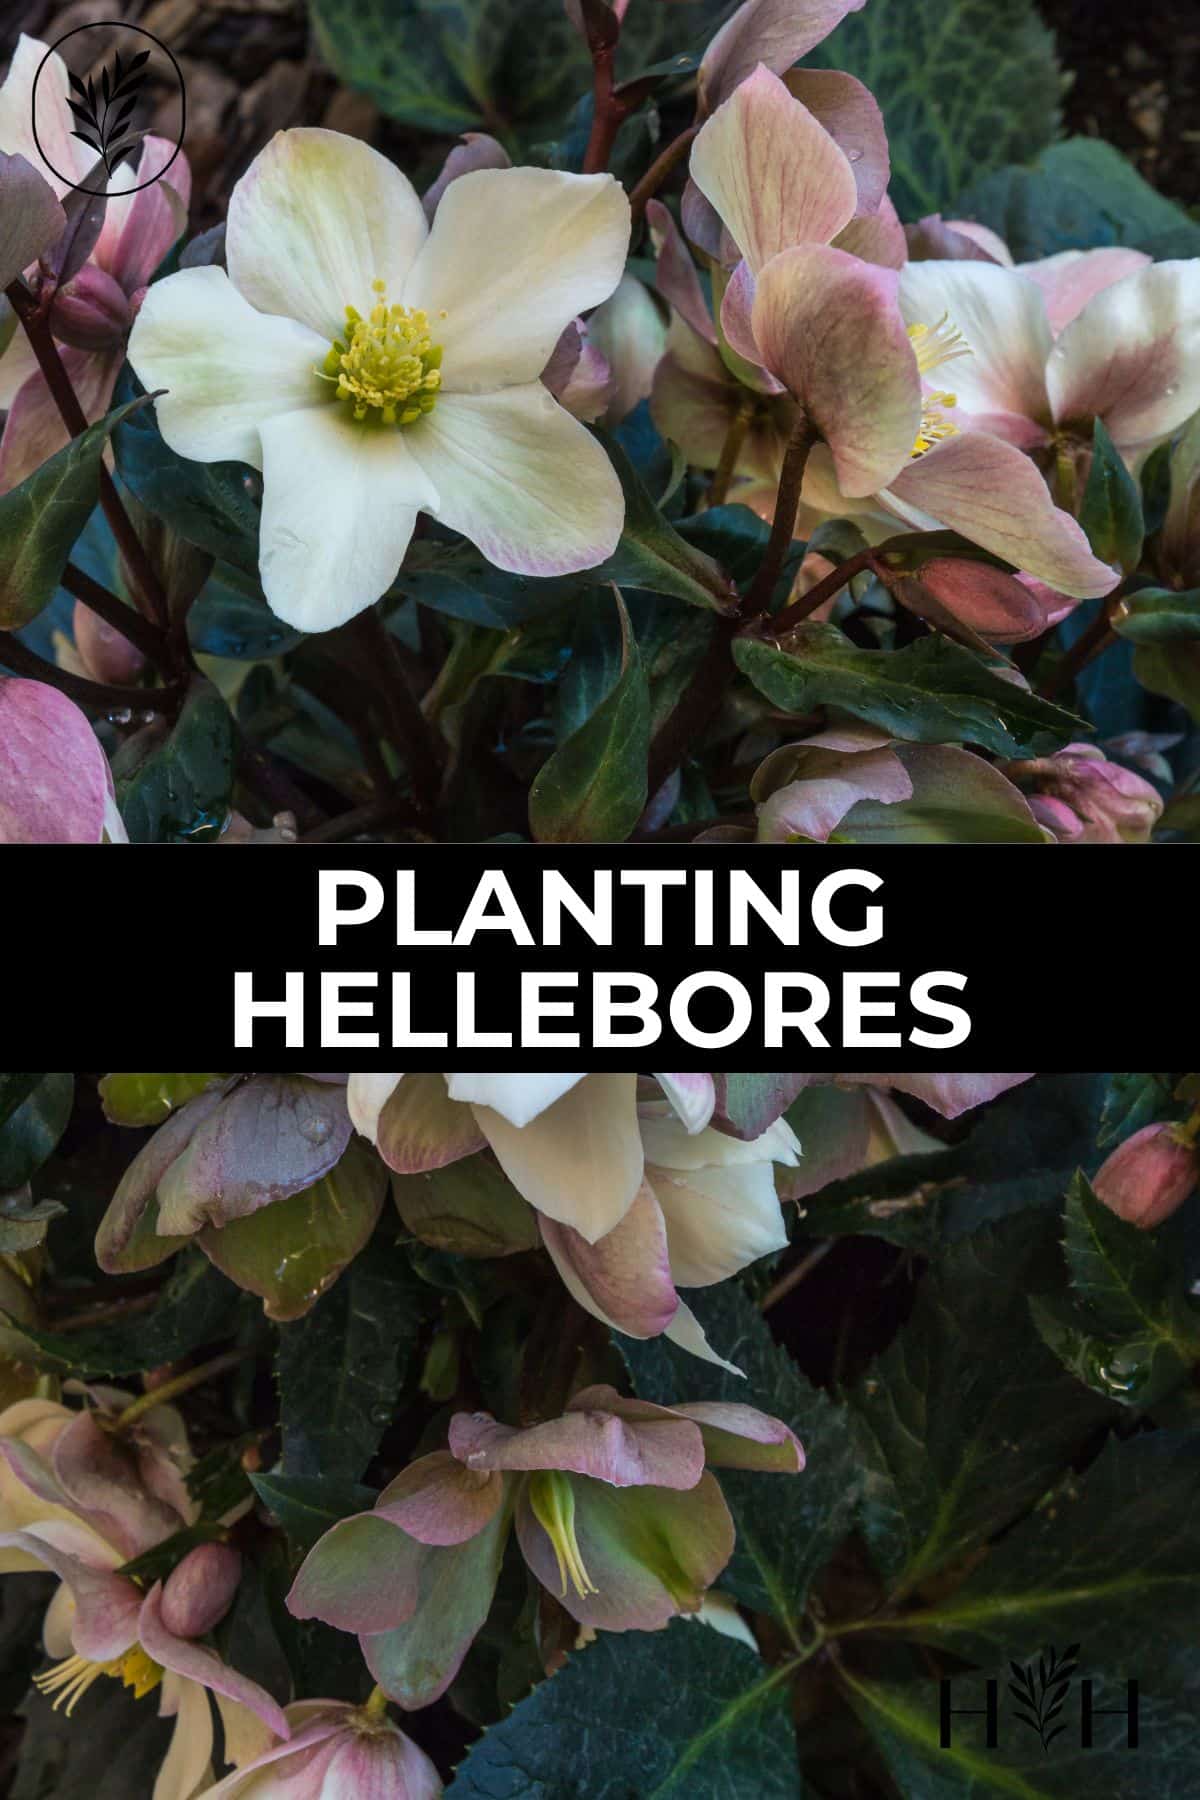
The garden centers are open …and that means it’s time to start planting hellebores! These stunning perennial flowers are beloved by gardeners and floral designers alike. Who could resist such gorgeous blooms after a long, flowerless winter?
Read on to learn all about planting hellebores to create an early-blooming perennial living floral display.
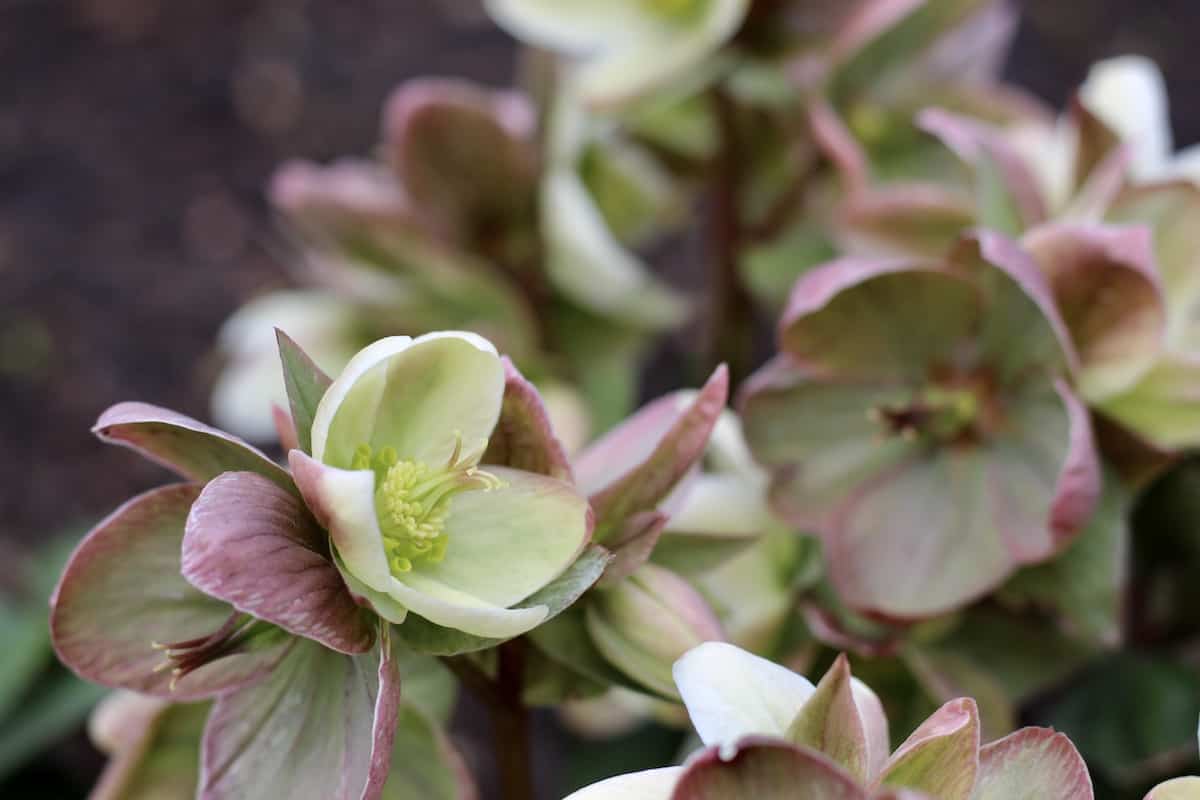
Choosing hellebores for the garden
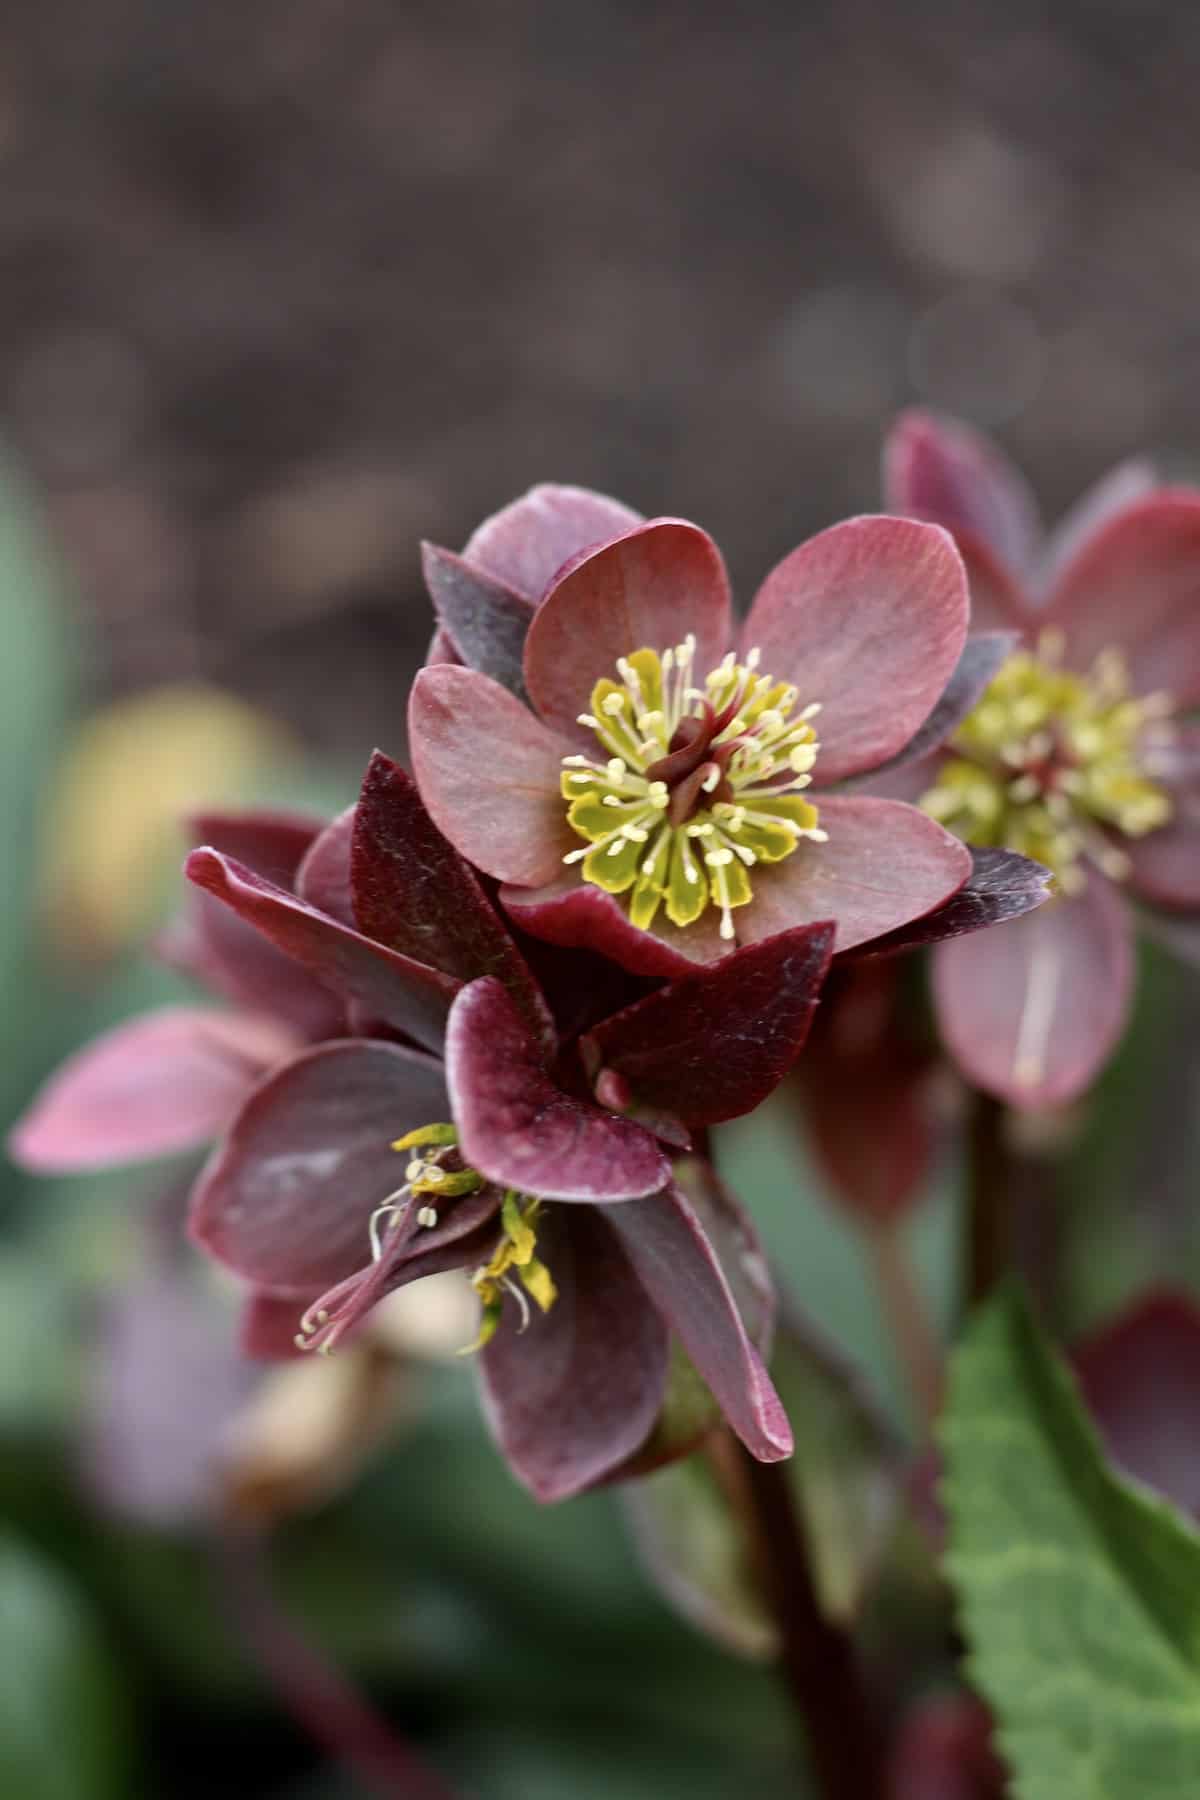
There are endless hellebores to choose from. Some are well-known named cultivars. Others are happy accidental hybrids. Here are a few of the more widely-available and much-loved hellebore cultivars:
- Onyx Odyssey (from Winter Jewels series)
- Peppermint Ice (from Winter Jewels series)
- Picotee Pearl (from Winter Jewels series)
- Anna’s Red (from Frostkiss collection)
- Penny’s Pink (from Frostkiss collection)
- Wedding Bells (from Wedding Party series)
- Ivory Prince (from Proven Winners)
- Madame Lemonnier (from Helleborus Gold Collection)
- Love Bug (from Helleborus Gold Collection)
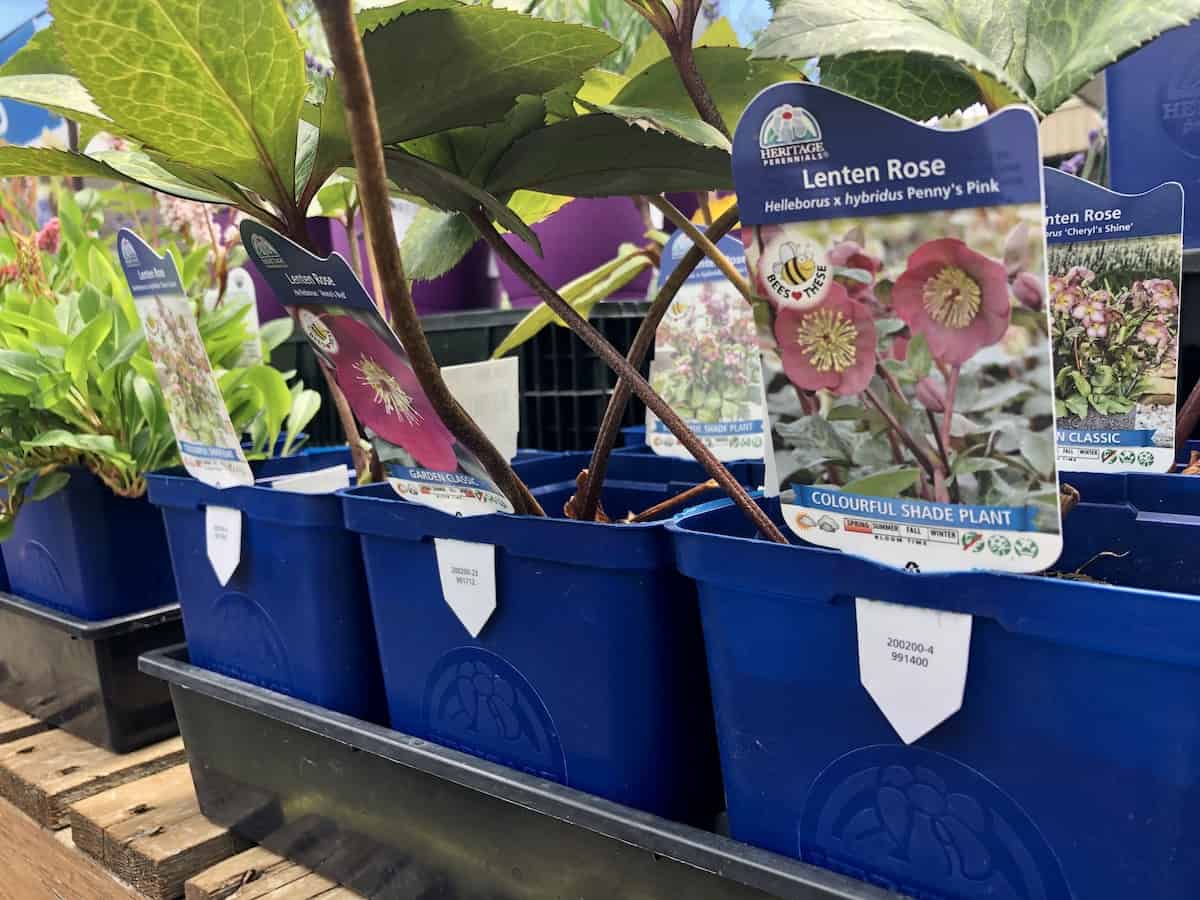
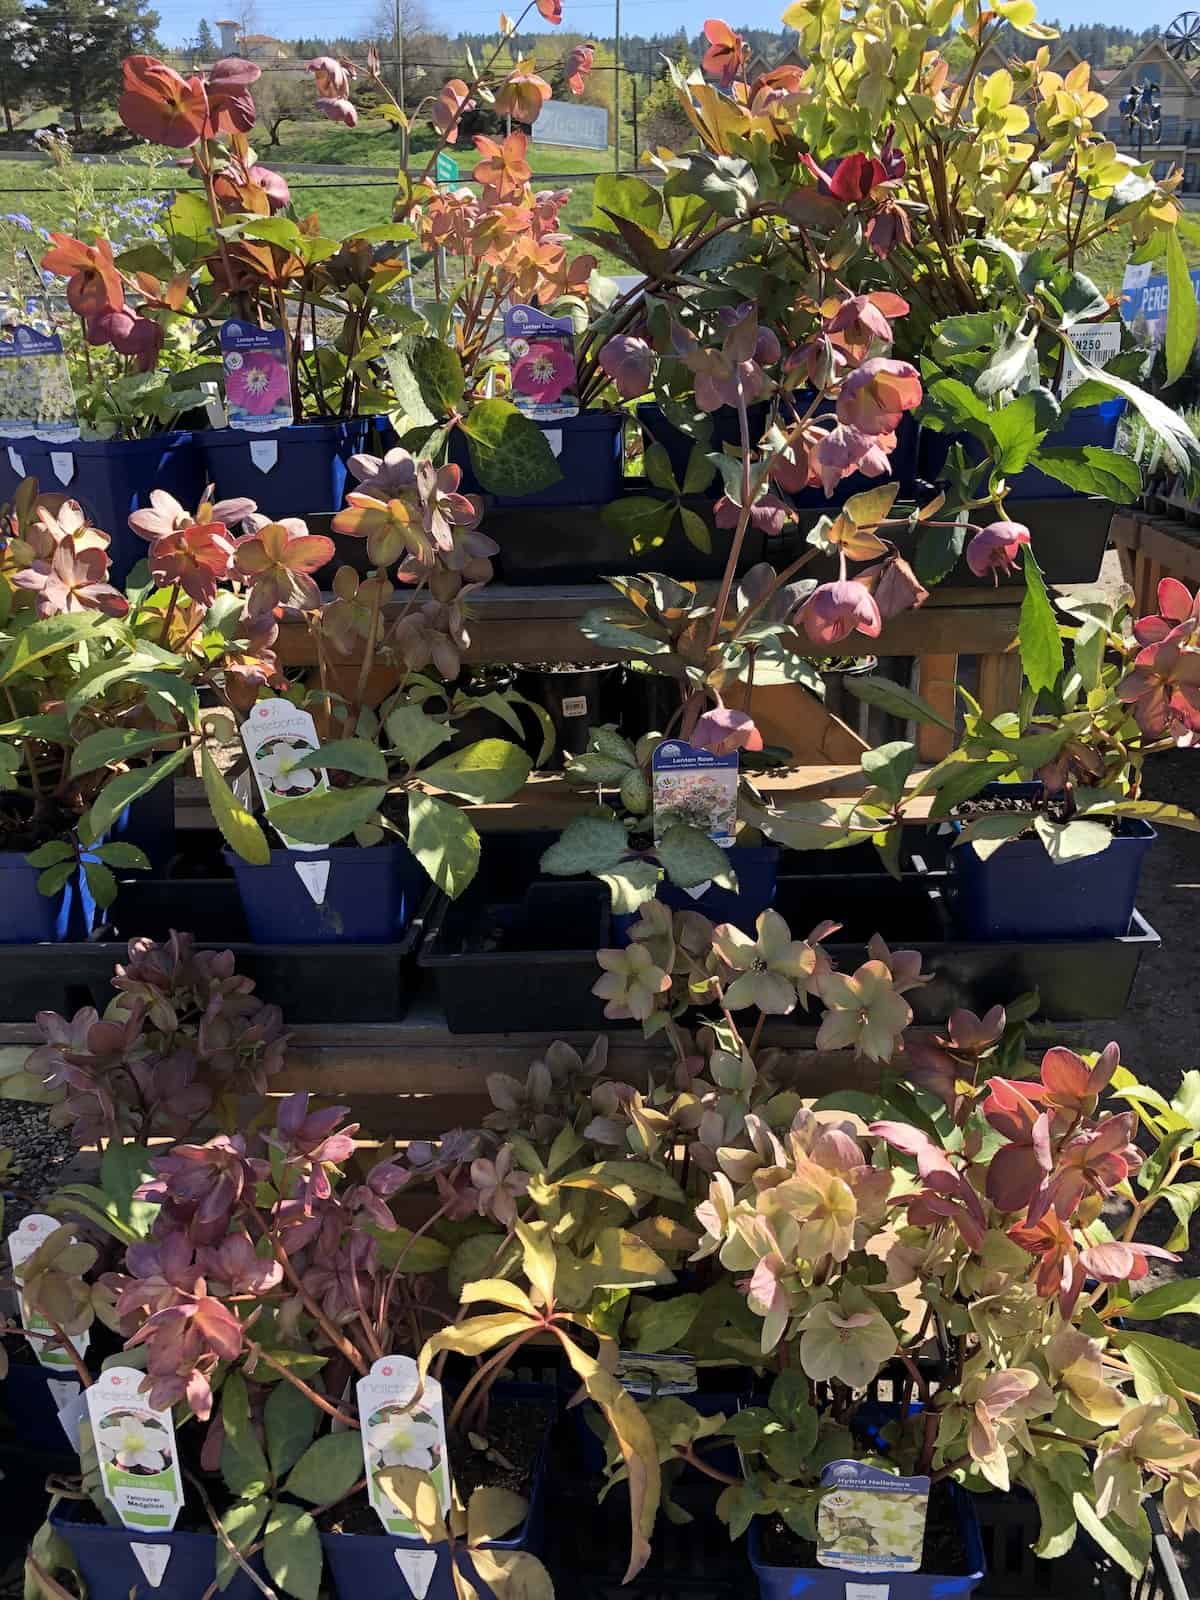
Hellebores in large pots with extensive root systems are more expensive than smaller-potted versions. They will, however, have flowers this year (and perhaps even when you buy them). Big hellebore plants generally come in 10″-12″ pots and cost about $30 in our area. Small plants in 4″-5″ pots often cost less than half of the price of the larger plants.
In general, hellebores are among the more expensive perennial plants to buy. They also take a few years to get established in the garden, so it makes sense to invest in them as soon as is reasonable so you can look forward to more flowers in the coming years.
Choosing a location in the garden for hellebore planting
Success when planting hellebores is largely based on choosing your location wisely. Hellebores have thick, dark-green, leathery leaves accustomed to the indirect light of a woodland understory. Hellebores do need some sunlight, and can sometimes even handle bright light as long as it’s indirect, but they really should be shielded from harsh afternoon direct sunlight in the hotter months of the year.
Hellebores do well under the canopy of deciduous trees. The leaves can soak up the sunshine in the early spring before the tree grows its leaves. But by the time the real heat of summer arrives, the tree will be happily shielding the hellebore plants from the harsh summer sun. I grow mine on the north side of our house under the summer shade of a Linden tree.
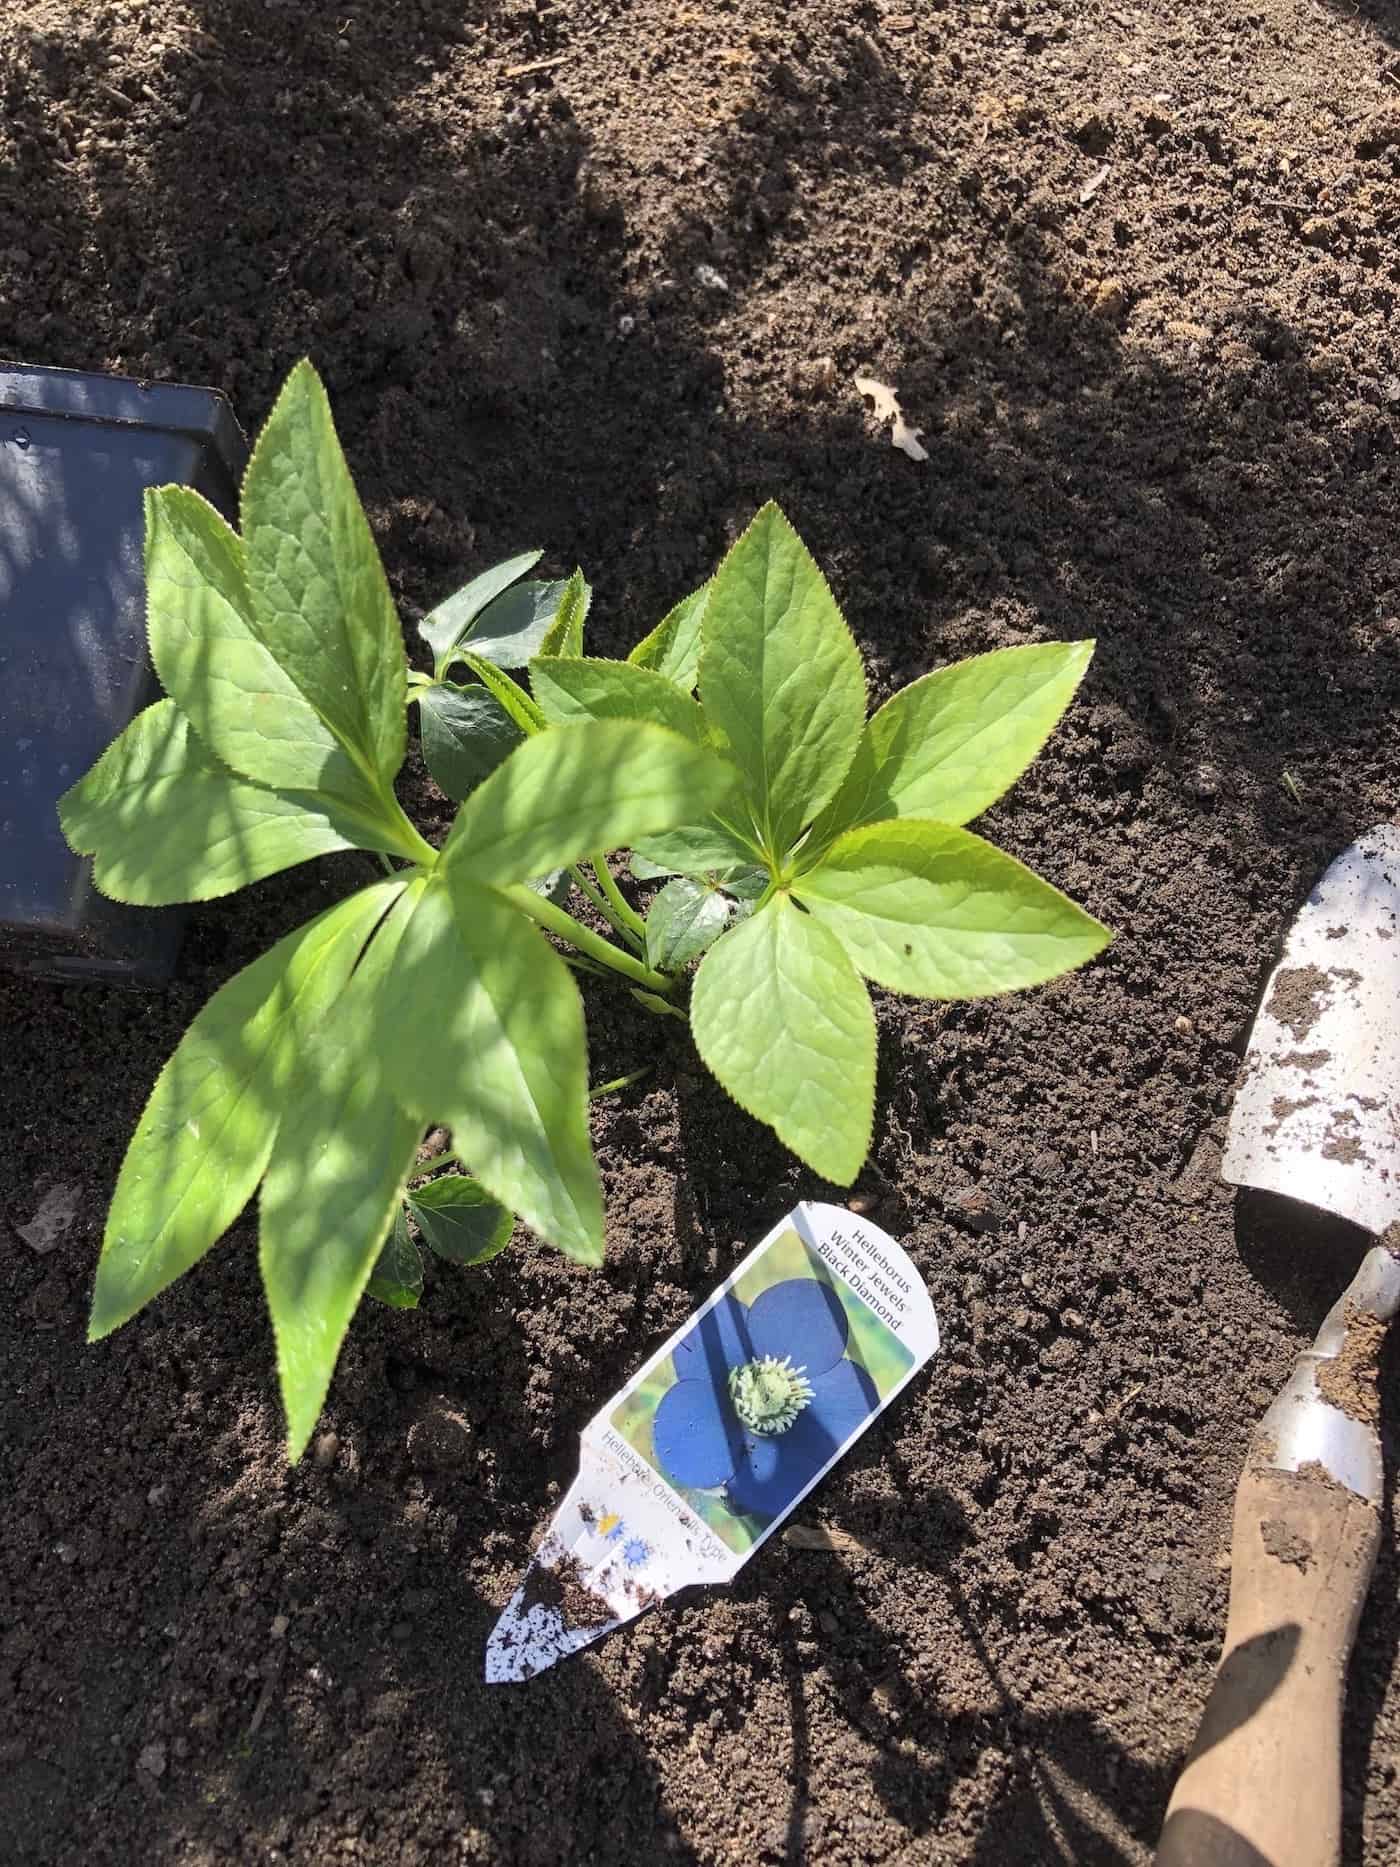
Preparing the garden bed for planting hellebores
Hellebores are easy-care perennials that don’t need a lot of prep work. Remove existing weeds and give the area a general tidy-up. Consider installing drip irrigation, as this can really help to keep the new plants watered consistently during a hot summer as they become established in the soil.
Also, consider which mulch you’d like to use on the bed. I like to mulch with homemade compost, as it is readily available and has a lovely dark color that complements and shows off the hellebores. Eventually, I’d like to cultivate some wild moss in amongst the hellebores to enhance the woodland garden aesthetic.
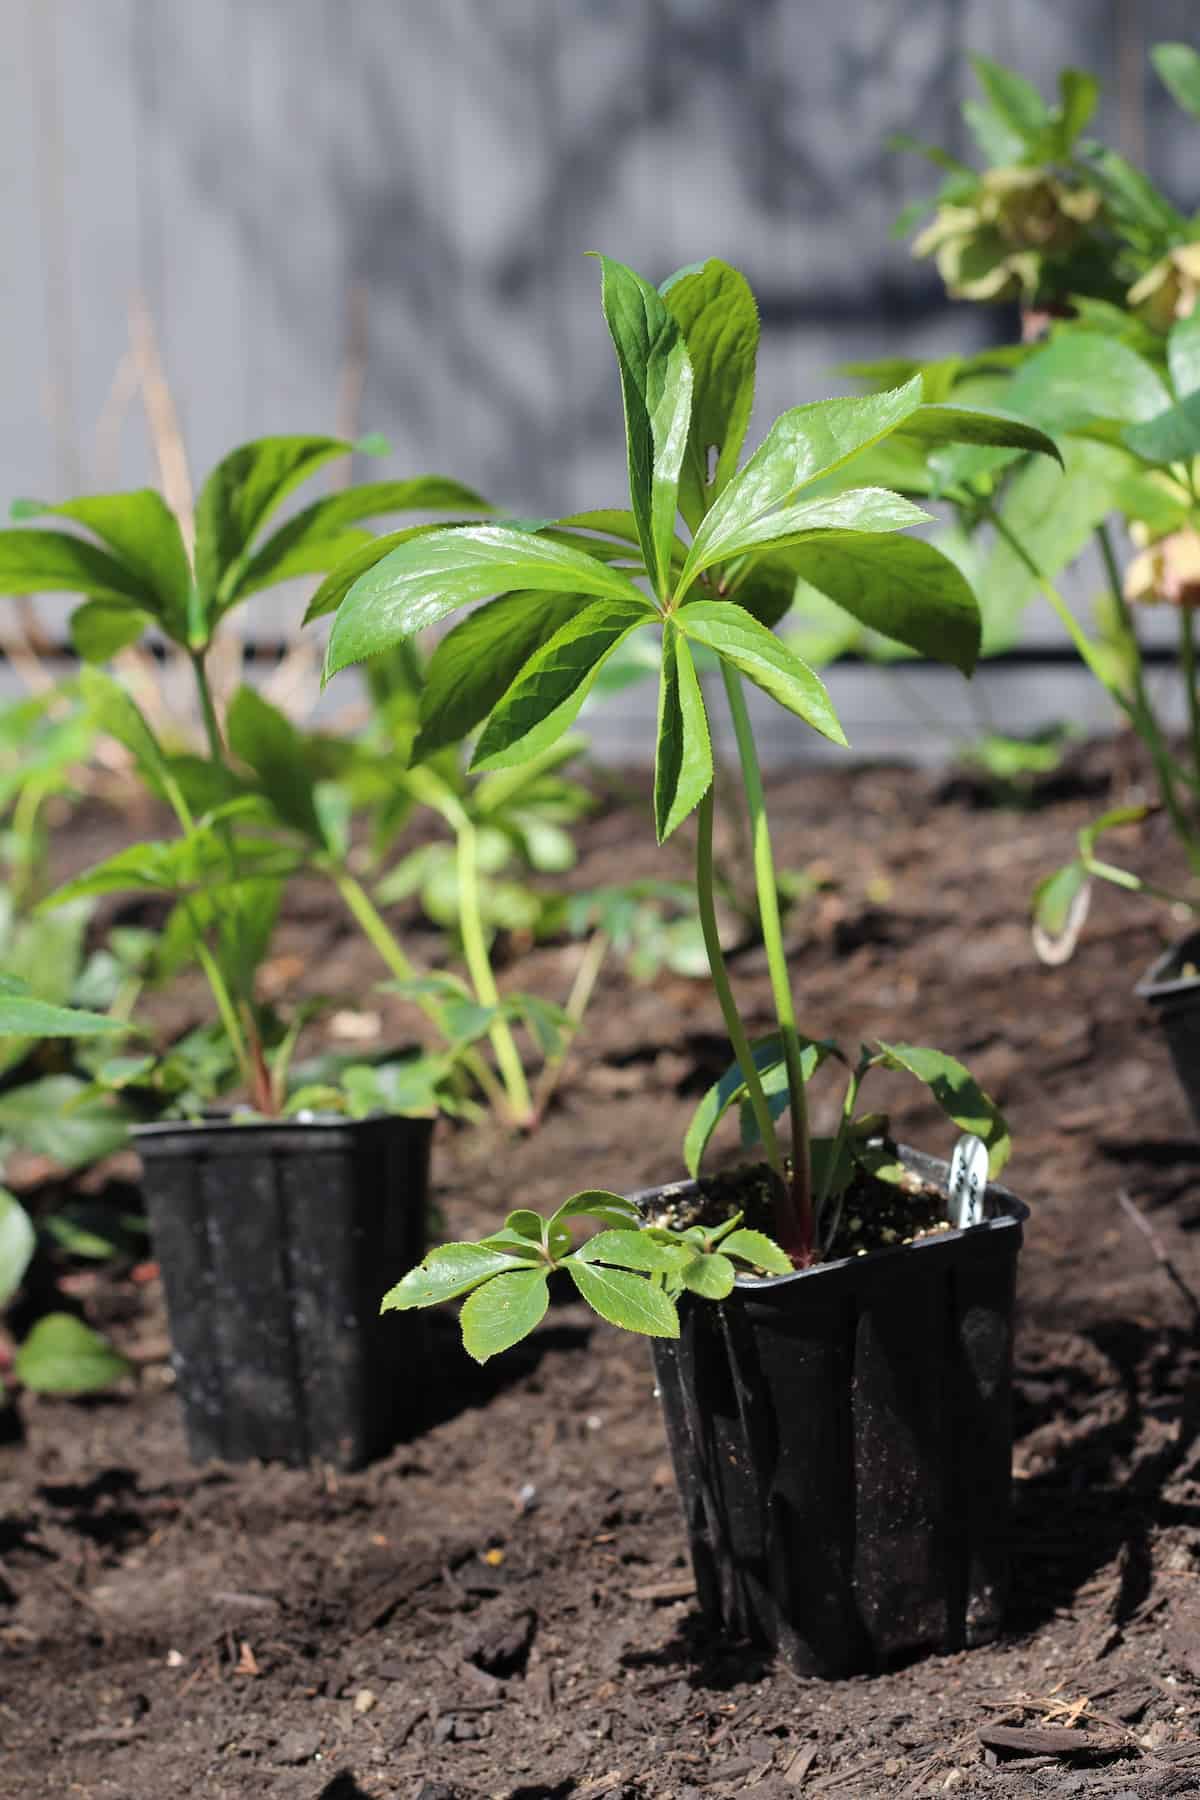
Planting the hellebore plants in the garden bed
Here are the basic steps for planting hellebores:
- Water the potted hellebore plants.
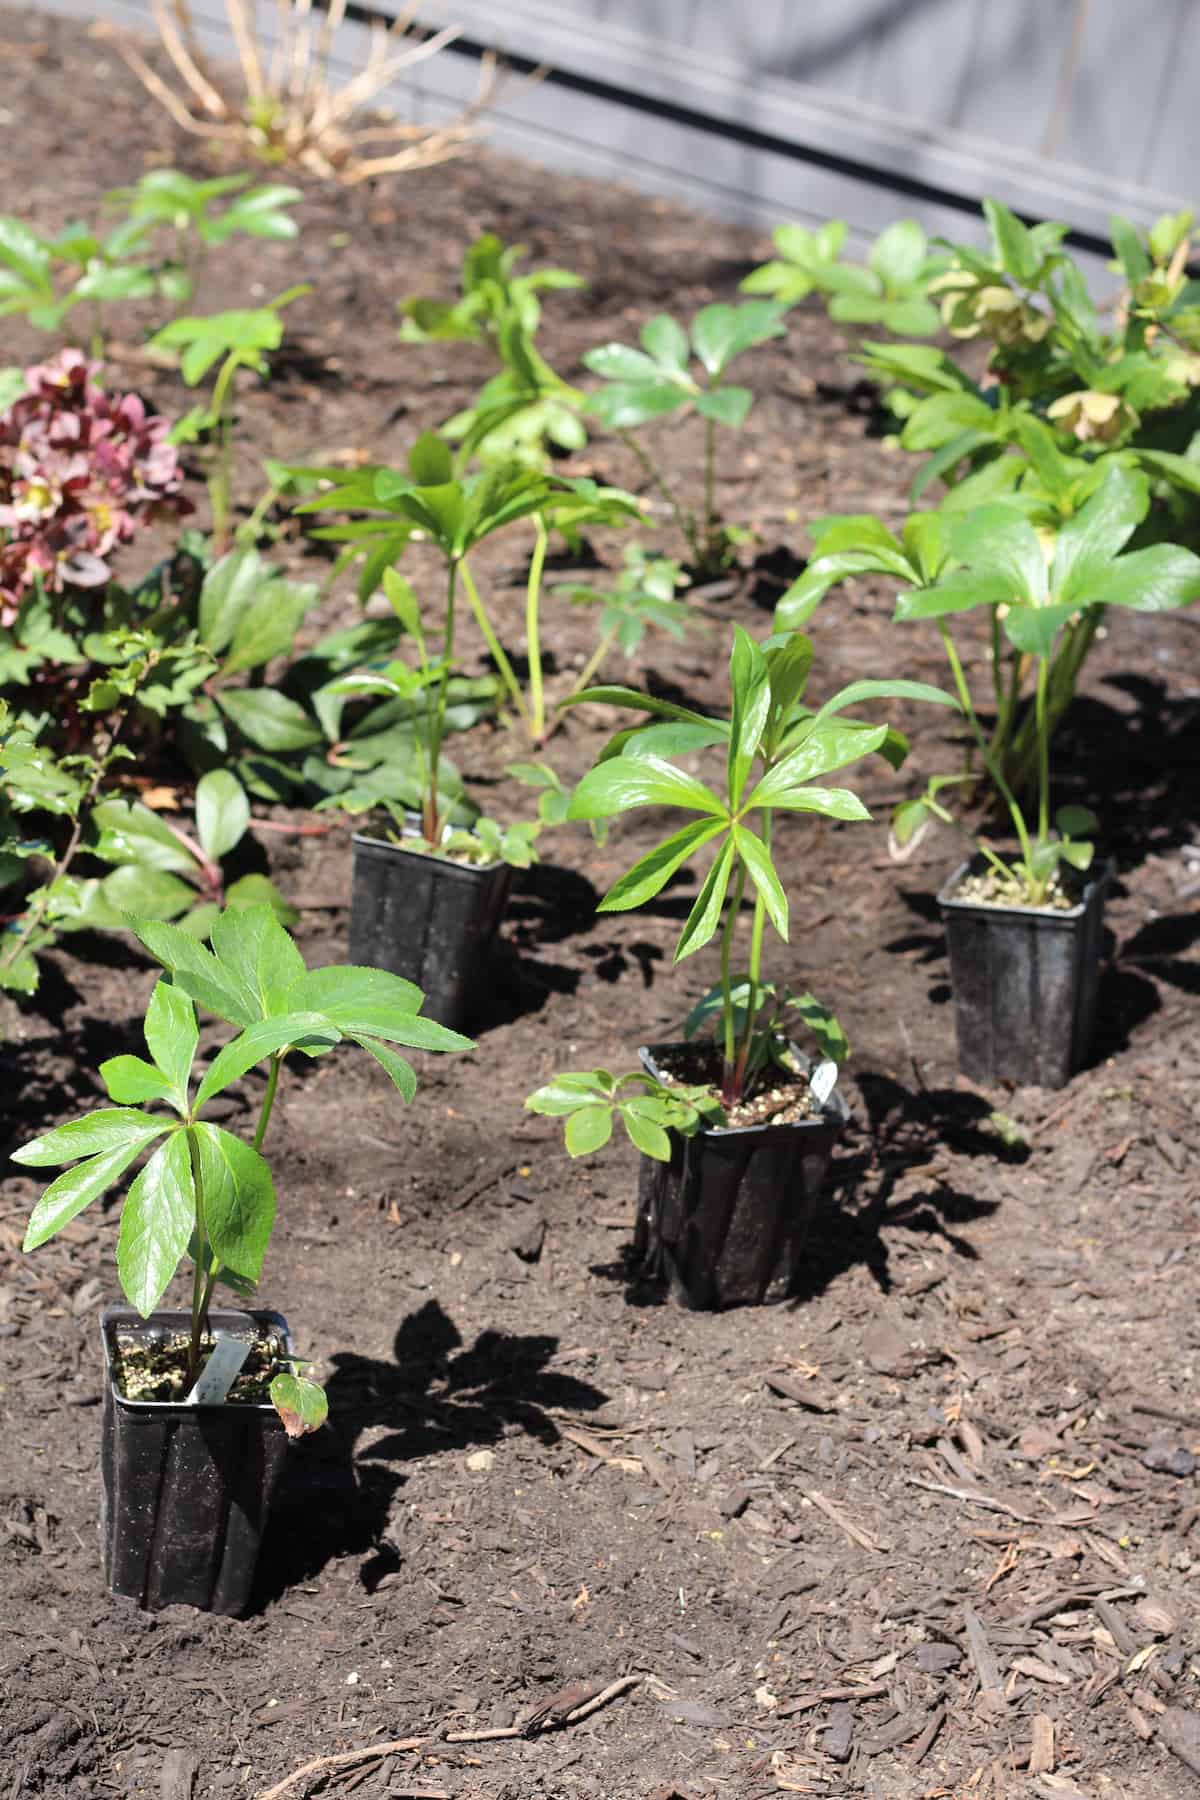
- Set out the hellebores in the garden while they’re still in their pots. Always wear gloves when working with hellebores. Make location adjustments until each one is in the right spot. Don’t forget to step back and look at the whole area. Walk around and look at the area from other vantage points (including curb appeal viewing areas and your indoor vantage points from windows).
- Dig hole(s). A planting hole for a potted hellebore plant should be about twice as wide as the planter pot, but no deeper. Try to line up the soil line inside the pot with the soil line of your garden.
- Gently backfill the hole with soil while holding the plant steady. Push soil into any loose areas until the plant is nicely situated.
- Double-check the soil line of the hellebore plant. It should match up with the existing soil level of your garden.
- Trim off any damaged or overly-weathered leaves.
- Mulch with a thin layer of homemade compost around the base of the plants (about 1″ thick).
- Water the flower bed deeply after planting.
Here is a video I made of the hellebore planting process, including details and a time-lapse of the actual planting:
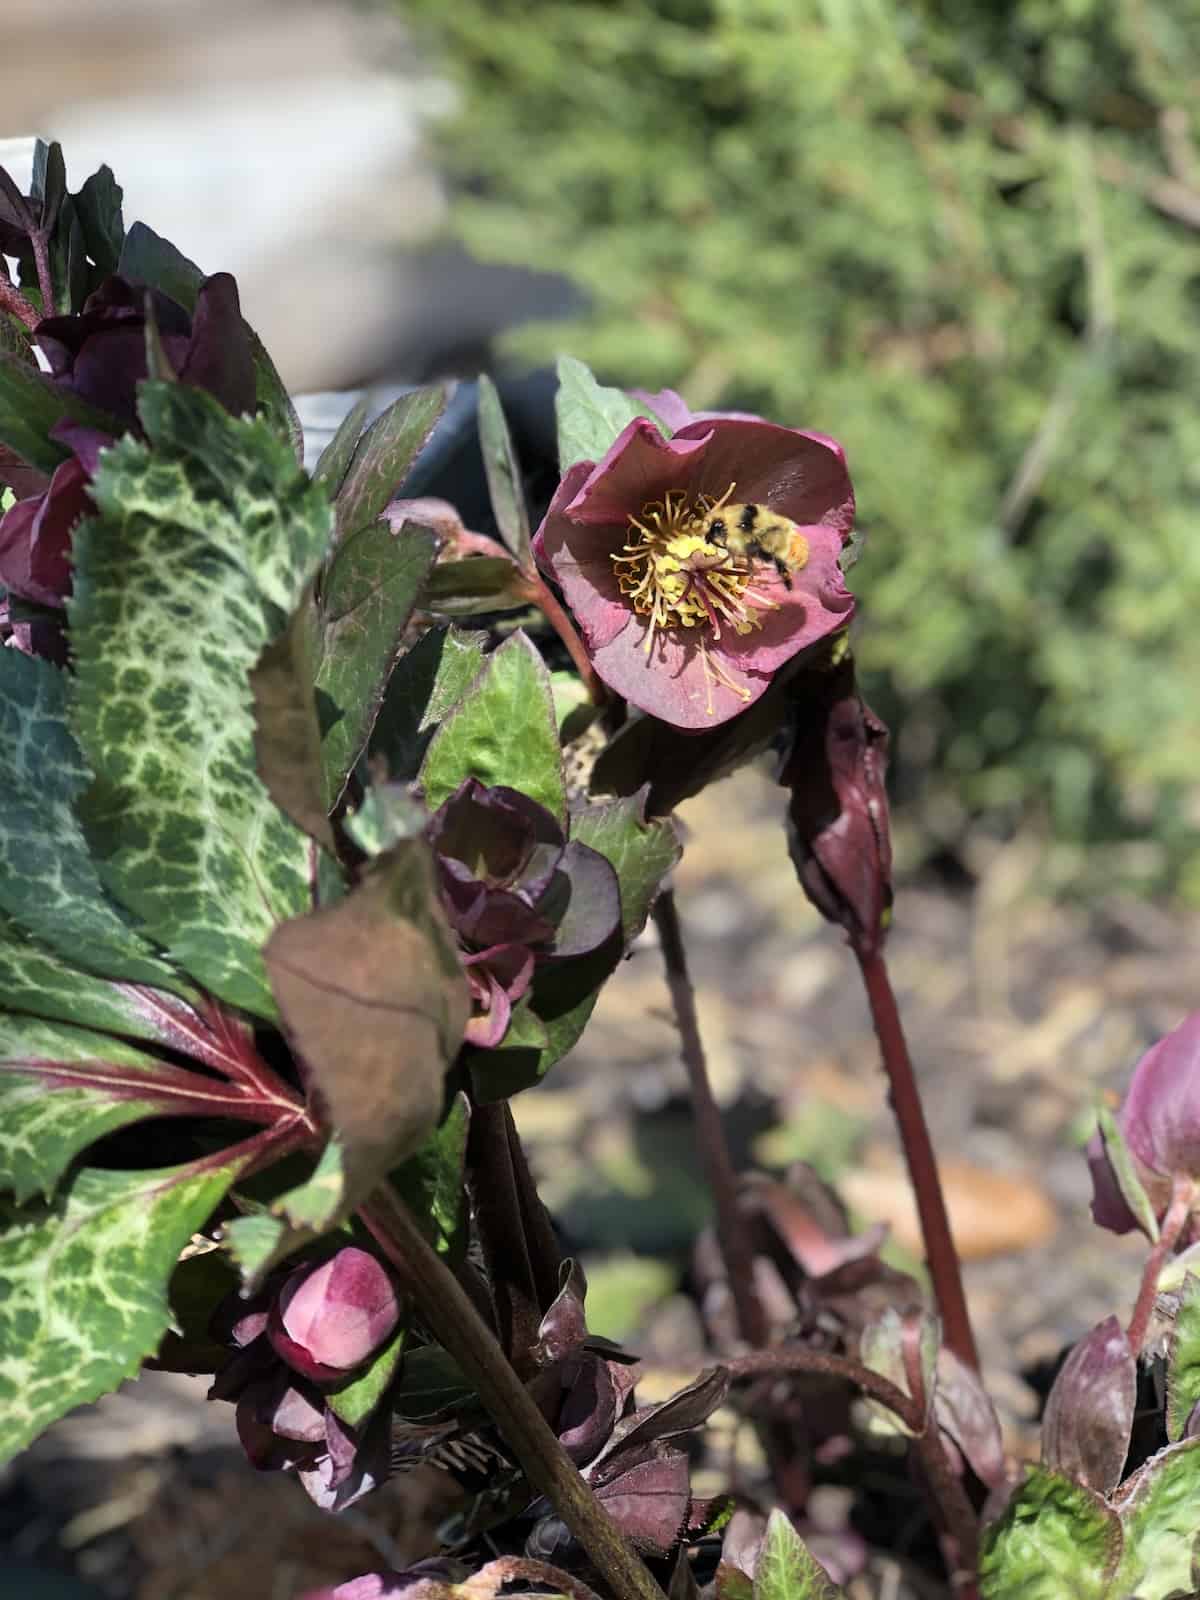
Planting hellebores is easy and the investment is worth it! Even the bumblebees will love them :)
