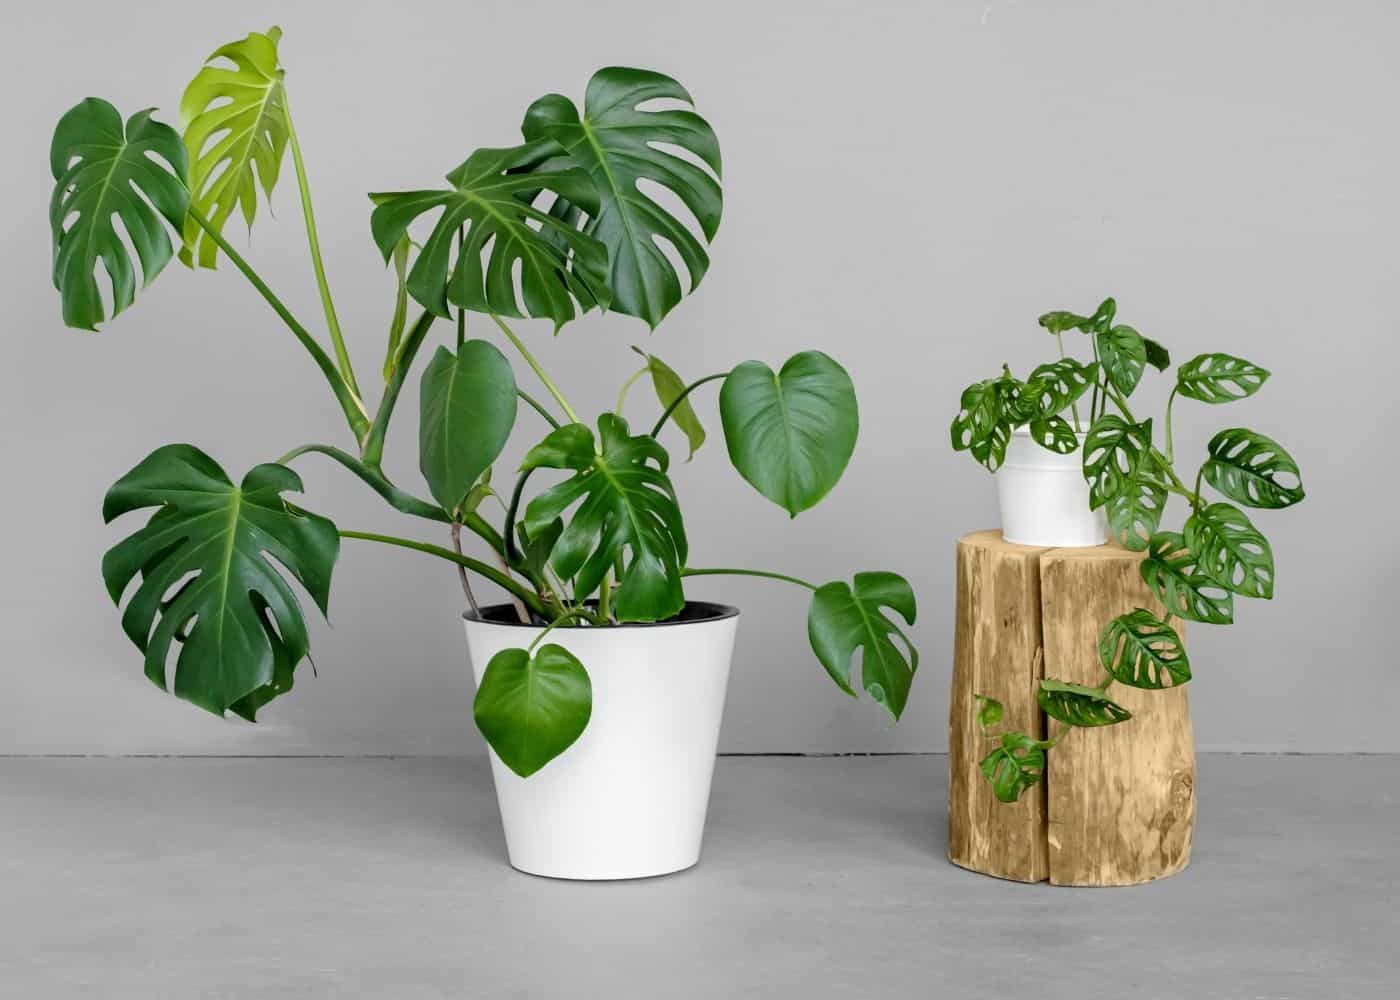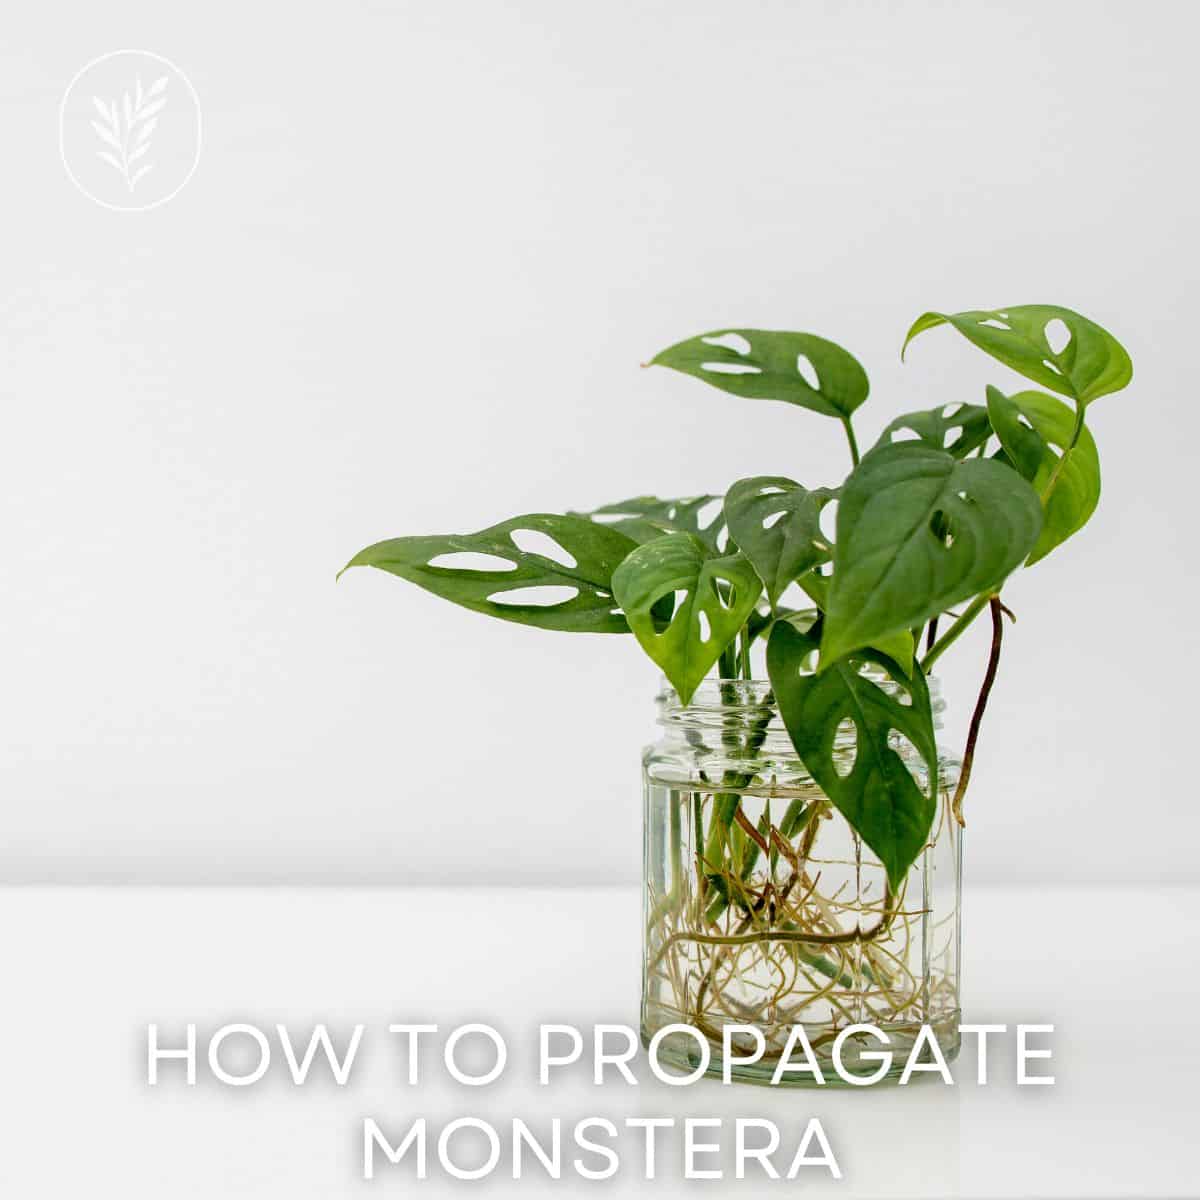
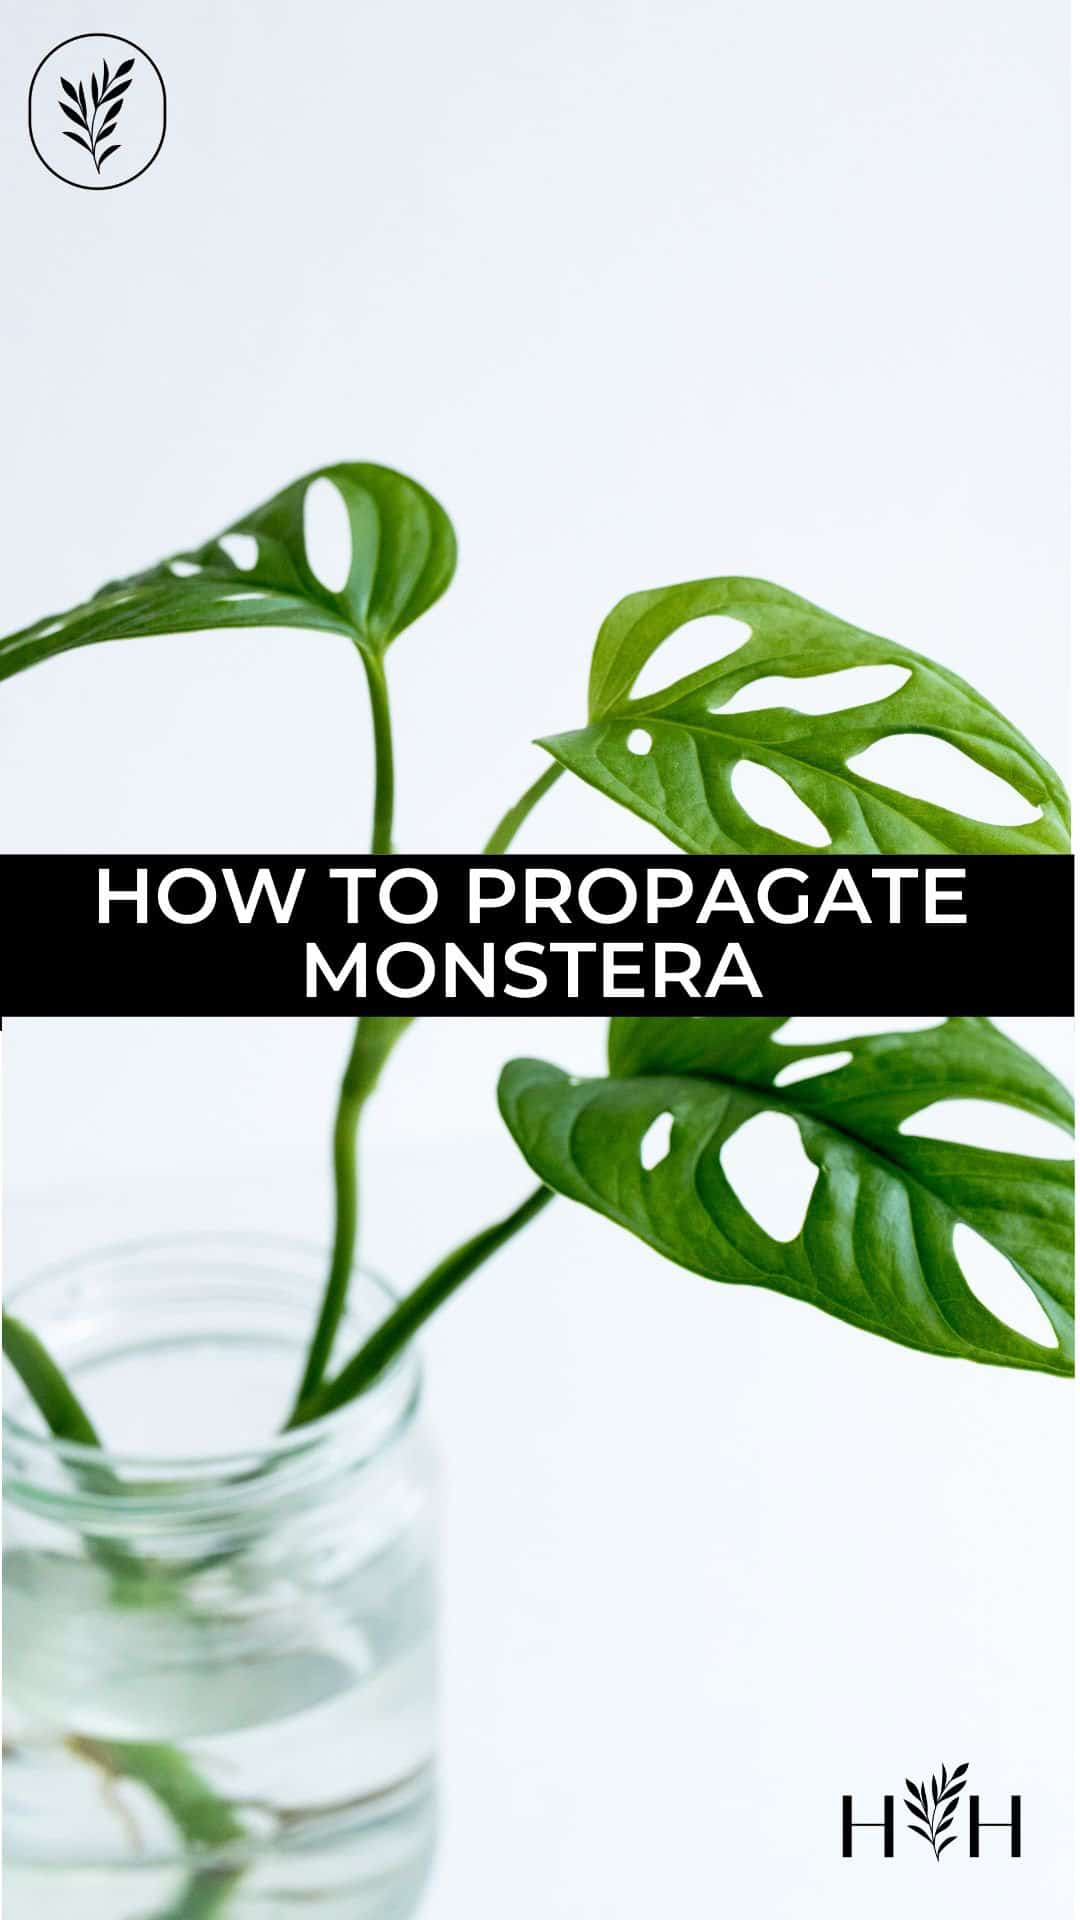
Monstera is easy to propagate. These tropical houseplants are commonly propagated by stem cuttings, but can also be propagated by air layering or by dividing up the roots of a mature plant. Stem cuttings are generally placed in a glass vase of clean water to grow roots prior to planting, but these hardy stems can also be rooted in potting mix.

The basics of propagating Monstera
Monstera plants should ideally be propagated in the spring for best results. Spring is when the plant is most actively growing and the plant is most likely to propagate successfully.
Look for a “node” on the stem portion when propagating. A node is the part of the stem that holds the leaf, which then grows outwards.
Methods for propagating Monstera plants
There are three popular methods for propagating Monstera plants: with stem-tip cuttings, by air layering, or by root division. Let’s look at each of these methods briefly before getting into detailed instructions for each propagation method.
1. Stem-tip cuttings
Propagating Monstera from stem-tip cuttings is the most popular propagation method. To propagate Monstera with stem-tip cuttings, you need to cut off an entire young stem along with the node. The node brings nutrients to the stem cutting, helping it to root and develop into a new plant. In addition, it’s best if your stem cutting has a few leaves attached to it, as this will aid in the rooting process. You can propagate stem cuttings without leaves, but the process will take longer.
2. Air layering
Air layering is a popular propagation method because it’s easy, has a better success rate, and doesn’t require much of the plant to propagate. This propagation method is unique because a stem is encouraged to grow roots while the stem is still growing on the mother plant. A stem that’s about a half-inch thick (or thicker) is used.
3. Root division
Root division is the process of dividing the root ball of the plant into multiple sections that can be replanted into pots for propagation.
Propagating Monstera from stem cuttings
Monstera is easy to propagate by taking stem cuttings. Stem cuttings on this plant are generally taken from the youngest tips of stems which is why they are sometimes called stem-tip cuttings.
Once the stem cutting is taken off the plant, it can be propagated in either water or in potting mix. Here are instructions for both methods of propagating stem cuttings.
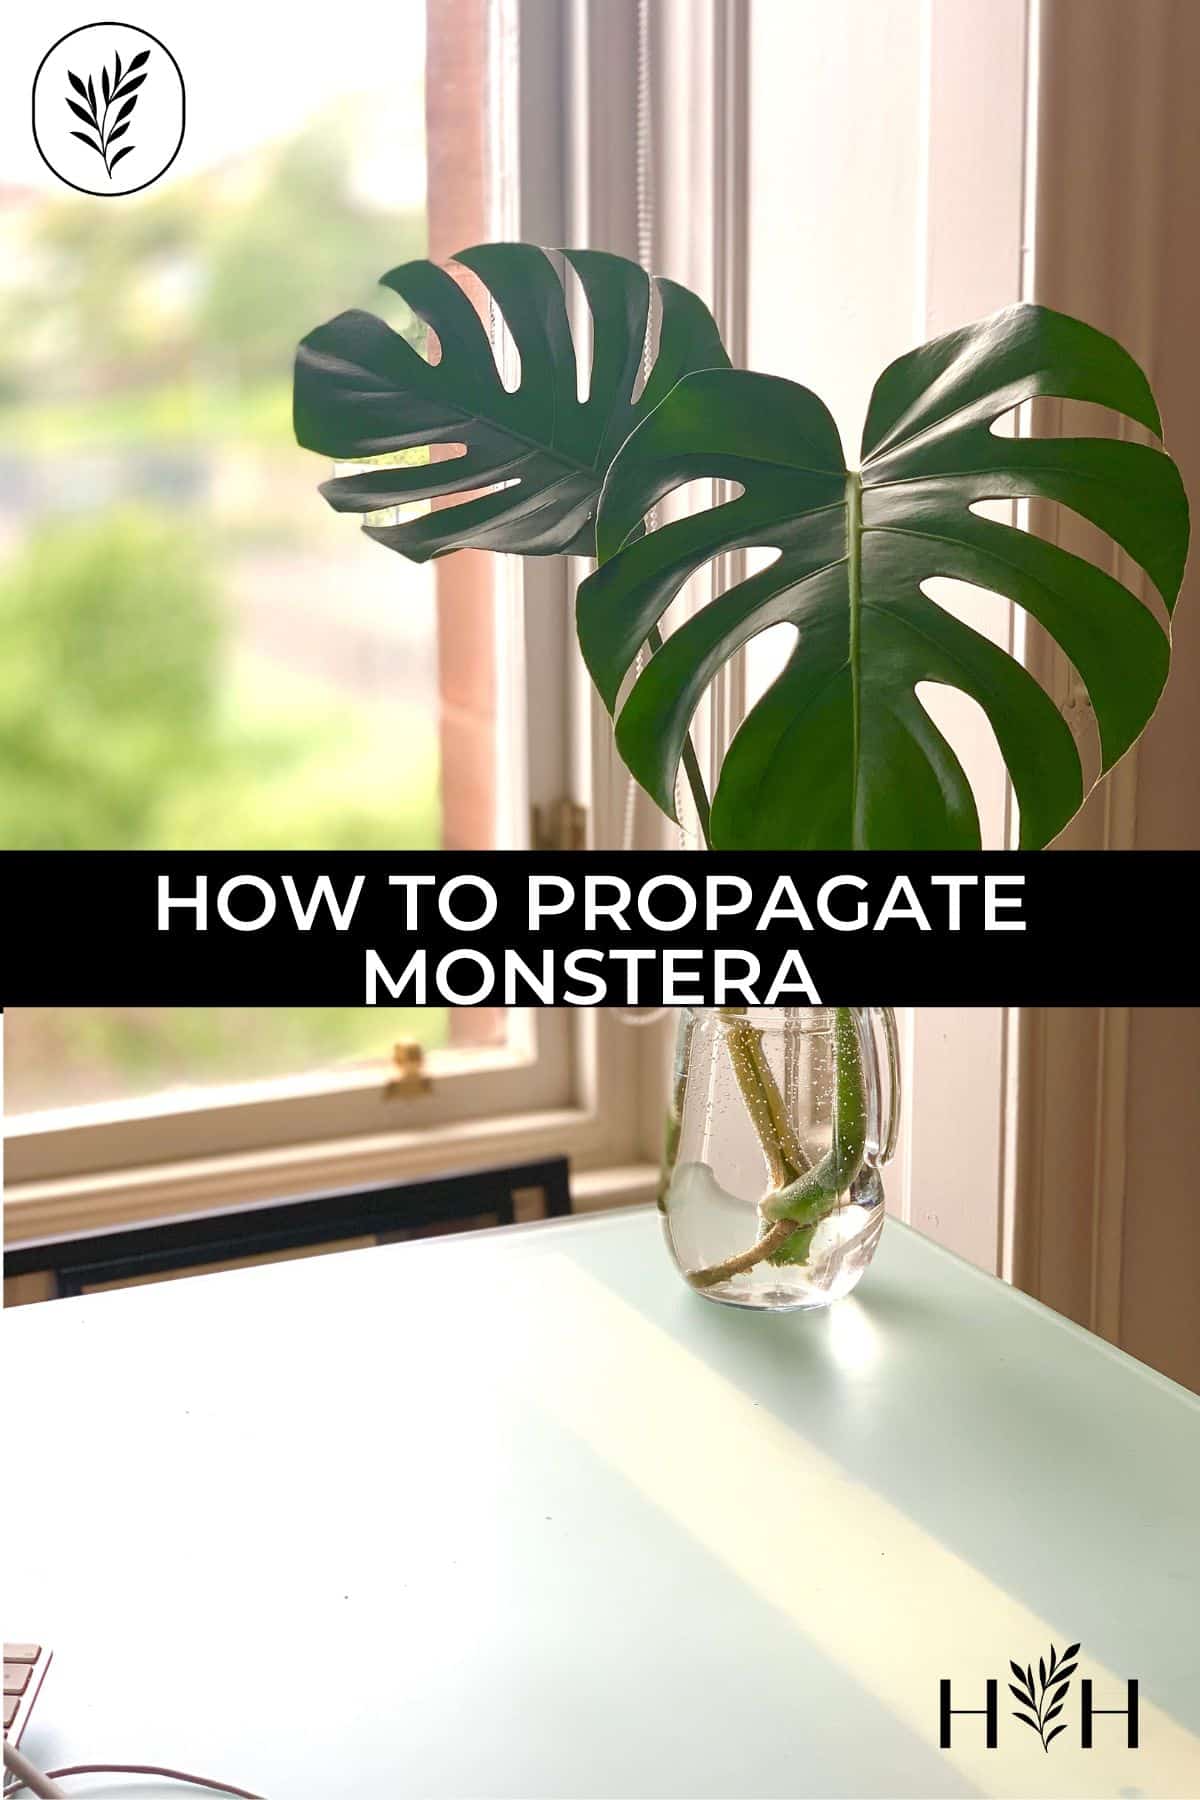
Propagating Monstera cuttings in water
To properly propagate Monstera in water, you will need a few supplies:
- Sharp pruning shears or a good pair of scissors
- Dilute solution of alcohol or bleach
- Hormone Powder
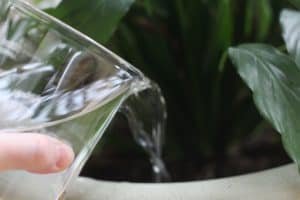
- Clean container with fresh water
Here are the basic steps to propagating a Monstera cutting in water:
- Disinfect your scissors using a dilute solution of alcohol or bleach. Disinfecting your scissors prevents bacteria and other debris from contaminating the fresh-cut stems.
- Pick the stems you want to cut off your plant. Make sure these stems are young with healthy tips as these are optimal for propagation. Choose 1-3 stems for the number of planters you have.
- Cut off the stem along with the node. Then, cut off any excess leaves, leaving only 1-3 leaves attached. Make sure each cutting has a node so that the plant will propagate correctly. Place your cuttings on a clean surface. Repeat until you have enough cuttings.
- Trim the base of each stem cutting, making the cut right below a leaf node if possible. Make a clean cut so that the base of the stem remains healthy and well-suited to root development.
- Dip the cut end of each stem into rooting hormone powder. This is optional; however, it can be helpful if you’re new to propagating houseplants.
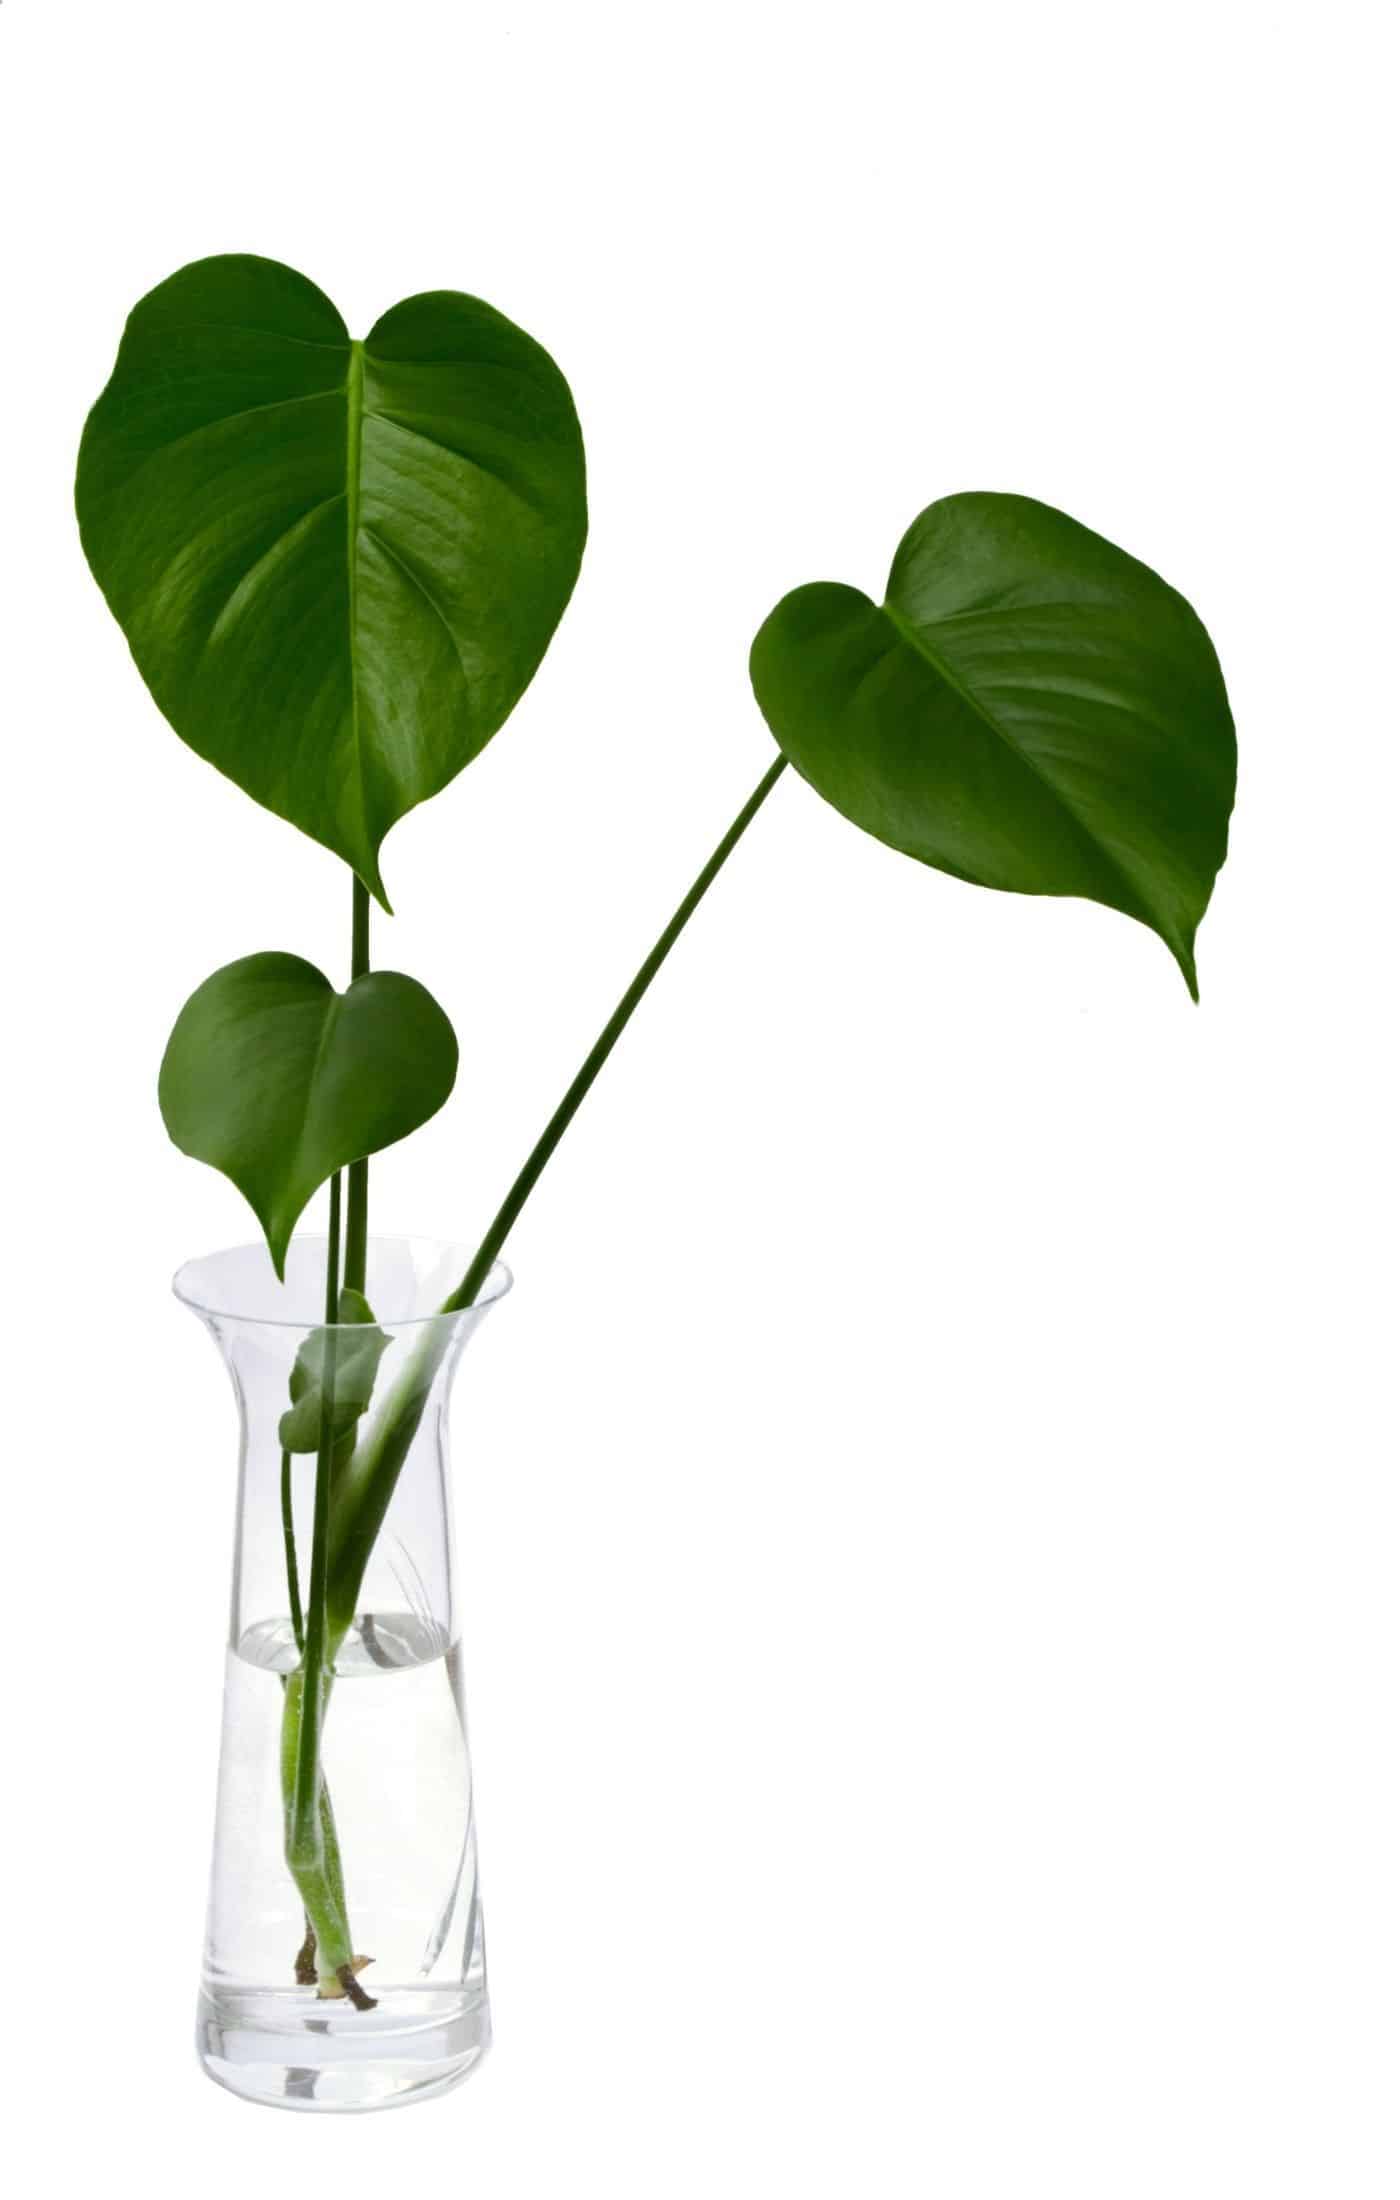
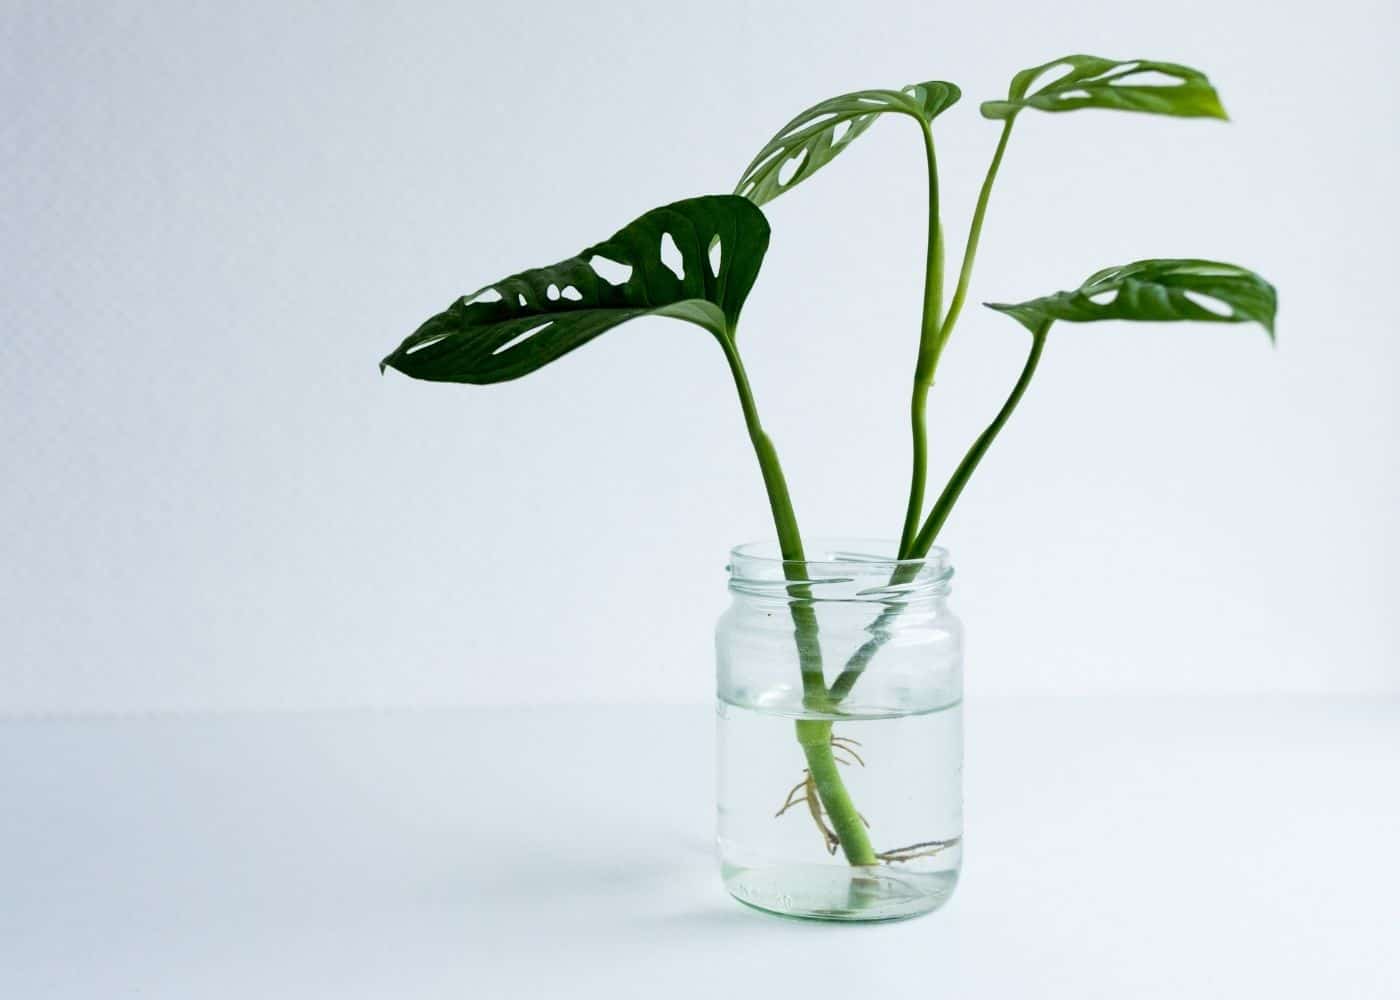
- Place the stem base into a clean container filled with fresh water. Place each stem in its container or group a few in larger containers. Make sure the cuttings are not crowded, and the air circulation is good. (The easiest way to monitor root development is through clear glass containers to see the Monstera cuttings.
- Move the cuttings to a location with bright indirect light that is not too close to the cuttings to avoid foliage burn.
- Monitor the plants every few days, changing the water and looking for root development. Remove any yellow or mushy cuttings and plant the healthy cuttings into planters once they have emerging roots.
- Put the rooted cuttings into groups and place them into a planter with organic potting soil. Water the cuttings, making sure the water drains freely.
Propagating Monstera cuttings in soil
To properly propagate Monstera in the soil, you need some key supplies:
- Sharp pruning shears or a good pair of scissors
- Dilute solution of alcohol or bleach
- Hormone Powder
- Planter pot with moist potting mix
Here are the basics for propagating Monstera cuttings in potting soil:
- Take a cutting off of the mother plant. See Steps 1-5 from the section above (Propagating Monstera Cuttings in Water) for details about how to take the cutting off the mother plant.
- Fill the bottom 1/3 of a planter pot with moist high-quality potting mix. Make sure your pot is at least 4-6 inches wide and has good drainage holes at the bottom. Tropical potting mix made with coco coir and perlite works well for propagating Monstera plants.
- Place several cuttings into the planter pot. Usually, about three cuttings fit into a 4-inch wide planter, while five cuttings suit a 6-inch wide planter. The base of each cutting should be resting on the bed of potting mix.
- Fill the rest of the planter with potting mix. Fill the remaining space surrounding the Monstera cuttings, leaving around an inch of space at the top. Then, water the planter, making sure the water is draining well out of the bottom. Keep in mind, the soil may settle after watering, but this is entirely normal.
- Move the planter to a location with bright indirect light that is not too close to the cuttings to avoid foliage burn.
- Monitor the plant every few days, watering before the soil becomes too dry. Monstera cuttings grow best in moist, not soggy, or muddy soil.
Propagating Monstera by air layering
- Locate the stem you want to use for air layering and ensure it has a node beneath it.
- Make a shallow cut into the base of the stem to remove some of the outer layer.
- Wrap the cut area with some potting mix held in a wad with plastic wrap or a rooting ball.
- Once the roots are visible and fill the potting mix, cut the stem just below the rooted length.
- Remove the plastic wrap/rooting ball and transplant the rooted cutting into its own planter pot with well-draining, peaty soil.
- Place in an area with bright, indirect sunlight and water thoroughly.
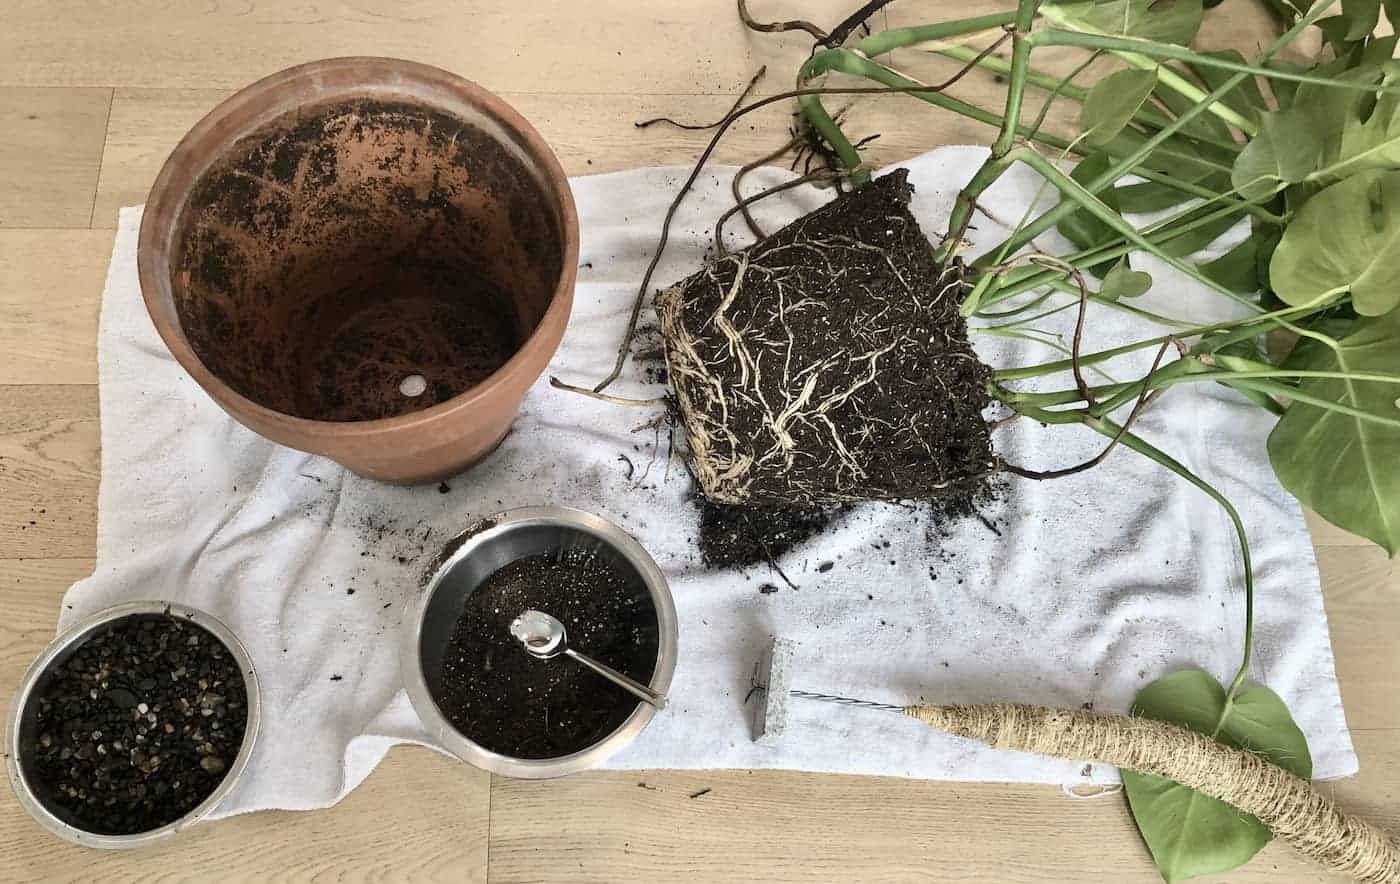
Propagating Monstera by root division
- Water your plant thoroughly for around a week before starting root division.
- Tip the pot on its side and slide the plant out. Do not yank the plant as this can destroy the roots. You may have to cut around the plant to get it out of the pot.
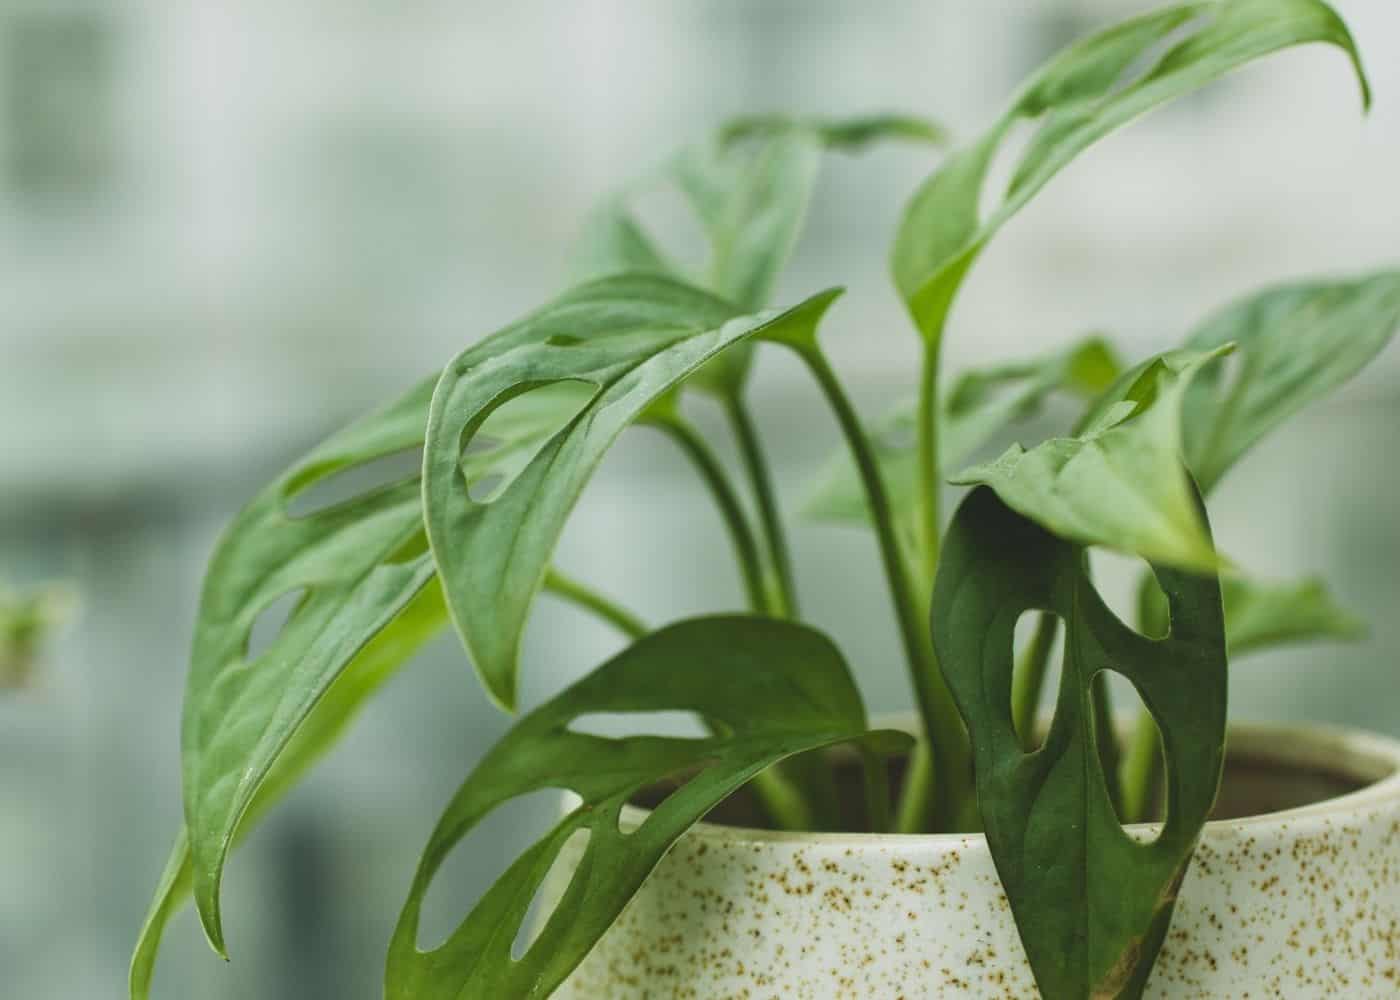
- After pulling the plant out of the pot, divide the root ball with a sharp, clean knife. Try and cut the root ball where the stems naturally divide. Also, try and ensure each section has a small, young stem as these stems are generally more amenable to having their roots disturbed. The leaves on these young stems are usually small and do not yet have many fenestrations (holes).
- Place your newly divided plants into well-draining pots that are smaller than the original pot. Use well-draining peaty soil for your plants.
- Water the plants thoroughly and place them somewhere with bright, indirect sunlight.
- Wait around a month and then start fertilizing the plants to encourage growth.