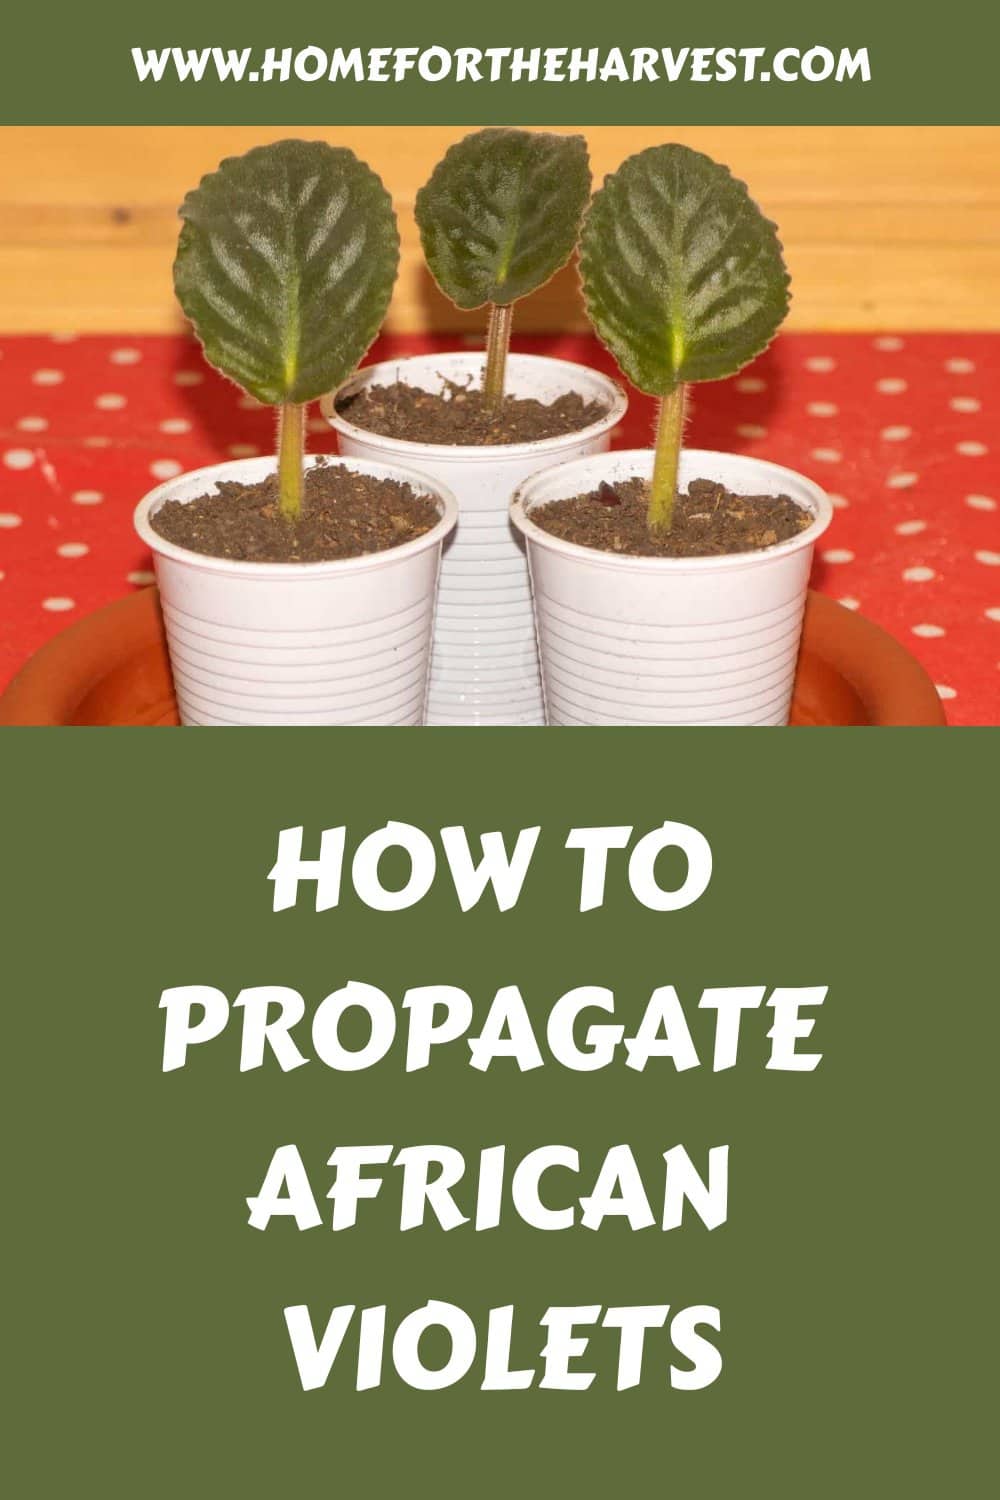
African violets are the darlings of the houseplant world, beloved through the decades for their bright blooms and fluffy foliage. It’s hard not to want a massive collection of them, but luckily that is possible (without breaking the bank) when you try propagating.
African violets are easy to propagate from single leaves. Simply trim a healthy leaf off, root it in the right soil mix, and keep the soil moist until a plantlet develops at the base. Propagating is a slow process, taking a month or a few before new growth develops, but it is well worth the wait.
Read on to learn all about how to propagate African violets!
Supplies for propagating African violets
To propagate African violets successfully, you’ll need to start with a healthy and thriving plant. Diseased or damaged plants will only transfer issues to your cuttings and are far less likely to root or produce plantlets.
Next, grab a sharp pair of pruning shears or even sharp scissors. African Violet growth is very soft and easy to cut, but sharp shears will ensure as clean a cut as possible, making healing far quicker. You can also use a craft knife if you have one on hand.
Finally, you’ll need the perfect soil mix. Regular garden or potting soil is unlikely to provide the right conditions needed for root growth. Instead, start with a specialized African Violet potting mix or a light and airy potting mix amended with coconut coir and perlite to improve water retention and drainage respectively.
Step 1: Choose the perfect leaf
Start the propagating process by identifying the perfect leaf. As mentioned, it shouldn’t have any signs of disease or damage as these problems will simply be transferred to the new cutting, limiting your chances of root growth and requiring additional fixing later on.
Avoid choosing new leaves that are still in the process of growing, or very old leaves that appear to be on their way out. The leaf should still be large, but young enough to make rooting more likely.
Depending on the shape of your plant, you can either choose a leaf that will create balance when trimmed or take a few leaves at once to restore balance. You don’t want the parent plant to end up unbalanced and lopsided after propagating.
Step 2: Trim the leaf off at the base
Next, grab your shears and cut the leaf off as close to the soil line as you possibly can. The leaf won’t grow back, so it’s best to cut it off cleanly. Any part of the leaf that remains will simply rot and shrivel up on the plant, making it look untidy and attracting disease.
Once you’ve gathered the leaf (or leaves) trim the leaf stem to about half an inch to an inch long. It should be long enough to anchor the leaf into the soil but doesn’t need to be excessively long as this can inhibit growth.
Step 3: Cut the leaf in half (optional)
The next step is completely optional but does increase the chances of your cutting rooting in the soil. It involves cutting the leaf tissue in half horizontally.
This will stop the leaf from growing any bigger once it develops roots, allowing the plant to focus on producing a plantlet. It also makes the leaf lighter and easier to root, preventing it from falling on top of the soil and rotting away.
If you have a smaller leaf, it may be best to skip this step, but those with larger African Violet leaves should certainly consider it.
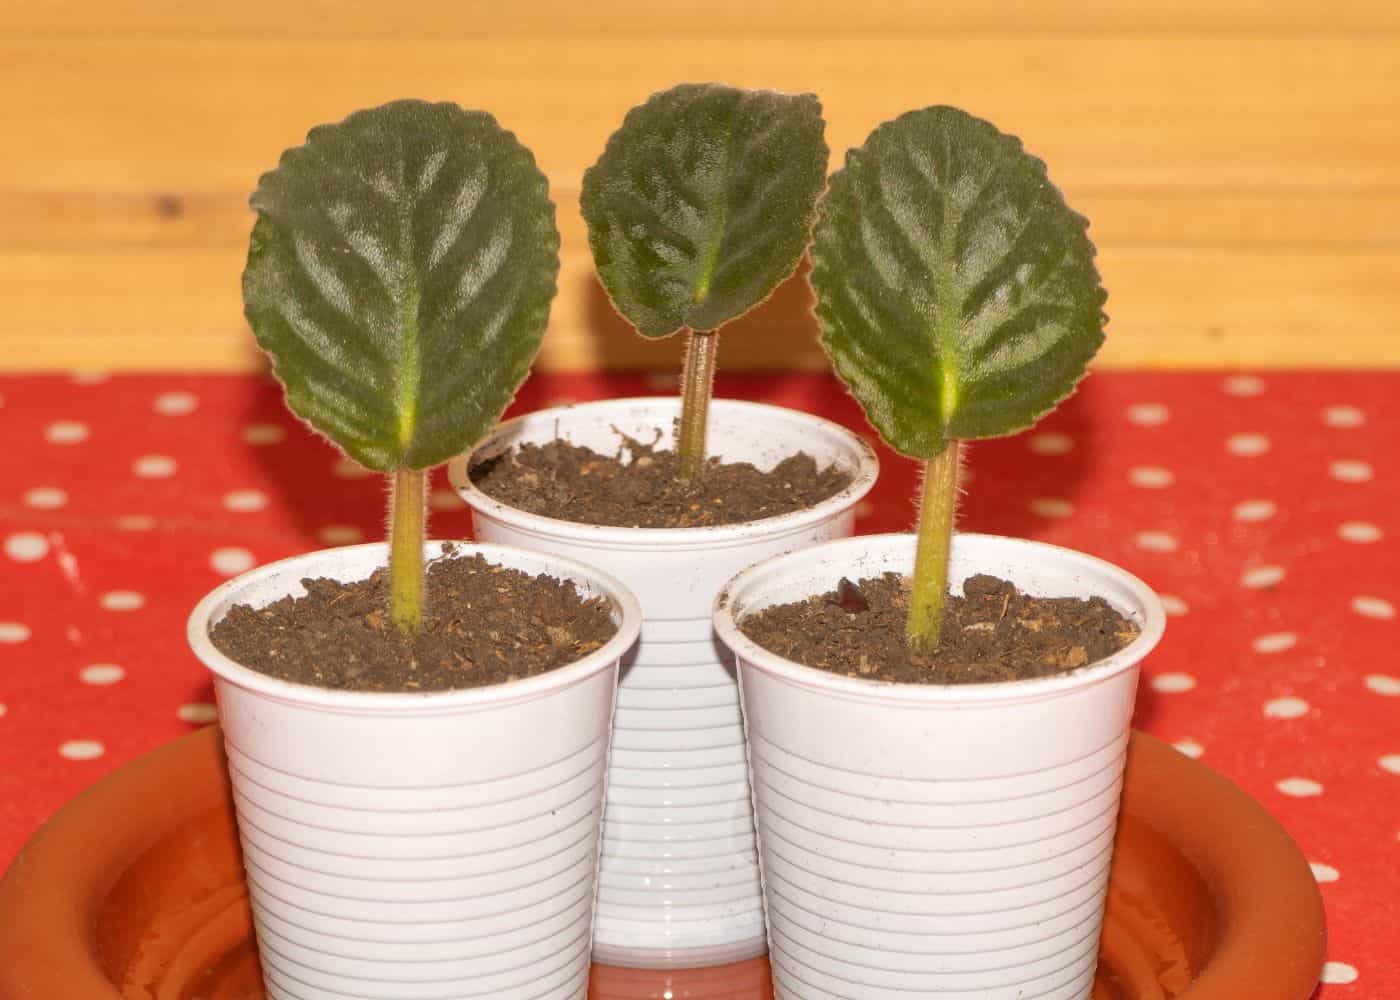
Step 4: Root the cutting
With your cuttings prepared, you can begin the process of planting. Start by filling a pot or tray with African Violet potting mix or your own prepared soil mix. The pot should be relatively small, not holding onto too much water to prevent rotting.
Water the mixture before you start. This allows you to check the drainage of your mixture and pot and makes rooting far easier. It also limits the need to water after planting, keeping water off the fuzzy foliage.
Next, grab the leaf and plant it in the soil at a slight angle. This makes it easier to balance the leaf and allows the plantlet to emerge straight up from the soil.
Smaller leaves should be able to remain off the soil without assistance. However, if you have a large leaf, it’s best to balance it above the soil using a toothpick. If the leaf falls onto moist soil, it will not only rot but will likely uproot the cutting, slashing your chances of successful propagation.
Step 5: Create a mini greenhouse
Finally, you need to recreate the ideal environment to facilitate growth. If you have a greenhouse or plastic propagator, simply put the pot in there and keep the soil consistently moist. The moisture, humidity, and warmth will create the perfect conditions for root growth and plantlet development.
If you don’t have any of those things, you can always recreate the same conditions using something we all likely have around our homes – a plastic sandwich bag. Simply cover the pot in plastic and secure it at the bottom using a rubber band. Lift the bag whenever you need to add more moisture and keep it in a bright spot to promote growth.
Unfortunately, the propagating process requires a little patience. You’ll need to wait at least six weeks, or even closer to two or three months before your plantlet is big enough to transplant. Once it is a few inches tall, simply remove the old leaf and repot to grow a brand new African violet from scratch.