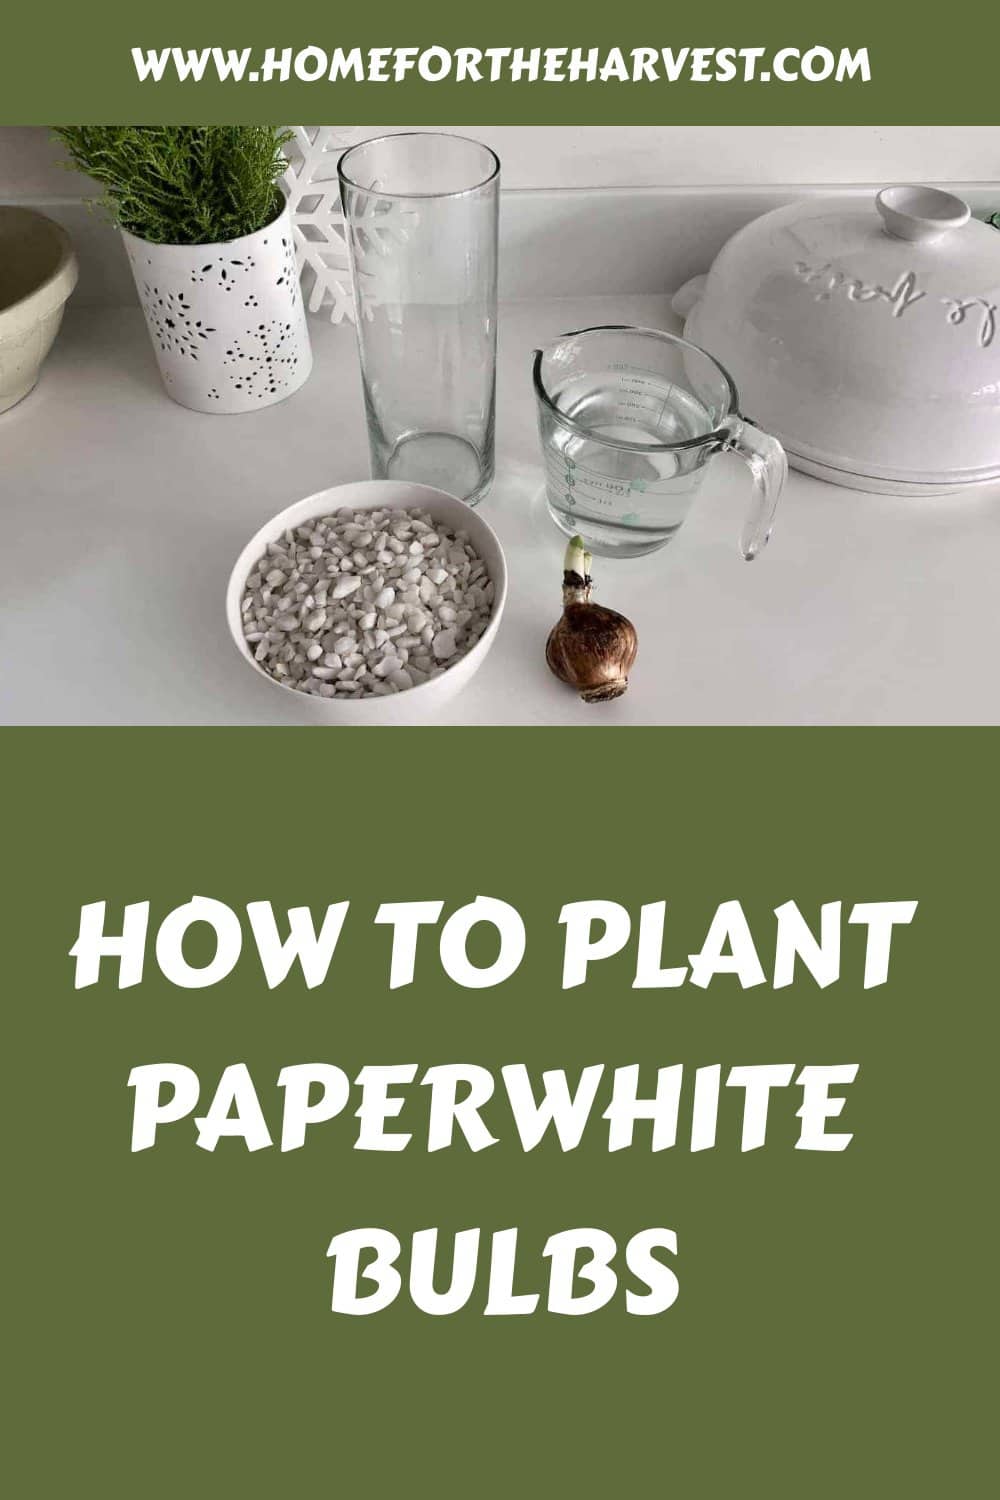
Paperwhite bulbs can be planted in a vase with water or in a planter pot with potting mix. To plant paperwhite bulbs in a vase, use pebbles to hold the bulb up above the surface of the water. Bulbs can also be placed in special bulb vases (which hold the bulb just above the water reservoir). Paperwhite bulbs can also easily be planted in potting soil, with just the tips of the bulbs above the soil surface.
How to plant paperwhite bulbs in pebbles
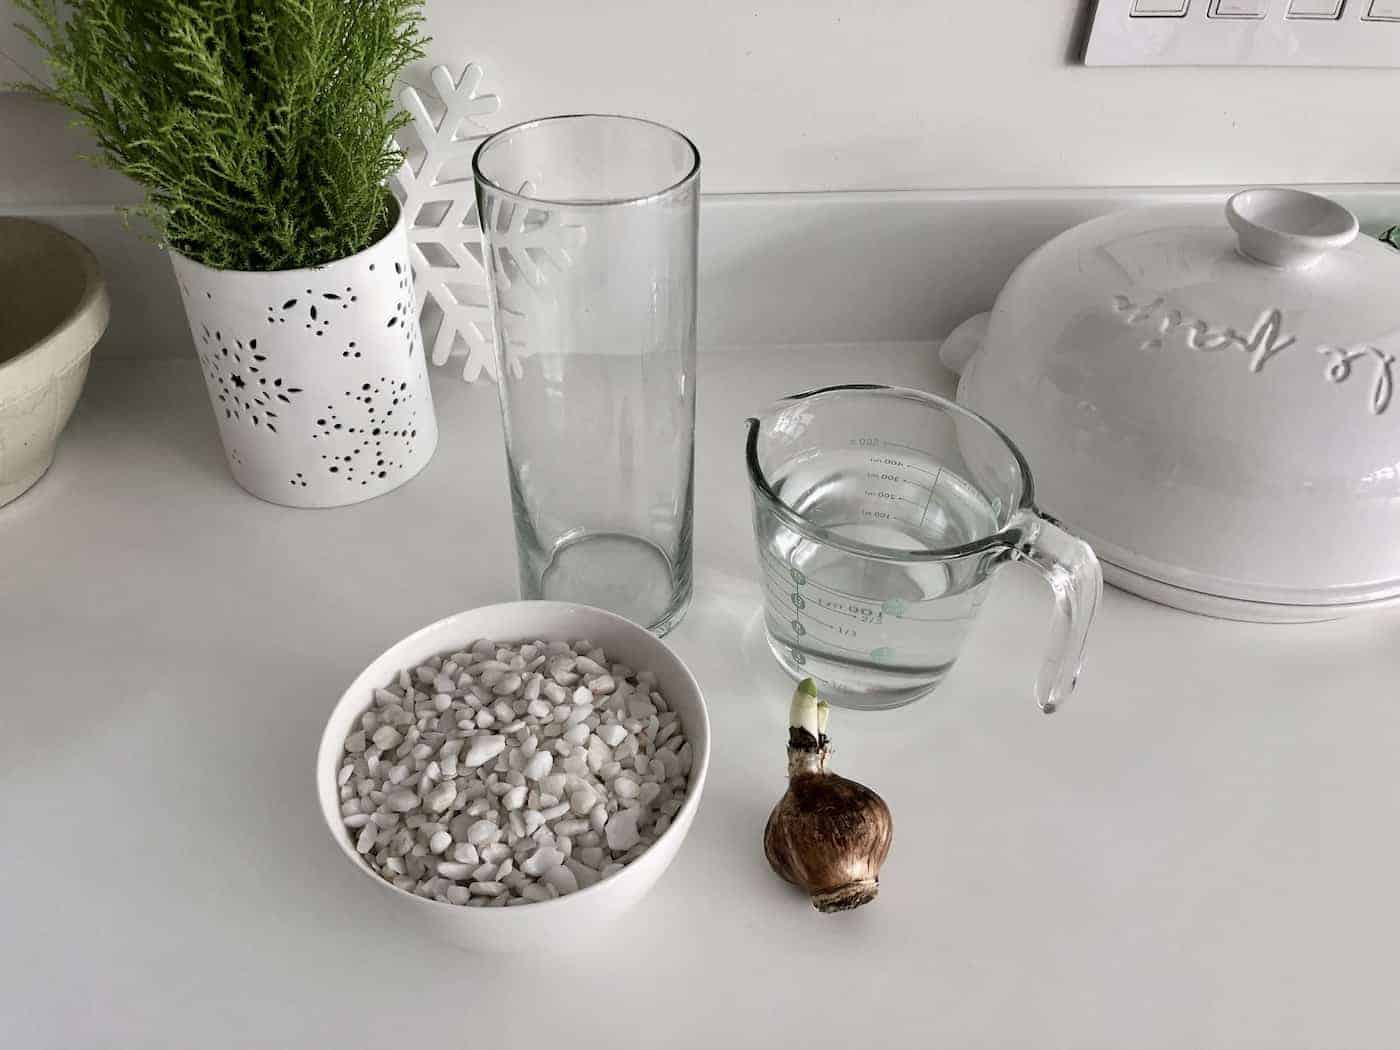
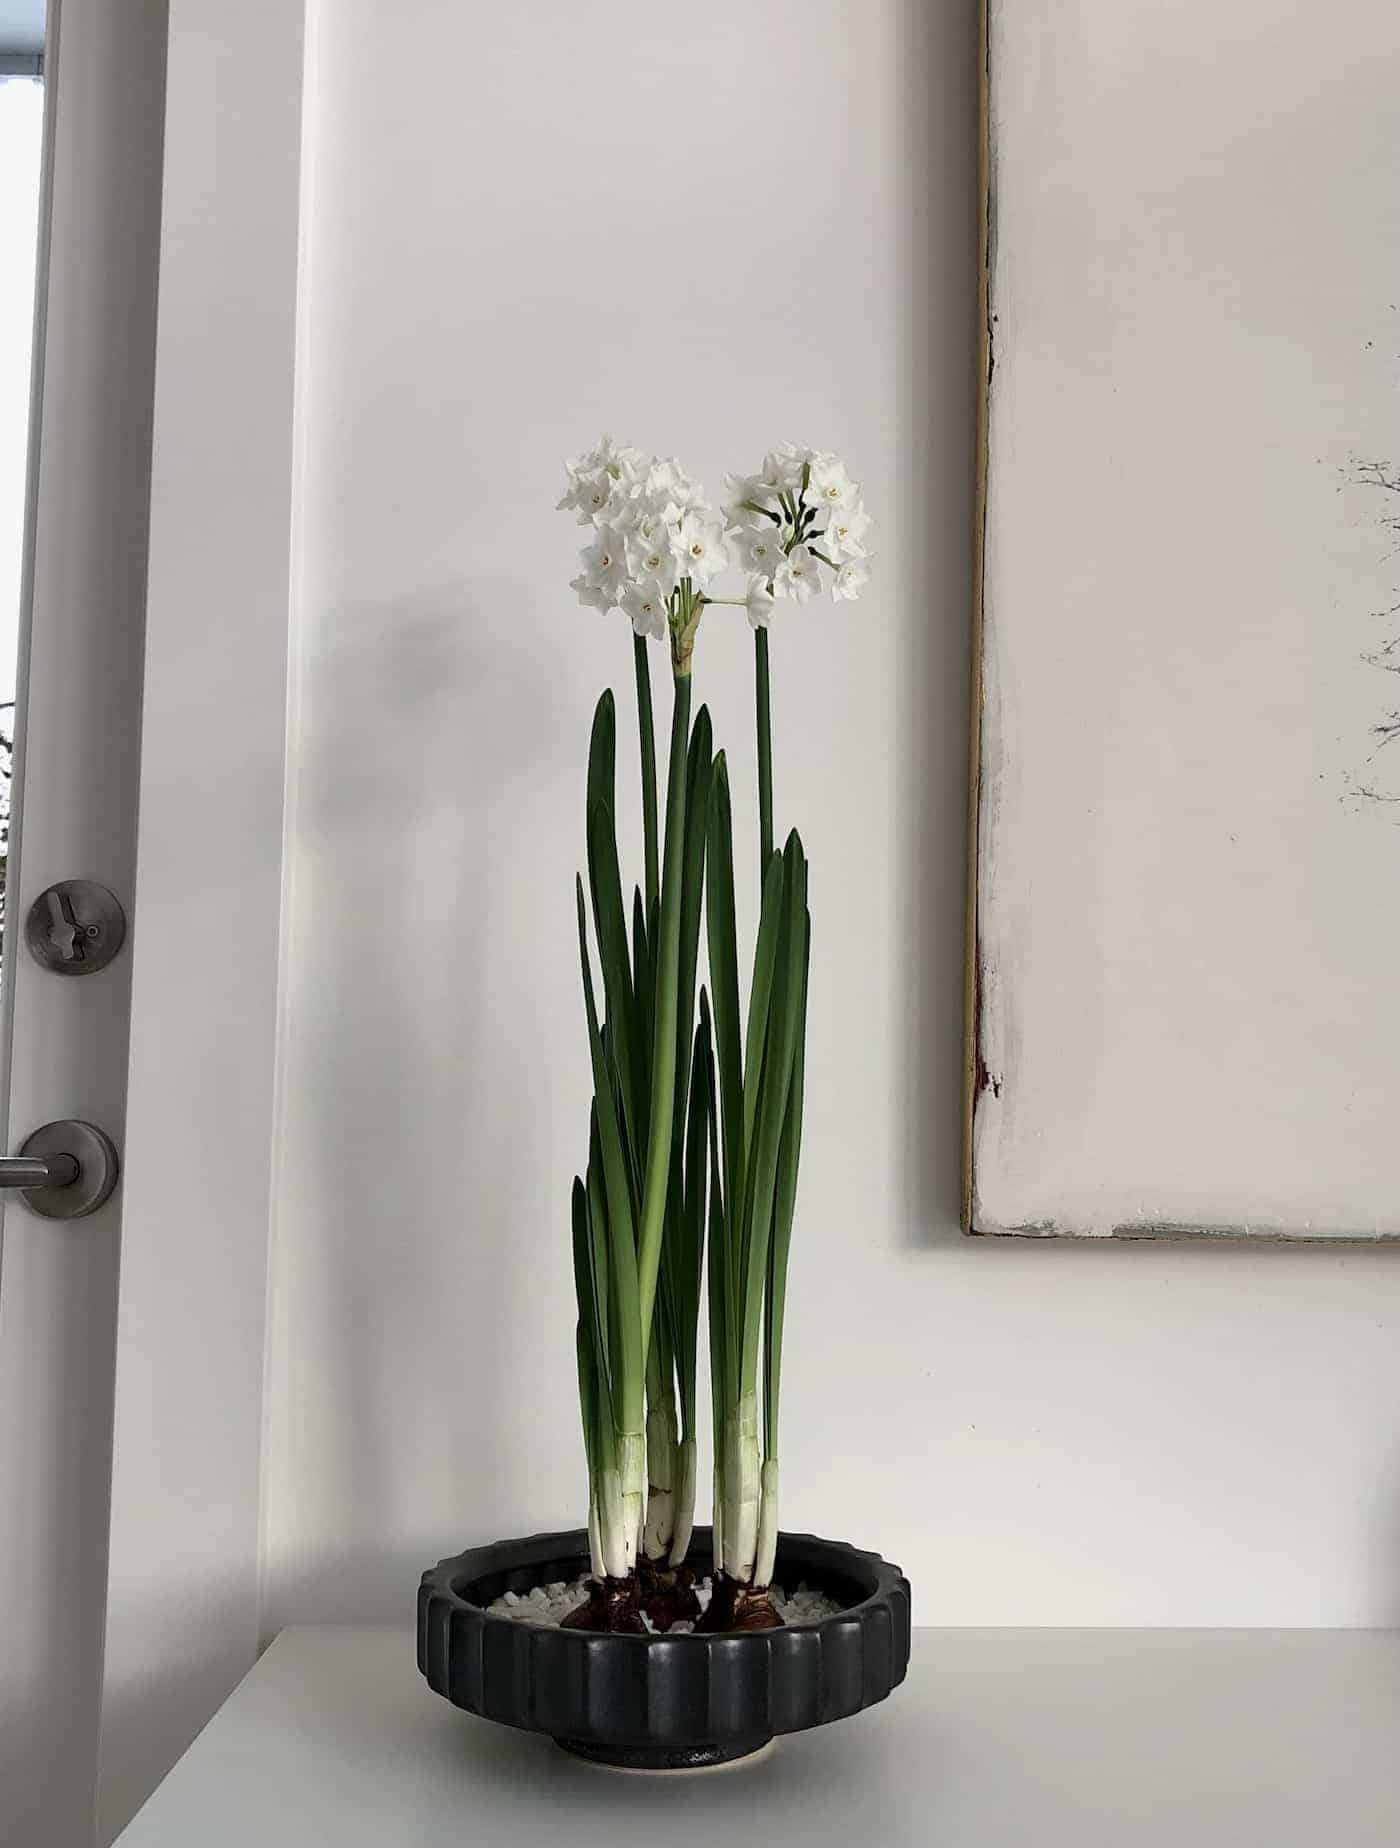
Paperwhite bulbs grow well when planted in pebbles, glass marbles, pea gravel, or other similar growing media. This is perhaps the most common way to plant bulbs at home. Paperwhites can be planted in shallow bowls but are also commonly grown in glass vases with straight sides, so their roots can be observed growing through the pebbles.
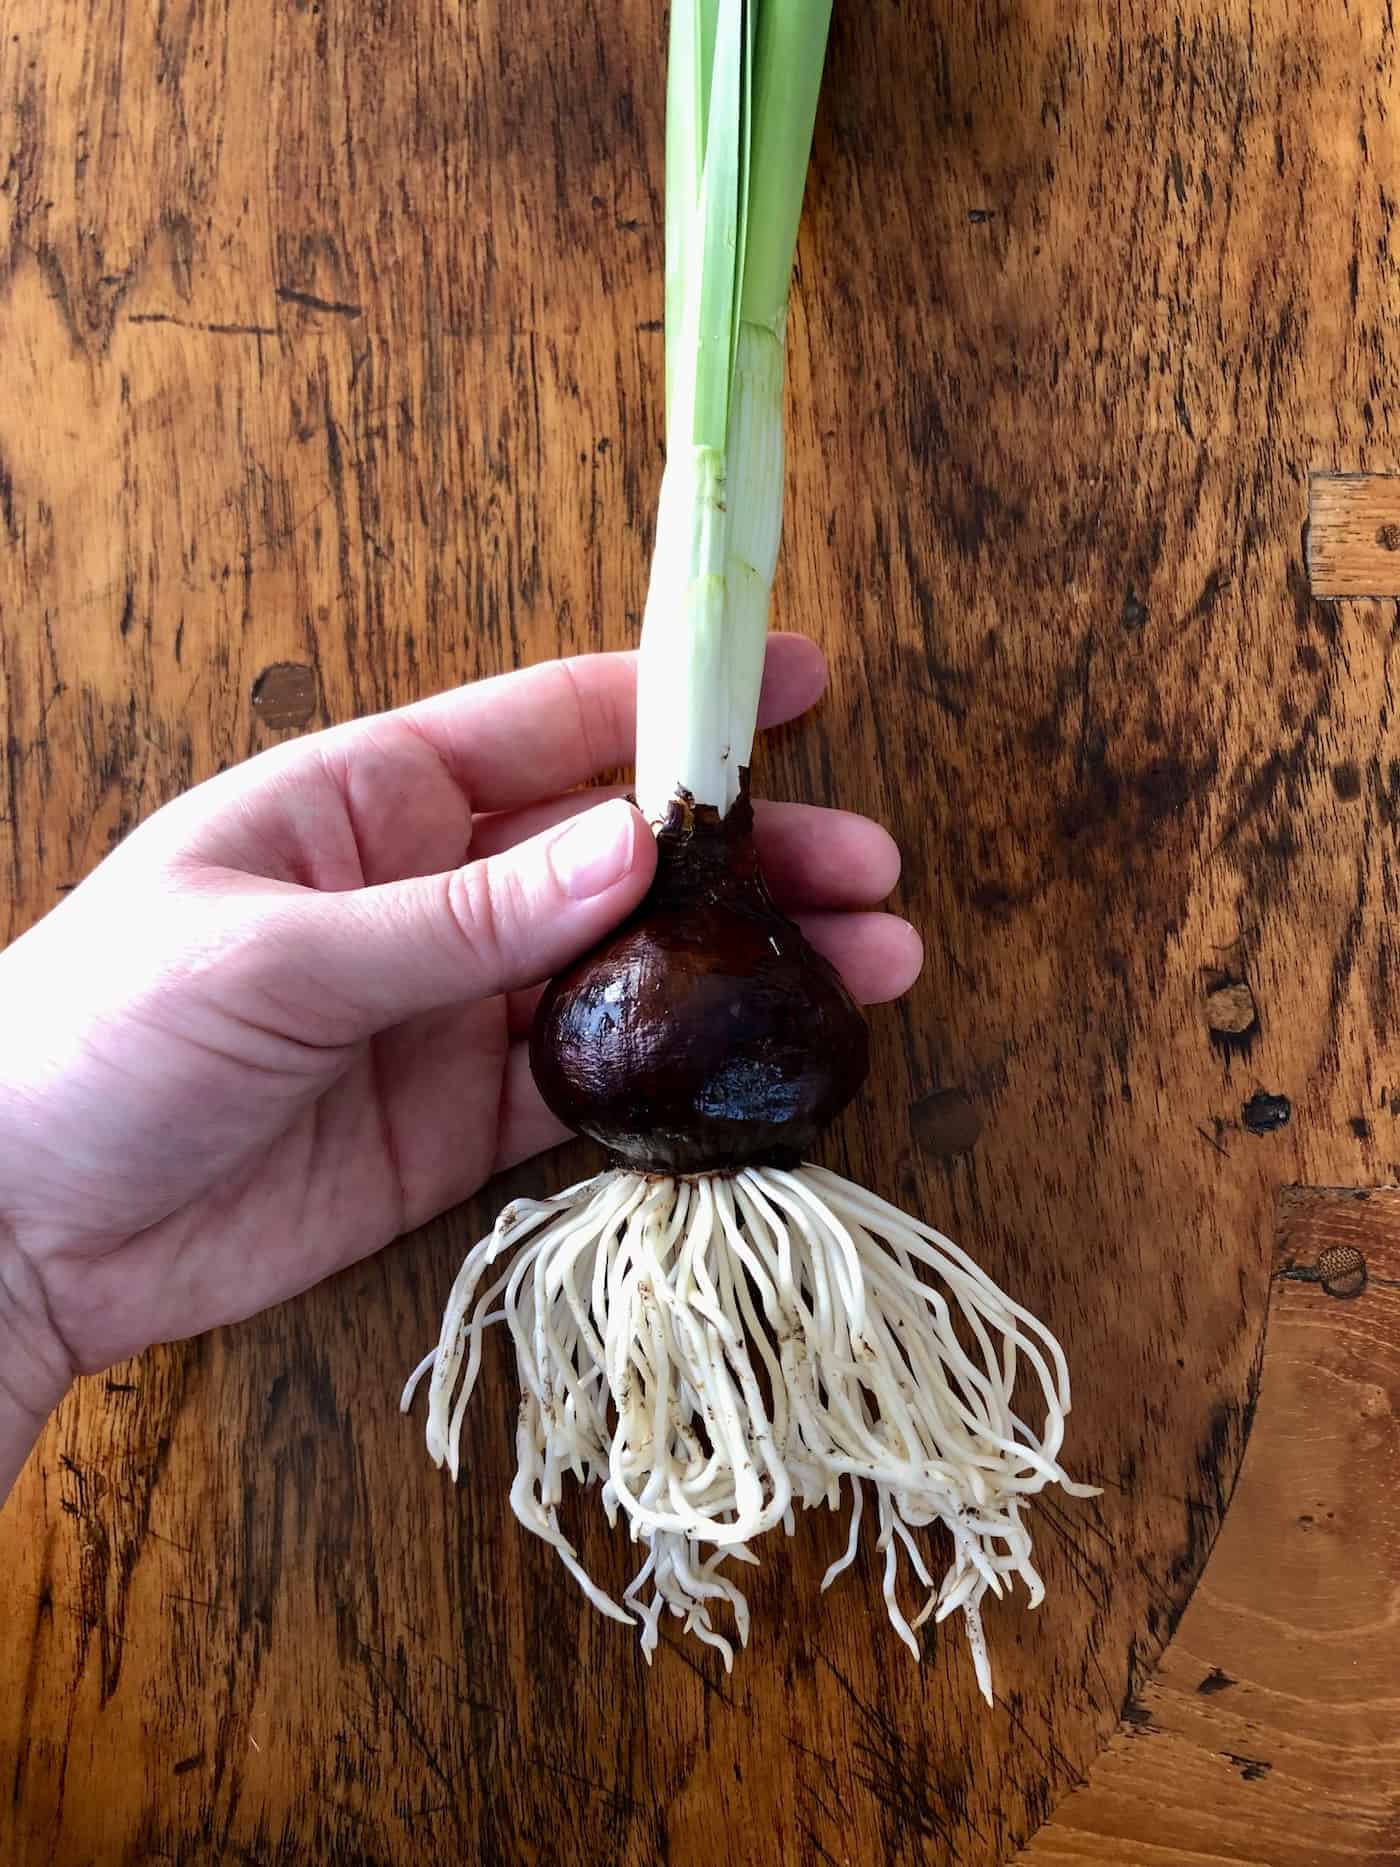
Paperwhite plants have white-colored roots, so choose dark pebbles to highlight the roots or choose white pebbles to camouflage them. Here are some options for planting:
- Clear round glass marbles
- Natural polished black river rocks
- White angular pebbles
- Clear ice cube gem vase filler
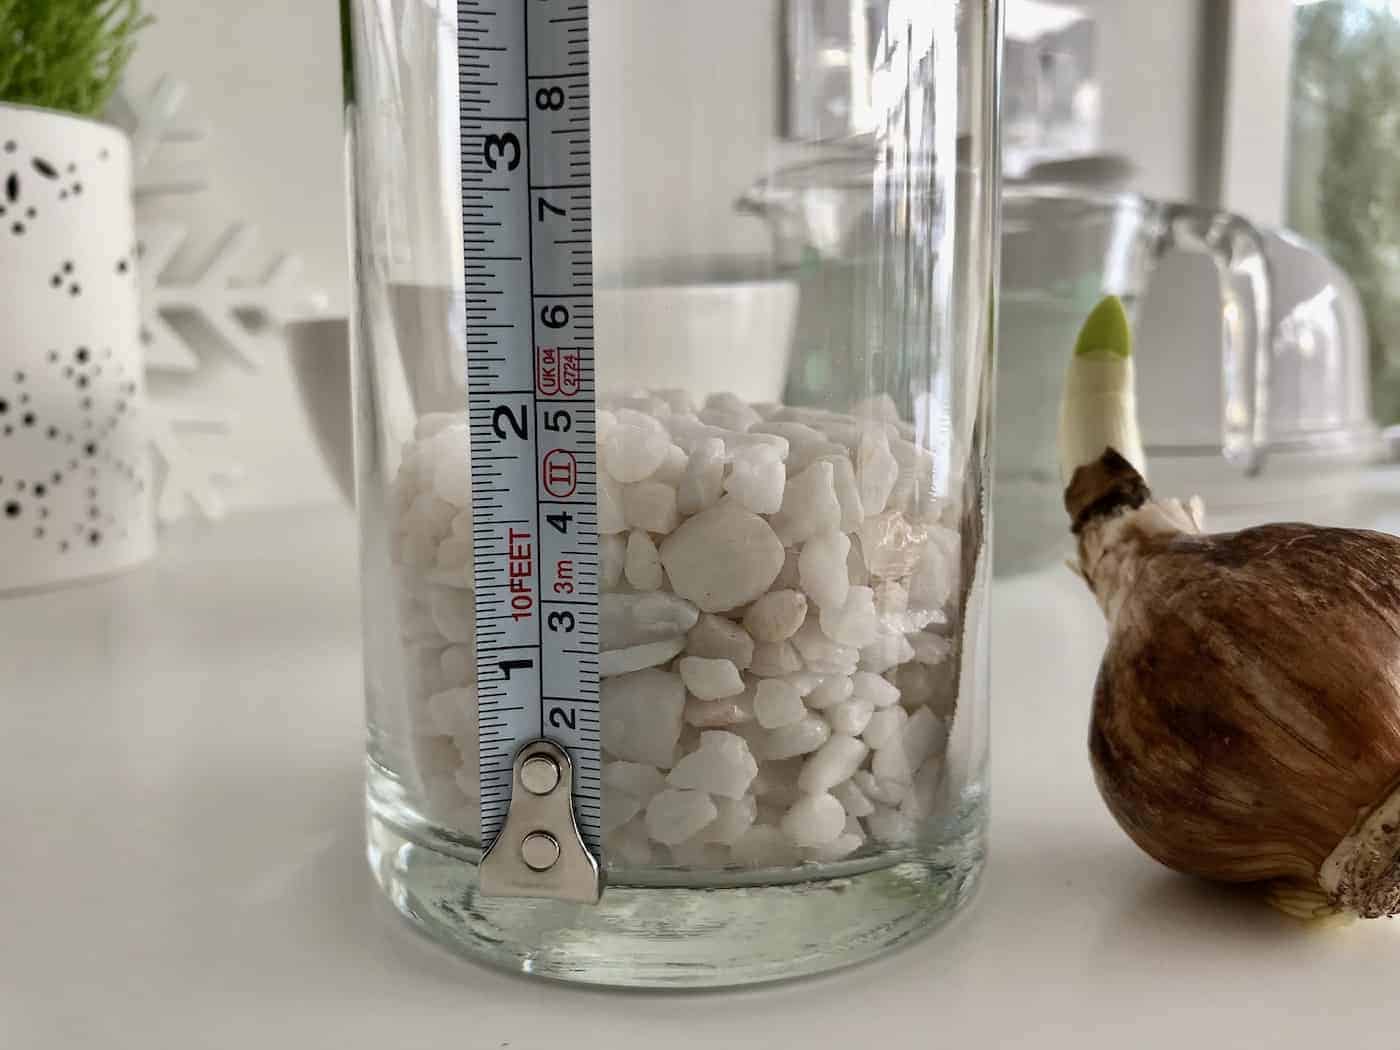
Start by filling the bottom of the vase with pebbles. Shallow vases can be filled to a shallow pebble bed depth of 1″ deep, while taller vases can be filled with 4″ or more. A pebble depth of 2″-3″ seems to work nicely for most vases.
Slowly add water to the vase until the water level is just at the top of the pebbles. If the water level is higher than the pebbles, pour off some of the water. The water should be level with the pebbles at the top.
Once the water is level with the pebbles, place the Paperwhite bulb on top of the bed of pebbles. The flat end will grow roots and should be at the bottom, while the pointy end will grow the stems and should be pointed upwards. The bottom of the bulb should be touching the water, but not very much of the bulb itself should be submerged. If the main part of the bulb sits in standing water, it may rot before the flowers can bloom.
You can either add additional rocks around the sides of the paperwhite bulb to hold it in place or simply leave the bulb propped on the bed of rocks. The bulb will stay in place more easily as it establishes roots if some rocks are holding it up, but adding rocks on the sides can make it harder to keep the water level right at the base of the bulb until the roots are long enough to reach down into the rocks below. If you do add pebbles around the sides of the bulbs to anchor them, be sure to leave the tops of the bulbs exposed (don’t bury them completely).
How to plant Paperwhite bulbs in water
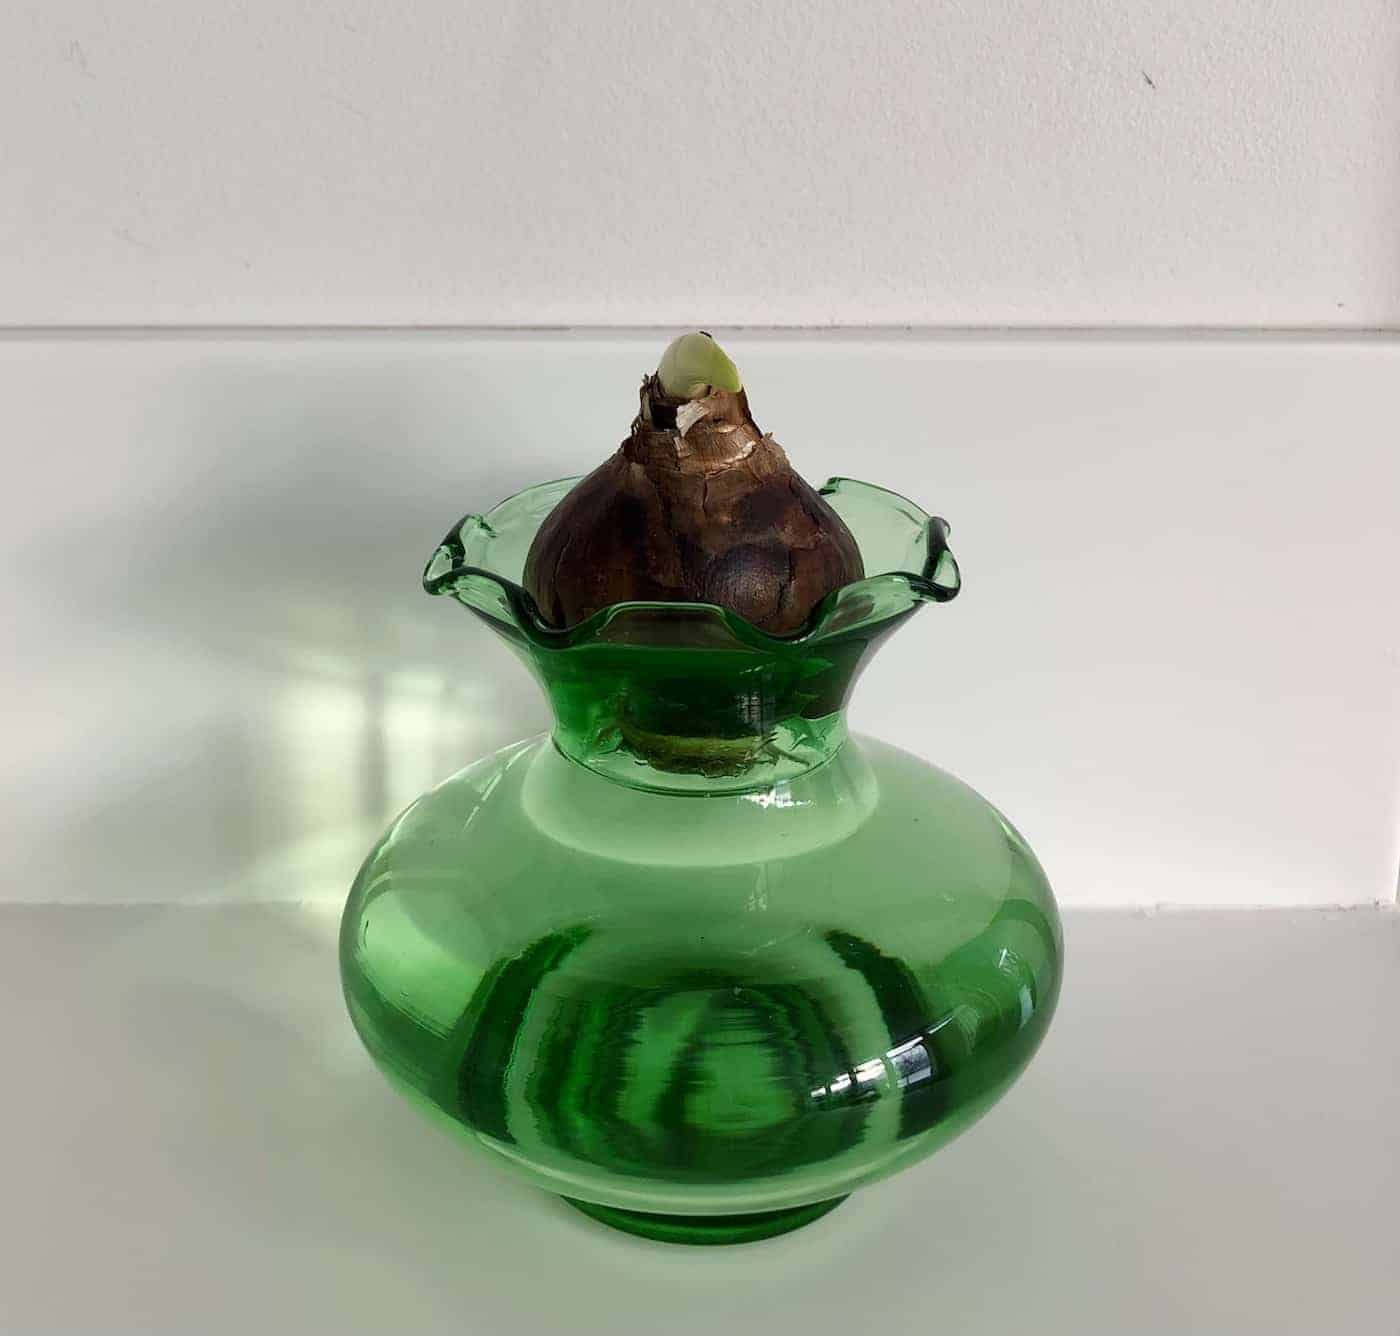
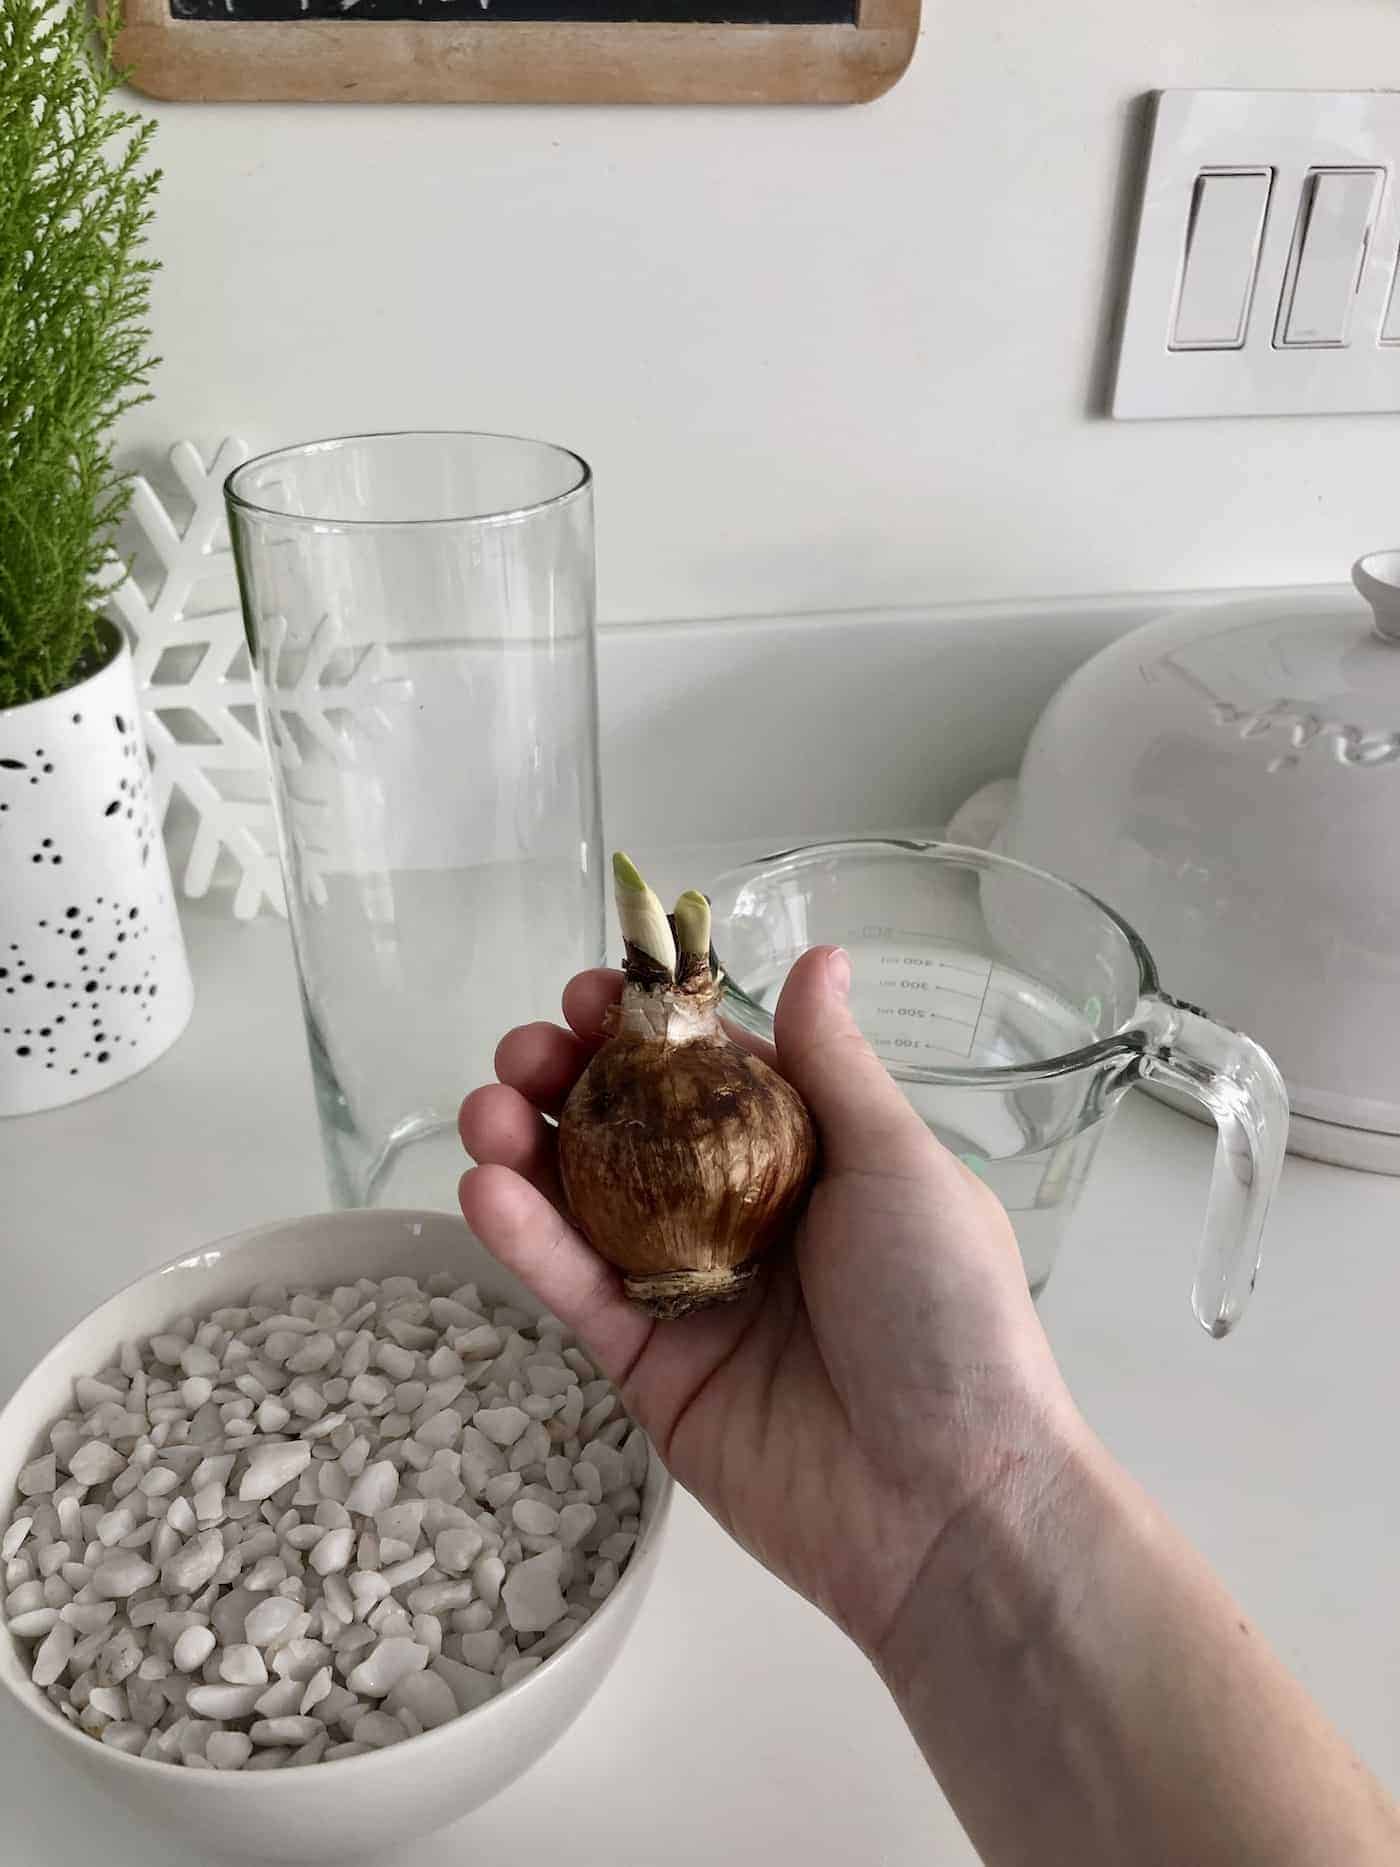
Paperwhite bulbs can also be sprouted in water alone. To plant Paperwhites in water, you’ll need a vase with an hourglass shape that will hold the bulb right above a reservoir of water below it. Special “bulb vases” are specially made for this purpose, or you can use an hourglass-like vase or water glass from the thrift shop.
Start by soaking the Paperwhite bulb in clean water for about an hour. Then rinse off the bulb and set it on a cloth for an hour or two to dry. While pre-soaking the bulb is not necessary, it can help to kick-start the spouting process by signaling to the bulb that water is now available and it’s time to start growing roots.
Fill the glass bulb vase with clean fresh water so that the water level is just below the narrowest point in the middle of the vase. Place the bulb into the bulb vase. The bottom of the bulb should be just barely touching the surface of the water. If water is rising up the sides of the bulb, pour off some of the water so the thin base of the bulb is just touching the surface of the water.
As the bulb starts to grow roots down into the water reservoir, reduce the water level so that the base of the bulb is not touching the water at all. The roots should extend easily down into the water reservoir, but the actual bulb should not be sitting in standing water.
How to plant paperwhite bulbs in potting soil
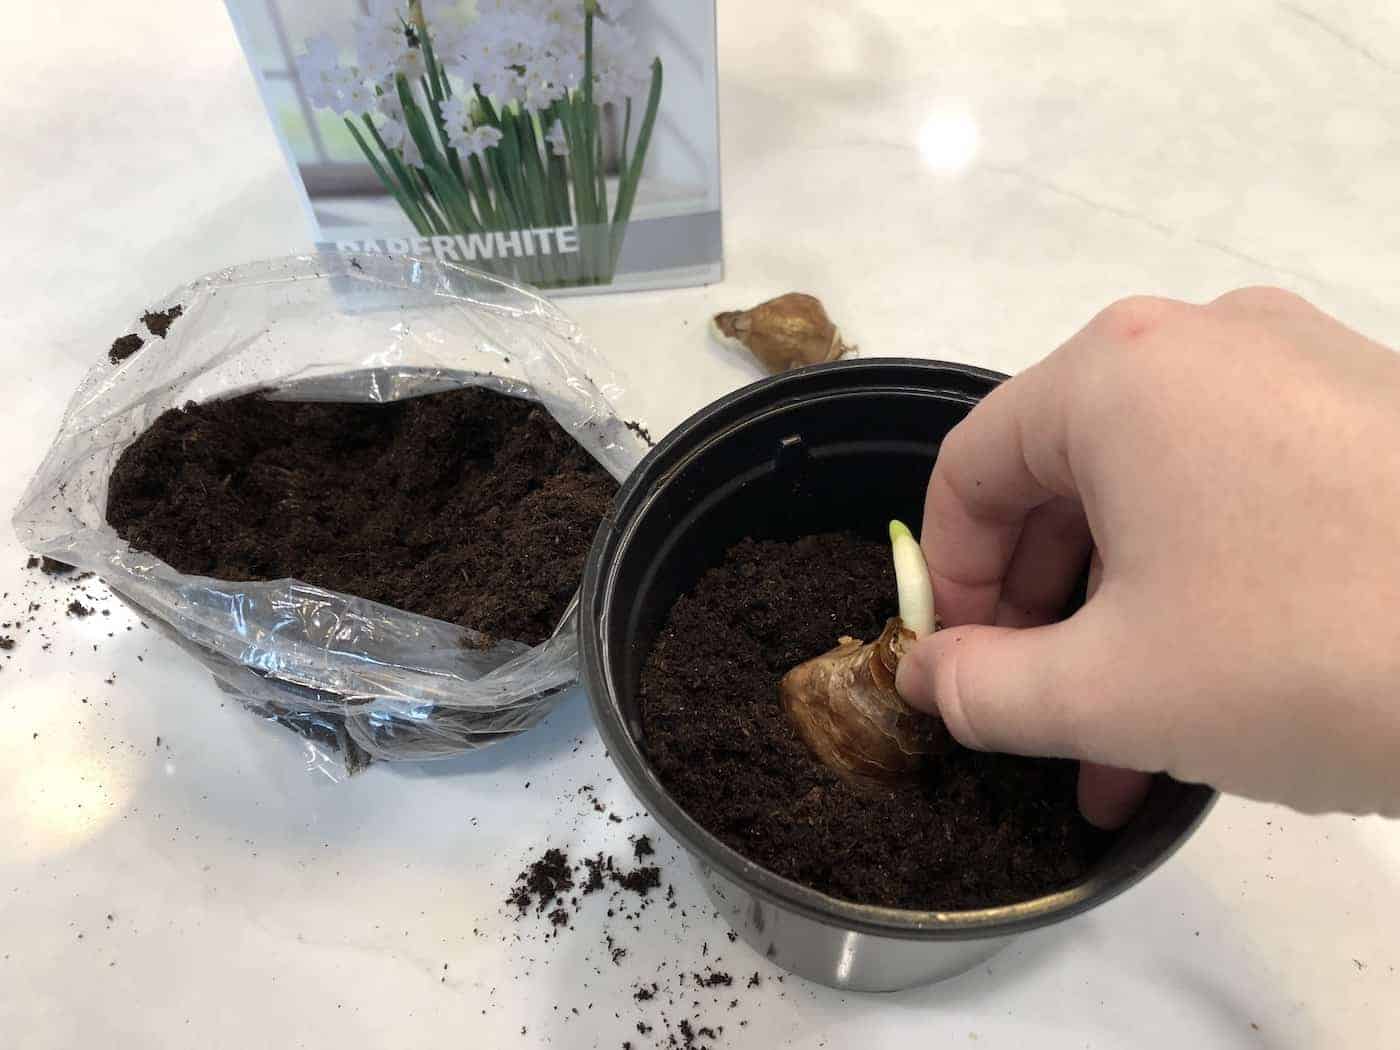
Paperwhite bulbs are commonly planted with potting mix inside small planter pots. Potted paperwhite flowers sold at supermarkets are generally planted in soil, as are Paperwhite bulbs sold in kits at garden centers around the holidays. Many kits include potting mix and a small planter pot, and most kits include bulbs of the reliable Paperwhite variety ‘Ziva’.
Paperwhite bulbs are generally planted in pots that are 4″-8″ deep. A common planter size is a 6″ wide and 6″ deep planter, which easily holds 3-4 Paperwhite bulbs. These bulbs don’t really need a deep planter at all (a shallow bowl will usually work just fine). Look for a planter with a drainage hole to allow excess water to escape out the bottom. If you’d like to use a planter without a drainage hole, it is much easier to use pebbles than potting soil (see earlier section for instructions).
Paperwhite bulbs are not particularly fussy about their soil but do grow best in a loose potting mix. These high-quality mixes are generally made of coco coir and/or peat moss with some perlite or lava rock mixed in for soil aeration.
Start by filling the bottom of the planter with potting mix. If the potting mix is quite dry, it can help to add some moisture to it before adding it to the planter. Leave about 2″ of remaining depth in the pot for the bulbs. Then place each bulb on the bed of potting soil with the pointy end up. Add potting mix around the sides of the bulbs to hold them upright, but leave the tips of the bulbs open to the air. Water the planted bulbs thoroughly after planting, checking to ensure that excess water is draining easily out of the bottom of the planter.
“I prefer to pot my paperwhite bulbs just as I would any Dutch bulb being forced: with potting soil and a topdressing of sheet moss or pebbles to hold them in.”
Mastering the Art of Flower Gardening: A Gardener’s Guide to Growing Flowers, from Today’s Favorites to Unusual Varieties, by Matt Mattus
When to plant paperwhite bulbs
Paperwhite bulbs are commonly planted during the months of October to February. Bulbs planted in October and November tend to take 6-8 weeks after planting to bloom, while those planted in January or February typically bloom in under a month, as the bulbs have had more time in storage to develop the flower buds housed inside the bulb.
For blooming paperwhites at Christmas, plant your bulbs around Thanksgiving. Bulbs planted in early December generally don’t bloom in time for Christmas and will likely flower early in the New Year. Paperwhites planted in mid-January typically bloom around Valentine’s Day.
Bulbs can be purchased in large packages so that the bloom time can be spaced out over the winter. Plant a new batch of bulbs every two weeks starting in October to have a continuous display of Paperwhites throughout the holidays and into the New Year.
Spacing for paperwhite bulbs
Paperwhite bulbs are generally planted with about an inch or two of space between them. That said, they can be planted even closer together in planters if they do not touch each other significantly. Give each bulb a bit of space to breathe, but they can be packed in quite tightly in pots. Paperwhite bulbs planted in outdoor soil in the ground in warm climates are generally spaced 4″-6″ apart.
Pickling paperwhites
Paperwhites are sometimes “pickled” in their vase as they begin to sprout. “Pickling” paperwhite bulbs involves watering them with a mixture of clear alcohol and water for the first week to stunt their growth. The shorter stems are less likely to fall over (paperwhites falling over is a common problem).
To pickle paperwhites, make a solution of a 1/4 cup of clear alcoholic spirit (vodka, gin, et cetera) with 2 cups of fresh, clean water. When the bulbs have sprouted to about 2″ high in clean water, pour off the clean water and replace it with this dilute alcohol solution.
Keep filling the vase with this solution so the roots sit in the solution, but the bulb is held above the liquid. The “pickled” paperwhites should only grow to about 2/3 of their expected height.
Caring for paperwhite plants
After planting, requirements are quite low-maintenance in terms of paperwhite care. Place newly planted Paperwhite bulbs in a cool indoor location with good air circulation and preferably out of direct sunlight. Once the roots and sprouts are visible, the planted bulbs can be moved to a sunnier, warmer spot.
Paperwhites grown in water should be kept at a level where the water barely touches the bottom of the bulb. Once roots have sprouted, keep the water level below the bottom of the bulb so only the roots extend down into it.
For Paperwhites grown in a potting mix, keep the soil slightly moist. The bulbs will not need to be watered too often during the first few weeks but will become thirsty as the leaves and stems are growing quickly.
Blooming period for Paperwhite bulbs
Paperwhite bulbs generally take about 4-6 weeks to bloom after planting. Paperwhite bulbs planted in early fall may take 6-8 weeks to flower, while Paperwhite bulbs planted in January may only take 2-3 weeks to bloom. The longer a Paperwhite bulb has been in storage, the shorter the time period between planting and blooming. Paperwhite flowers typically last two on the stem.
Planting Paperwhite bulbs outdoors
Paperwhite bulbs can be planted outdoors in areas with warm Mediterranean climates. These plants are winter-hardy in Zones 8-11, making lovely perennial plants.
To plant paperwhite bulbs outdoors, look for a planting location with soil that drains water easily and receives at least 6-8 hours of direct sunlight daily in the spring. Plant each bulb about 6″ deep in the ground. Bulbs can be planted as close as 4″-6″ apart. Fertilizer can be added during planting or applied during the spring. Let the foliage die back to the ground naturally once the Paperwhites are done flowering. Then remove the dead foliage and try not to water or fertilize the bed too much while the bulbs lay dormant during the heat of summer.