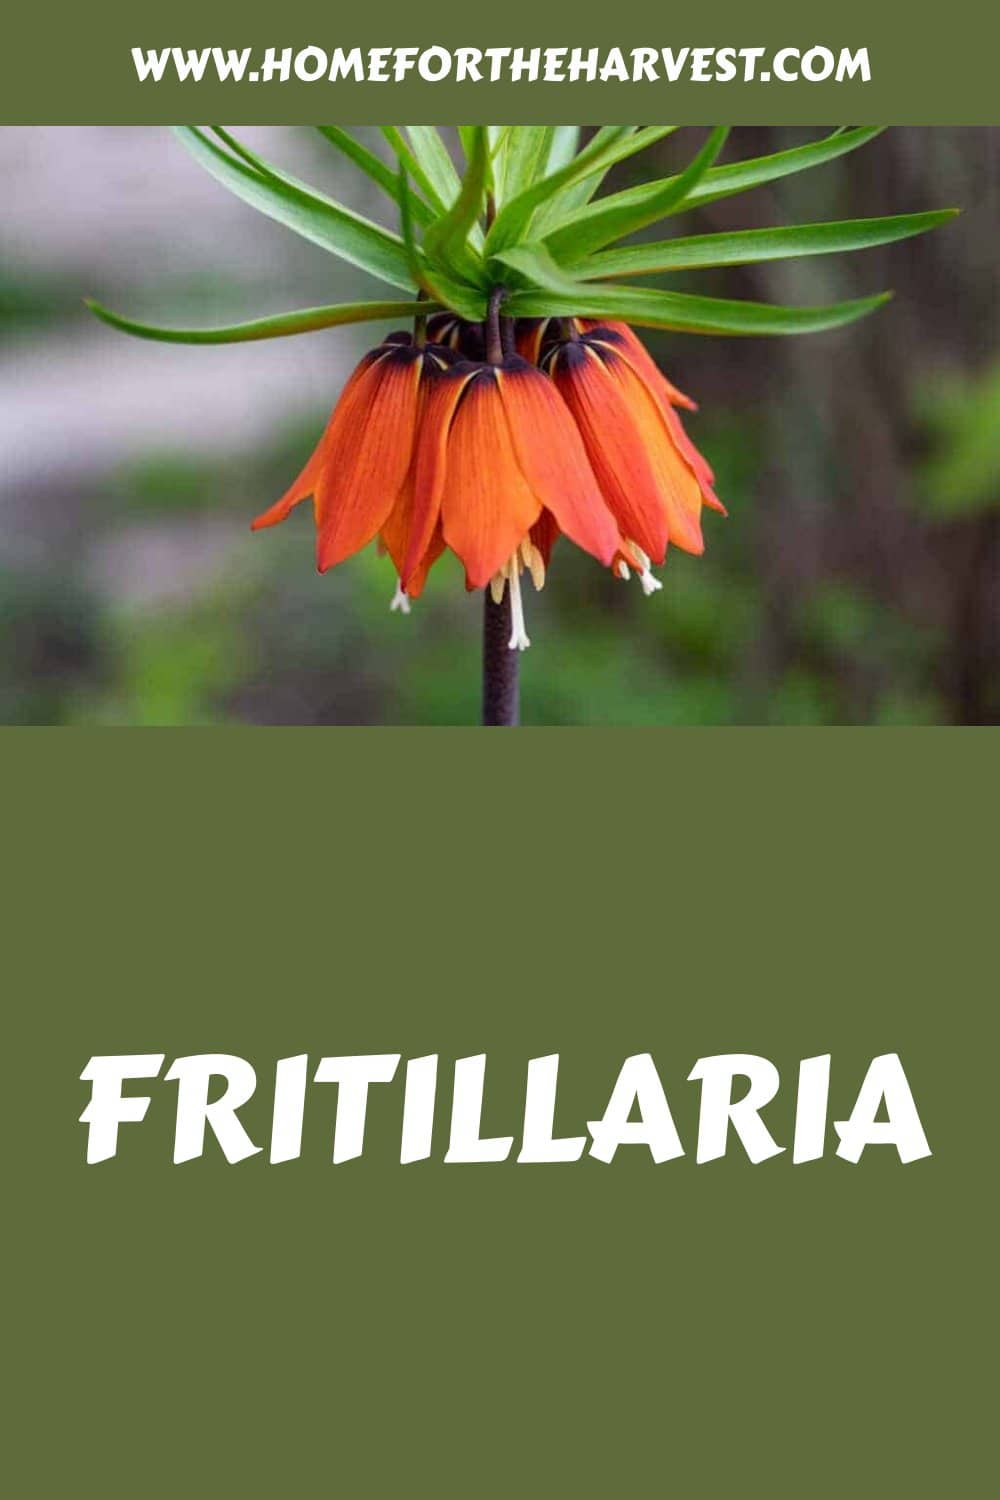
Fritillaria flowers are known for their striking shapes and very early spring blooming time. These flowers have been recorded in artwork and religious emblems as far back as the 15th century. The delicate Fritillaria flower has a lot more going on than you might think.
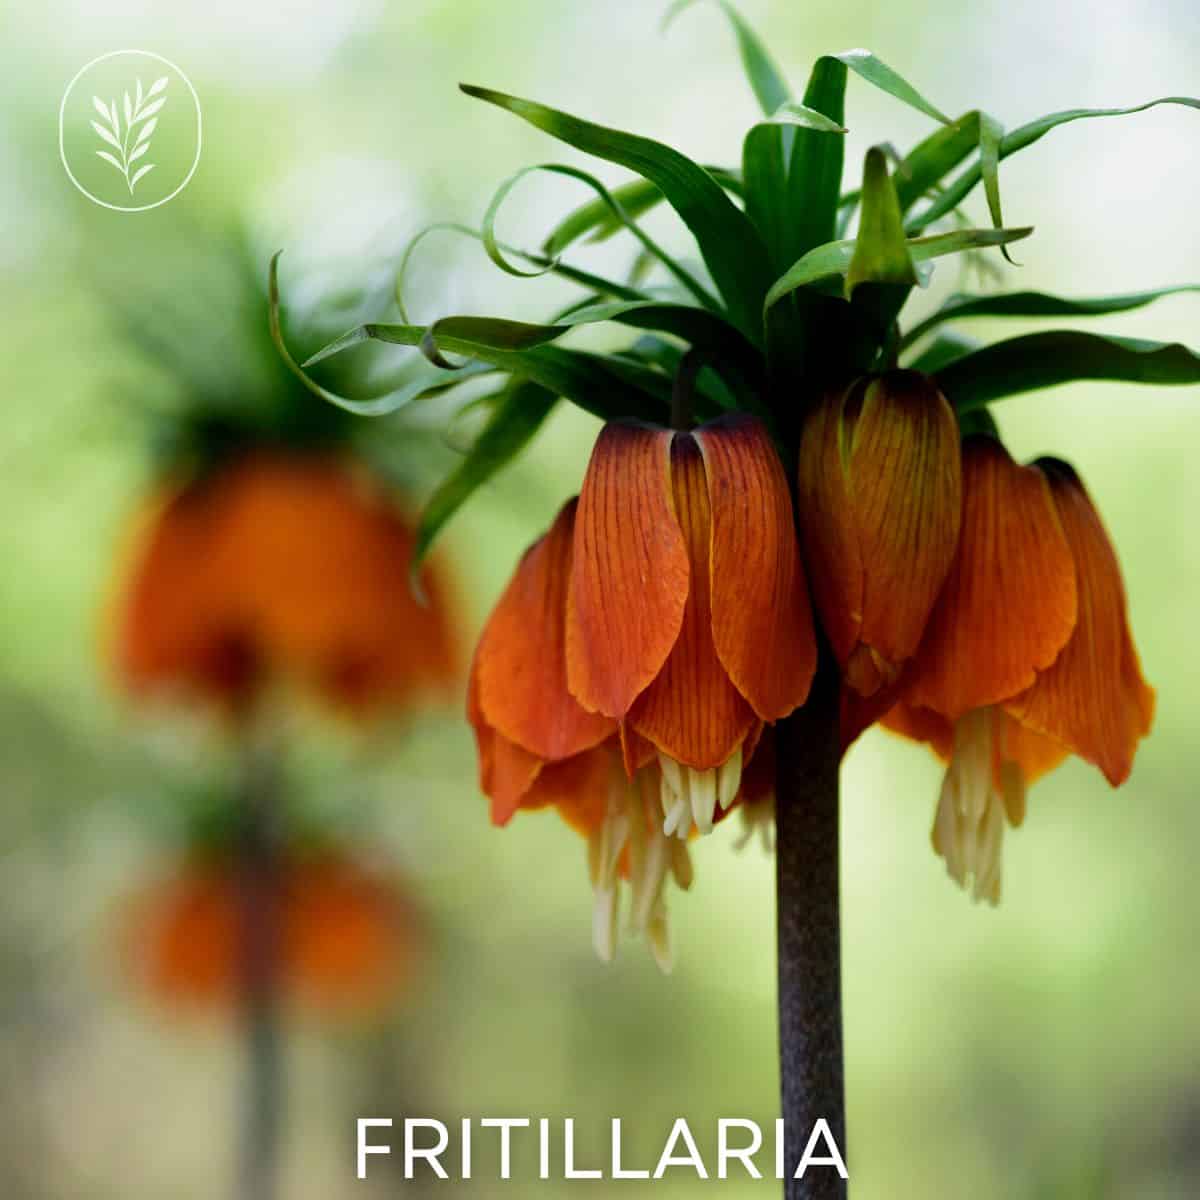
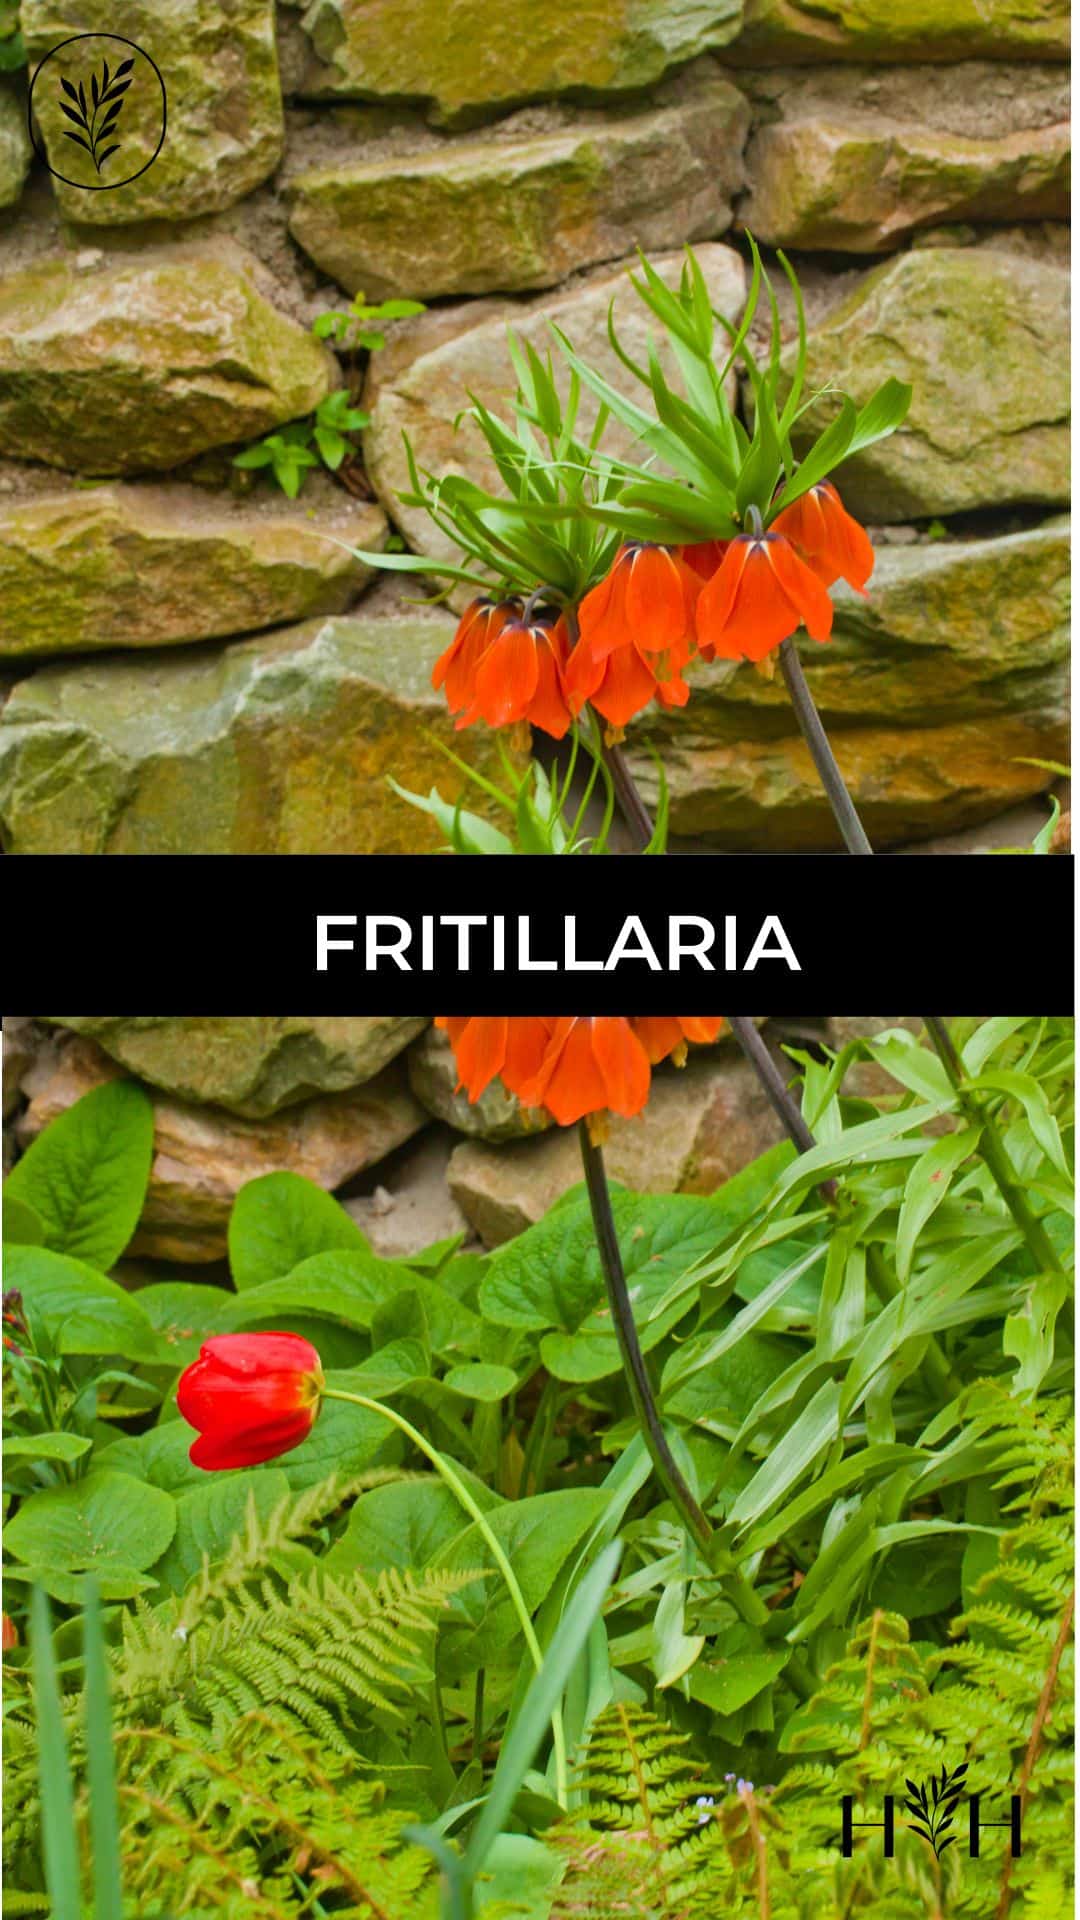
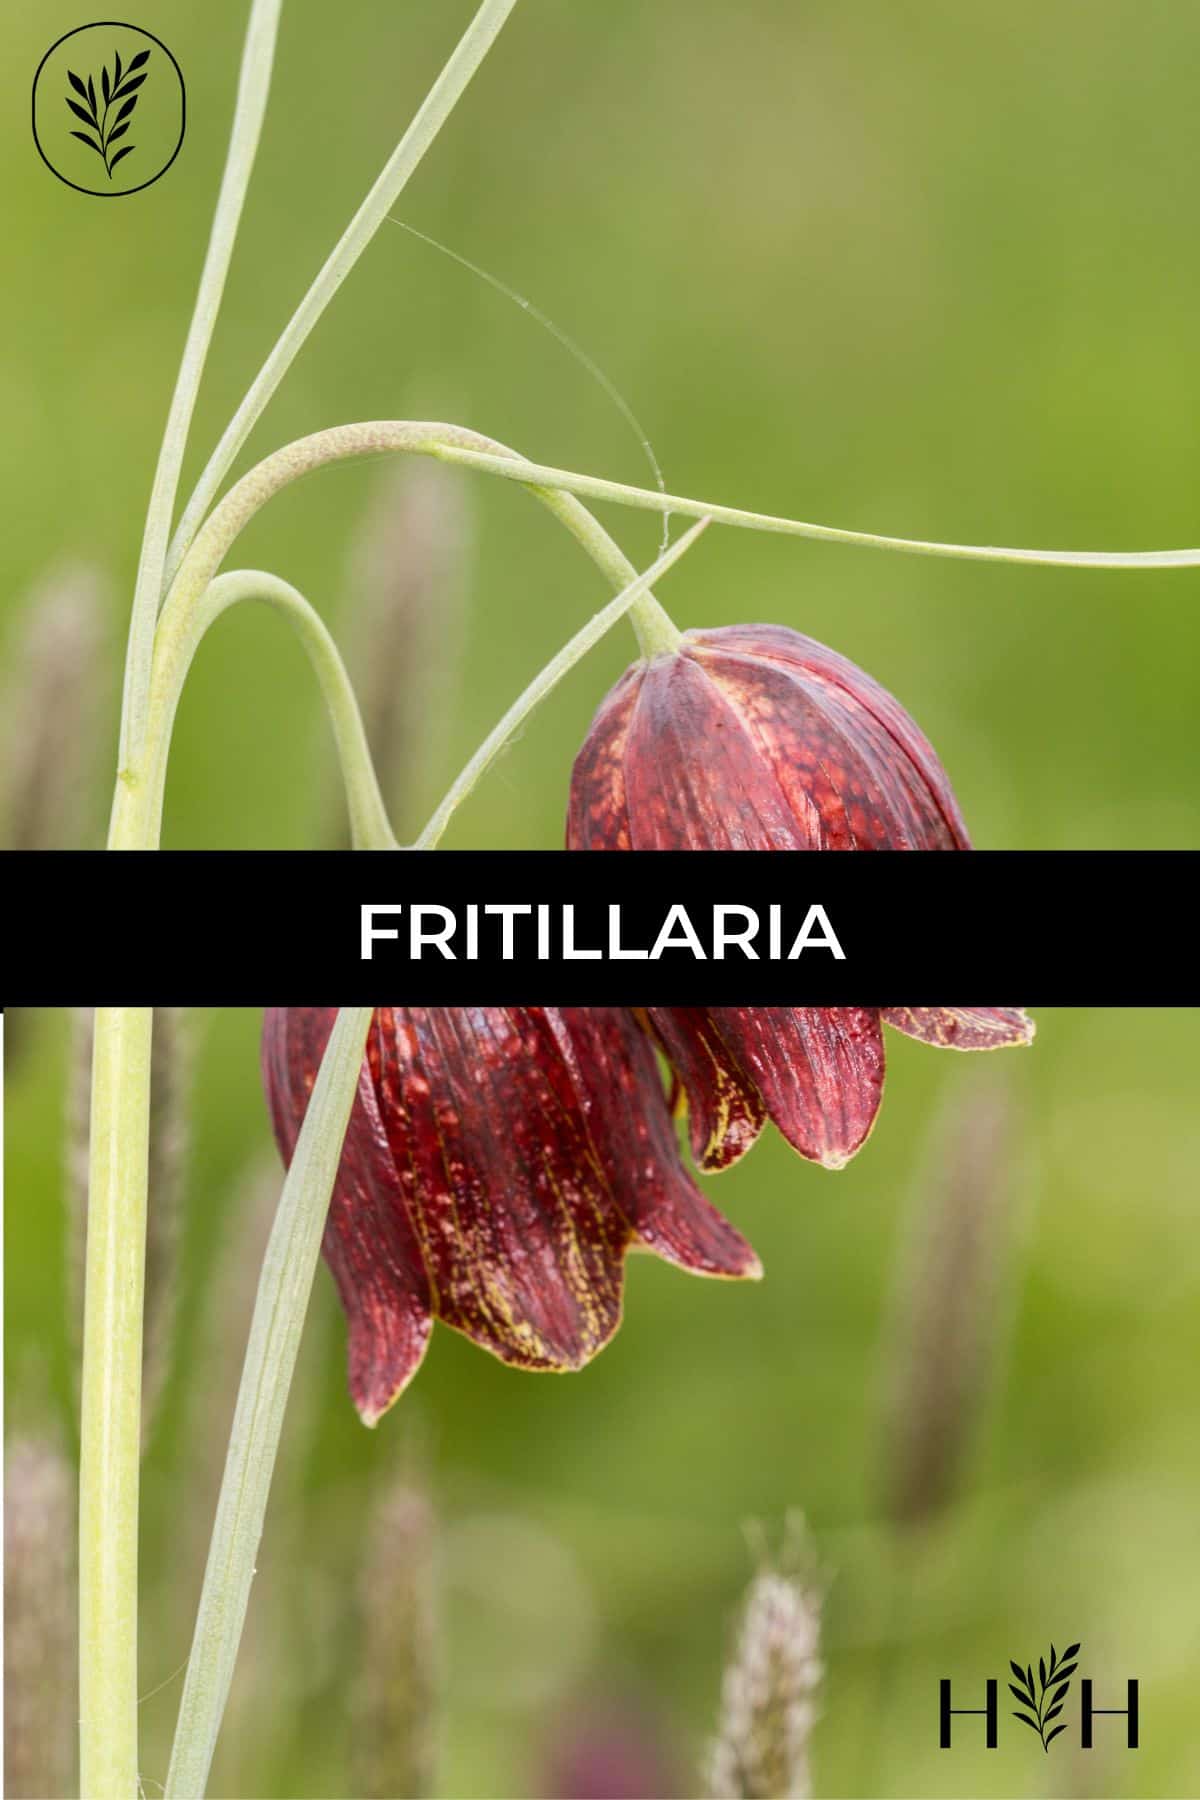
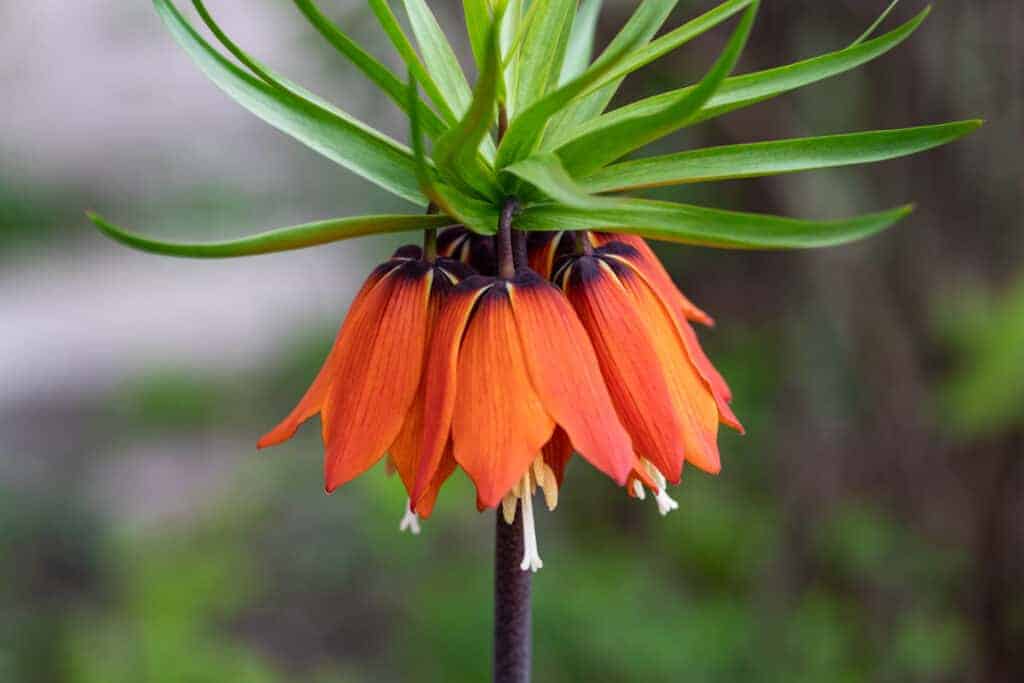
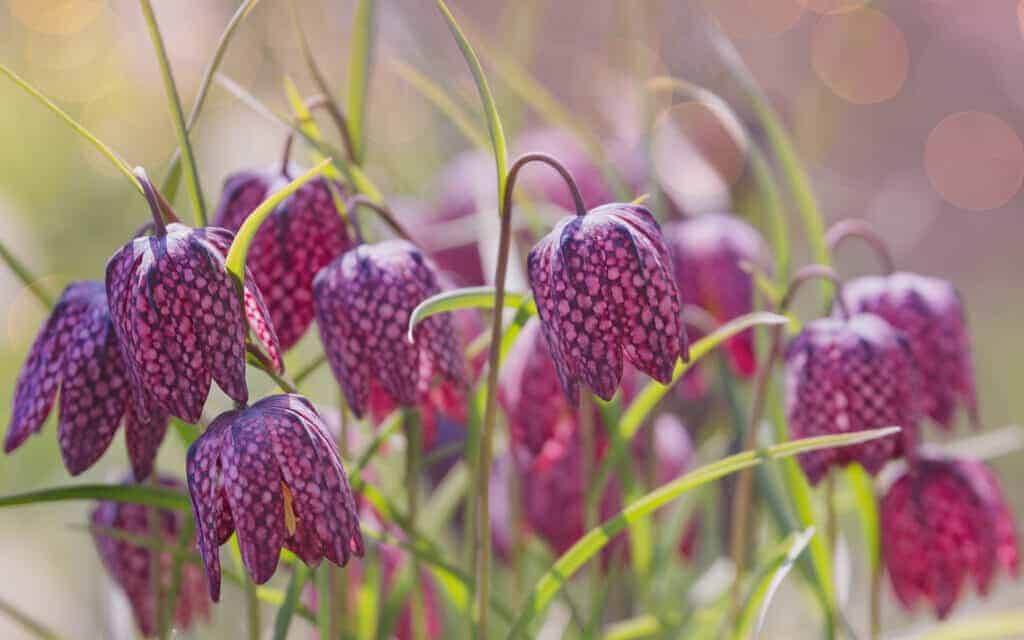
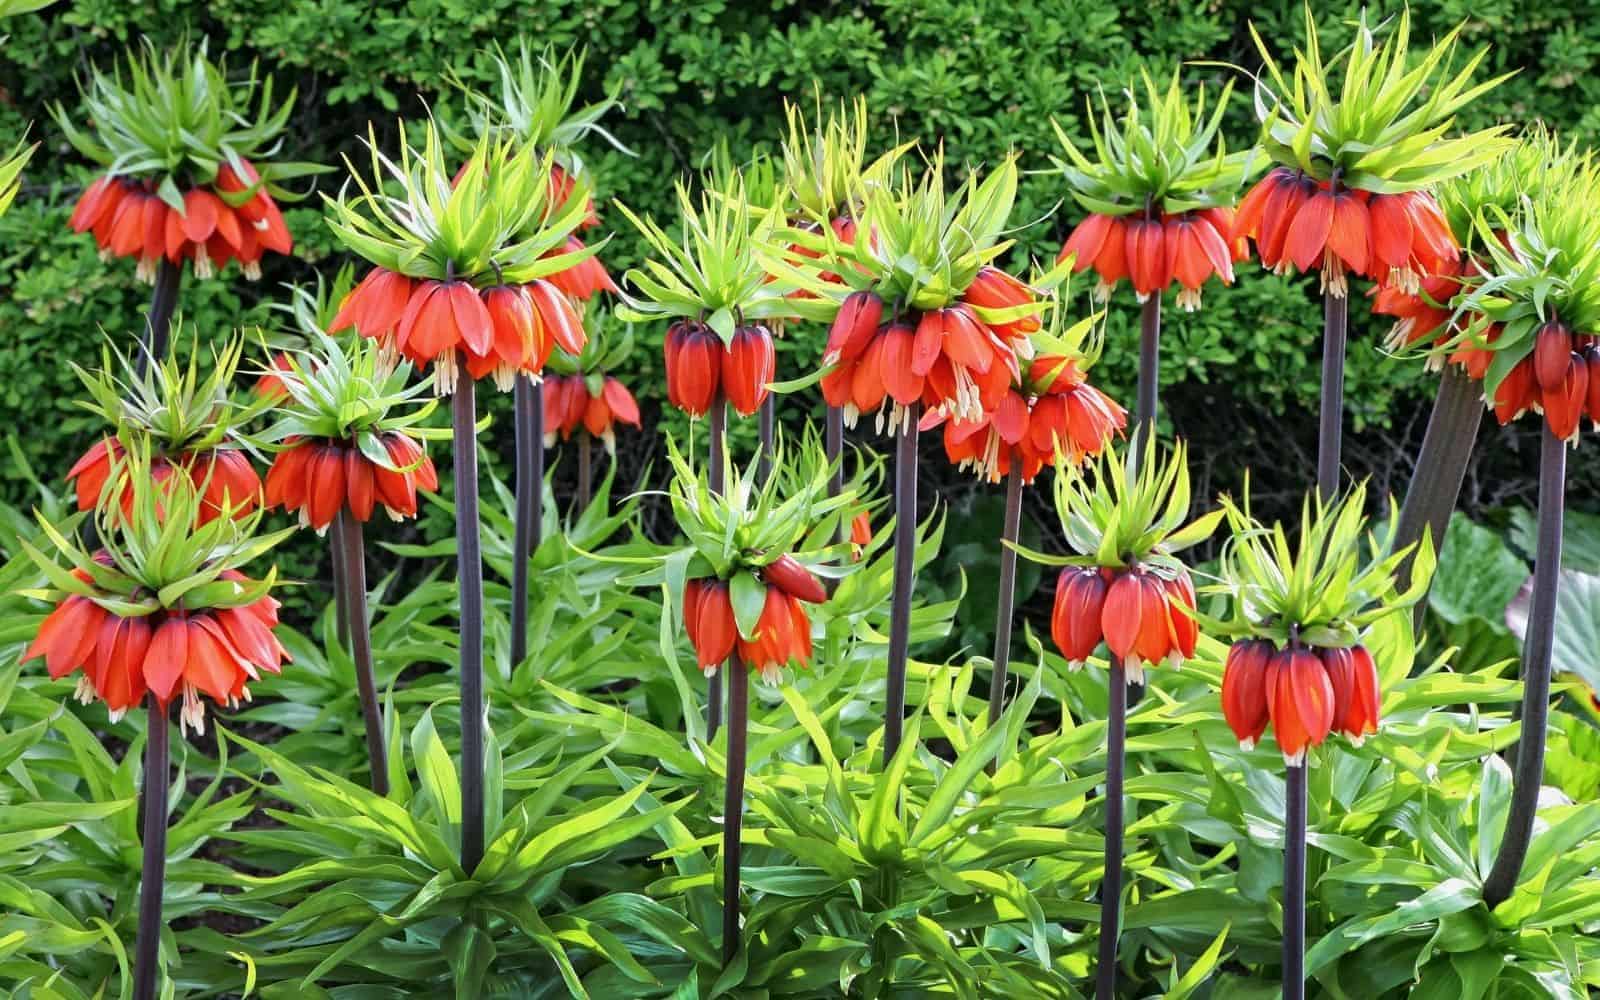
Fritillaria is a genus of bulbous, perennial spring-blooming flowers found throughout the Northern Hemisphere. These plants are similar to the lily flower, with a single bell-shaped bloom per stalk. These ornamental plants are used in commercial horticulture as well as low-maintenance home landscaping. Some of the most popular types of Fritillaria are the tall, stately, Crown Imperial Fritillaria and the ethereal, nodding, checkered Guinea-Hen Fritillaria flower.
Read on to learn all about Fritillaria flowers!
Fritillaria plant basics
Fritillaria is a genus of bulbous flowers in the lily family. There are about 130-140 different types of fritillaria, divided into eight subgenera. They can be found throughout the northern hemisphere—native through Eurasia, North Africa, and the western parts of North America. First recorded in 1571 in Europe, other species from the Middle East and Asia were introduced to Europe around the same time.
Famous playwright William Shakespeare, along with other famous writers George Herbert and Vita Sackville-West, wrote romantically about fritillaries, which increased their popularity. As their works spread, the fritillaries became a favorite flower of 16th-century painters, such as Ambrosius Bosschaert and Jacob de Gheyn II. They also appeared in the art of Italian artist Jacopo Ligozzi in the late 16th century.
Popular Fritillaria types and cultivars
Here are some of the most popular types of Fritillaria to grow in your flower garden:
- Red Crown Imperial
- Rubra Maxima Crown Imperial
- Orange Crown Imperial
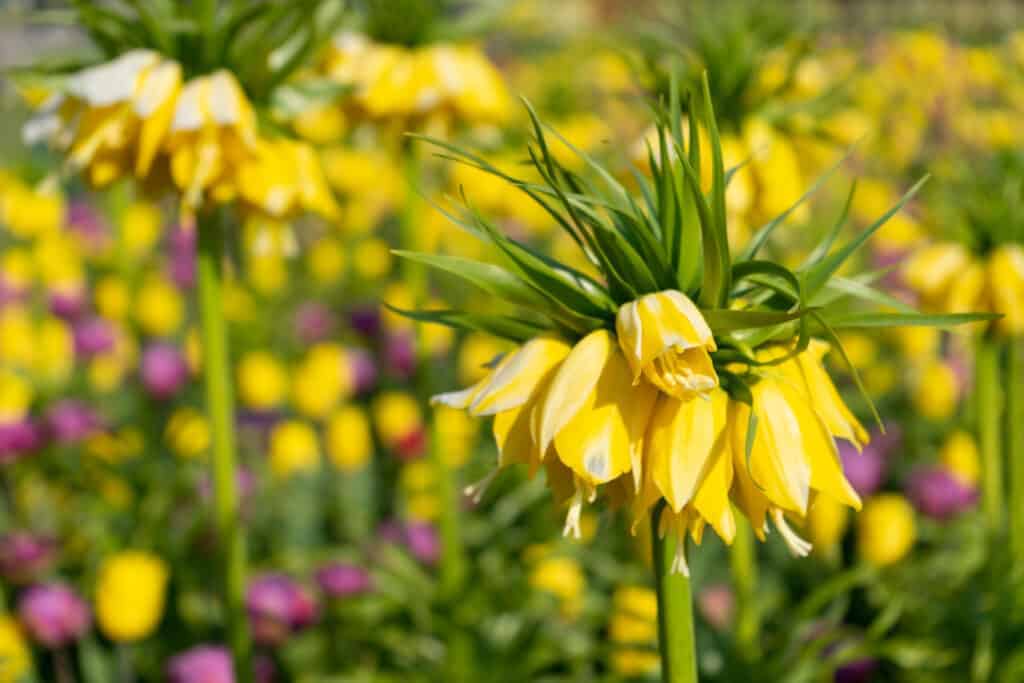
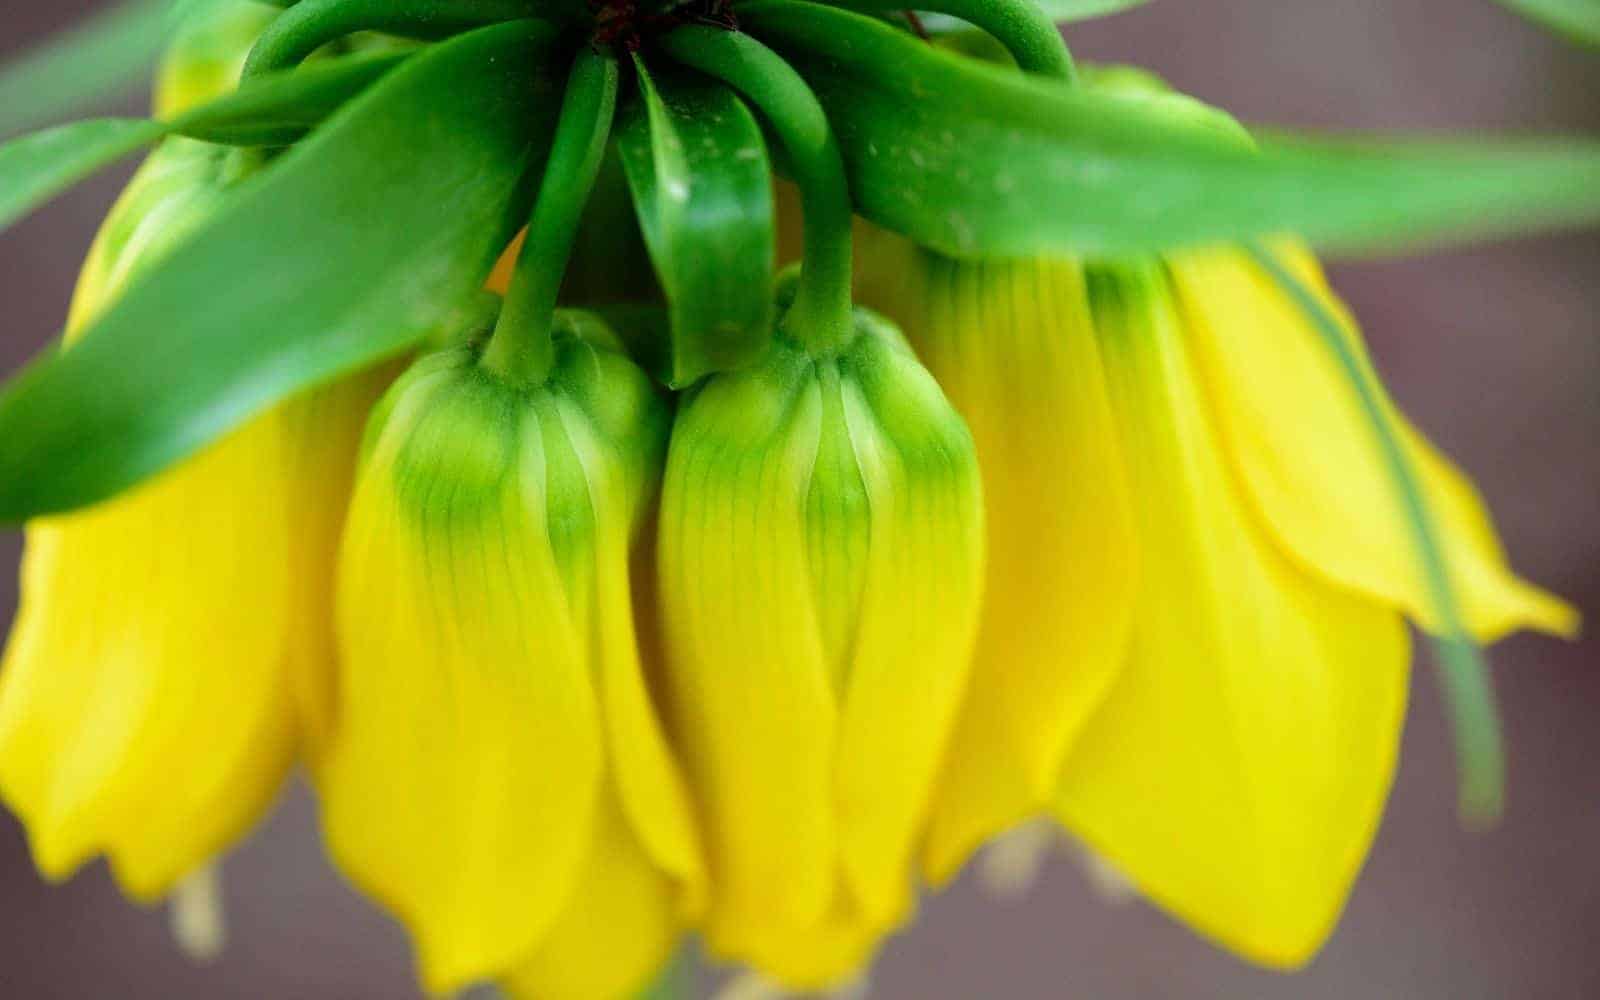
- Yellow Crown Imperial
- Purple Persian Fritillaria
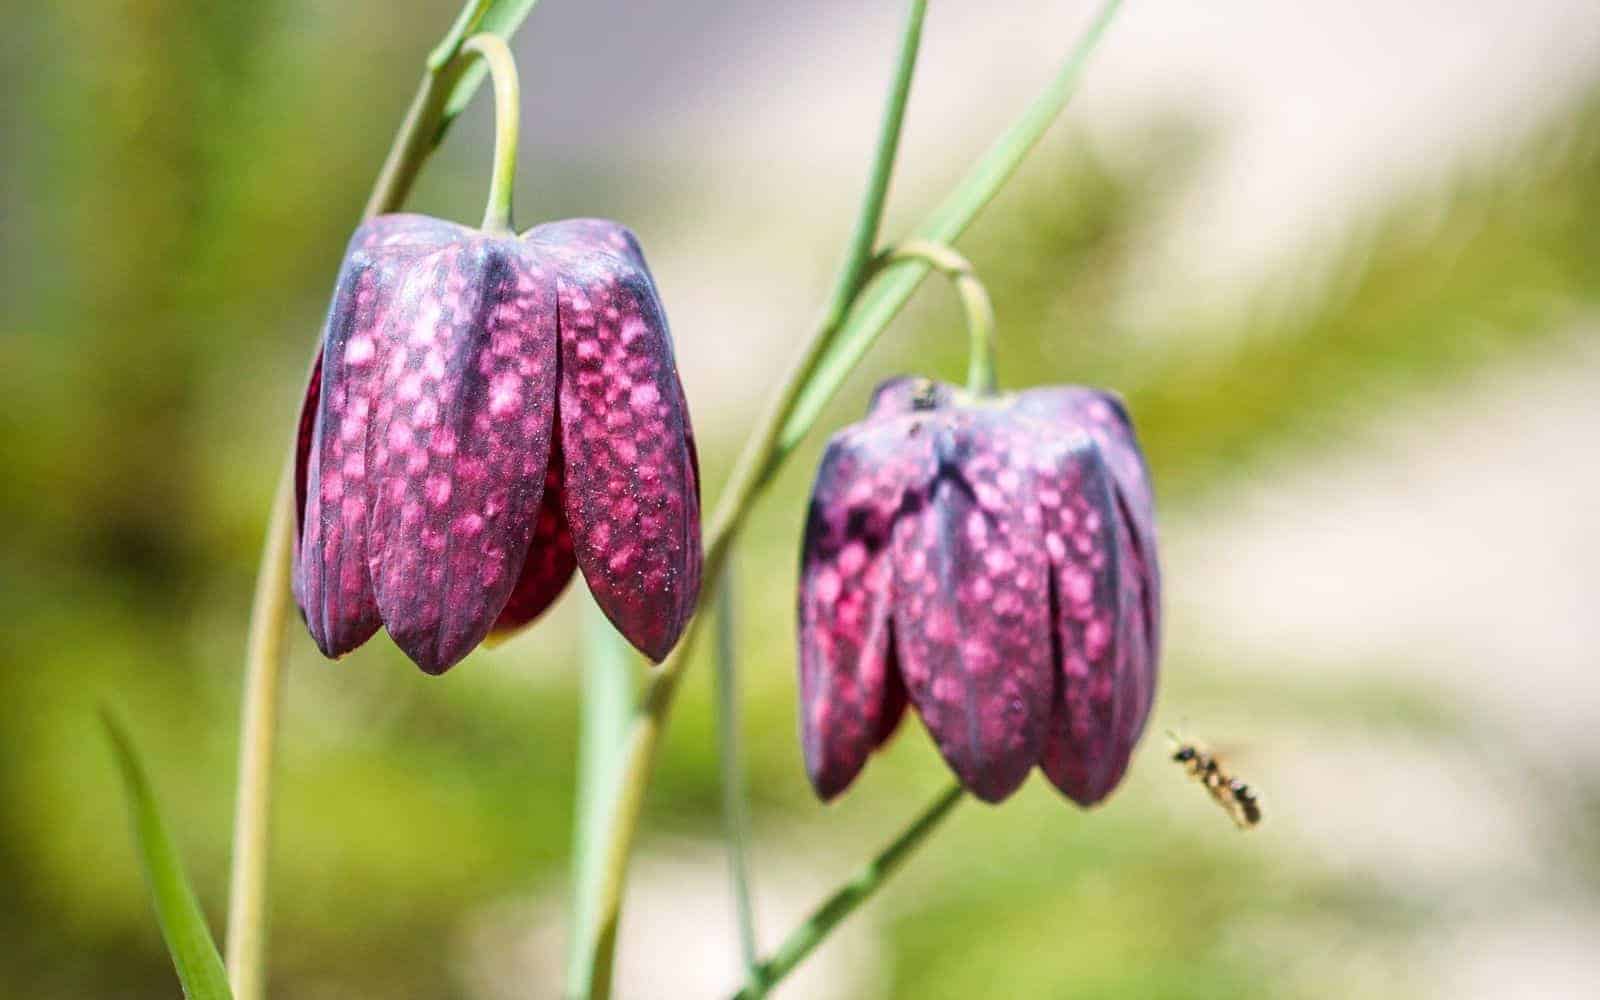
- Guinea-Hen Flower
- Michael’s Flower
- Fox’s Grape Fritillaria
Each of these stunning varieties offers a unique early spring flower for garden lovers. And fortunately, they are all quite easy to grow!
How to plant Fritillaria
These plants are very attractive, with a variety of ivory, yellow, green, plum, or two-toned flowers, and a wide difference in the size of blooms. They come in a diverse variety of heights as well, ranging from 8″ to 36″ tall. They prefer rich, well-draining neutral pH soil and filtered sunlight. The bulbs don’t like to be out of the soil, so it’s best to plant them as soon as possible.
Each variety of fritillaria has its own requirements, and that should be considered when selecting the correct type for your garden.
If your garden is too cold, you should apply a 2″ layer of mulch to the soil after the ground surface freezes in the fall. The mulch will trap the cool temperatures in the soil. It also helps to protect the bulbs from temperature spikes, whether too cold or too hot. Good mulch includes straw, hay, or oak leaves. In spring, when the bulbs begin to sprout, loosen the mulch in the area.
While unsightly, it’s natural for fritillaria bulbs to develop a bit of mold during transportation. This gray-blue-green mold happens when the bulbs are exposed to the air. The mold will go away as soon as the bulbs are planted because the soil suffocates the mold. If you prefer, you can also put the bulbs out in the sun or brush away the mold with a paper towel. This isn’t advised, however, as the bulbs don’t do well outside the soil.
Scars, cuts, dimples, and discolored exteriors on the bulb are normal—this all happens when the bulb is harvested, cleaned, and sized. Some bulbs may have intact, papery skin, while others may have partial skin, and others may be skinless. None of this will affect how the bulb grows. What’s most important is how the bulb feels. As long as the bulb is firm, not mushy, it’s viable.
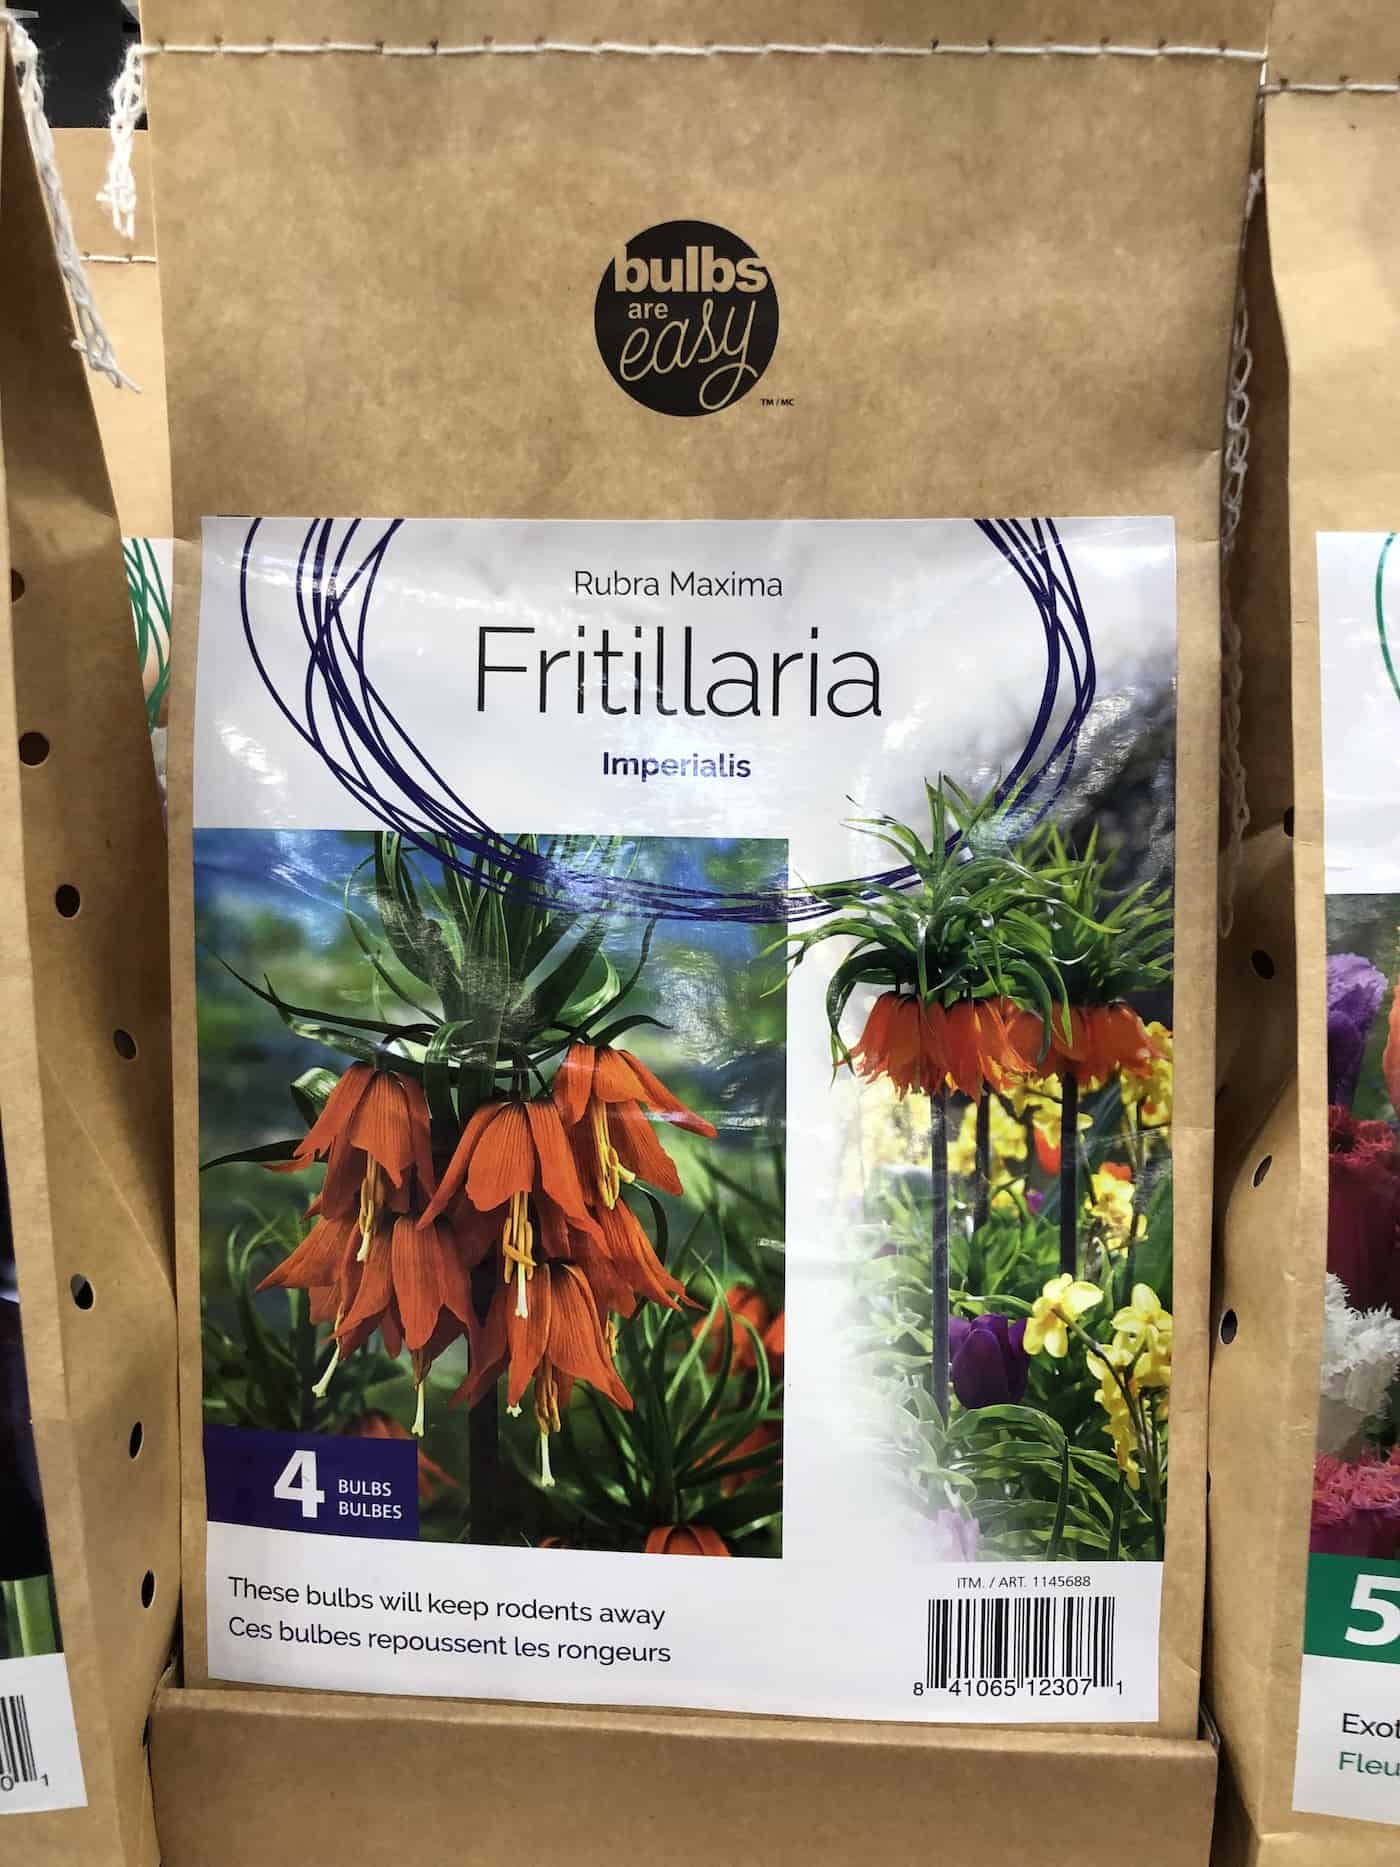
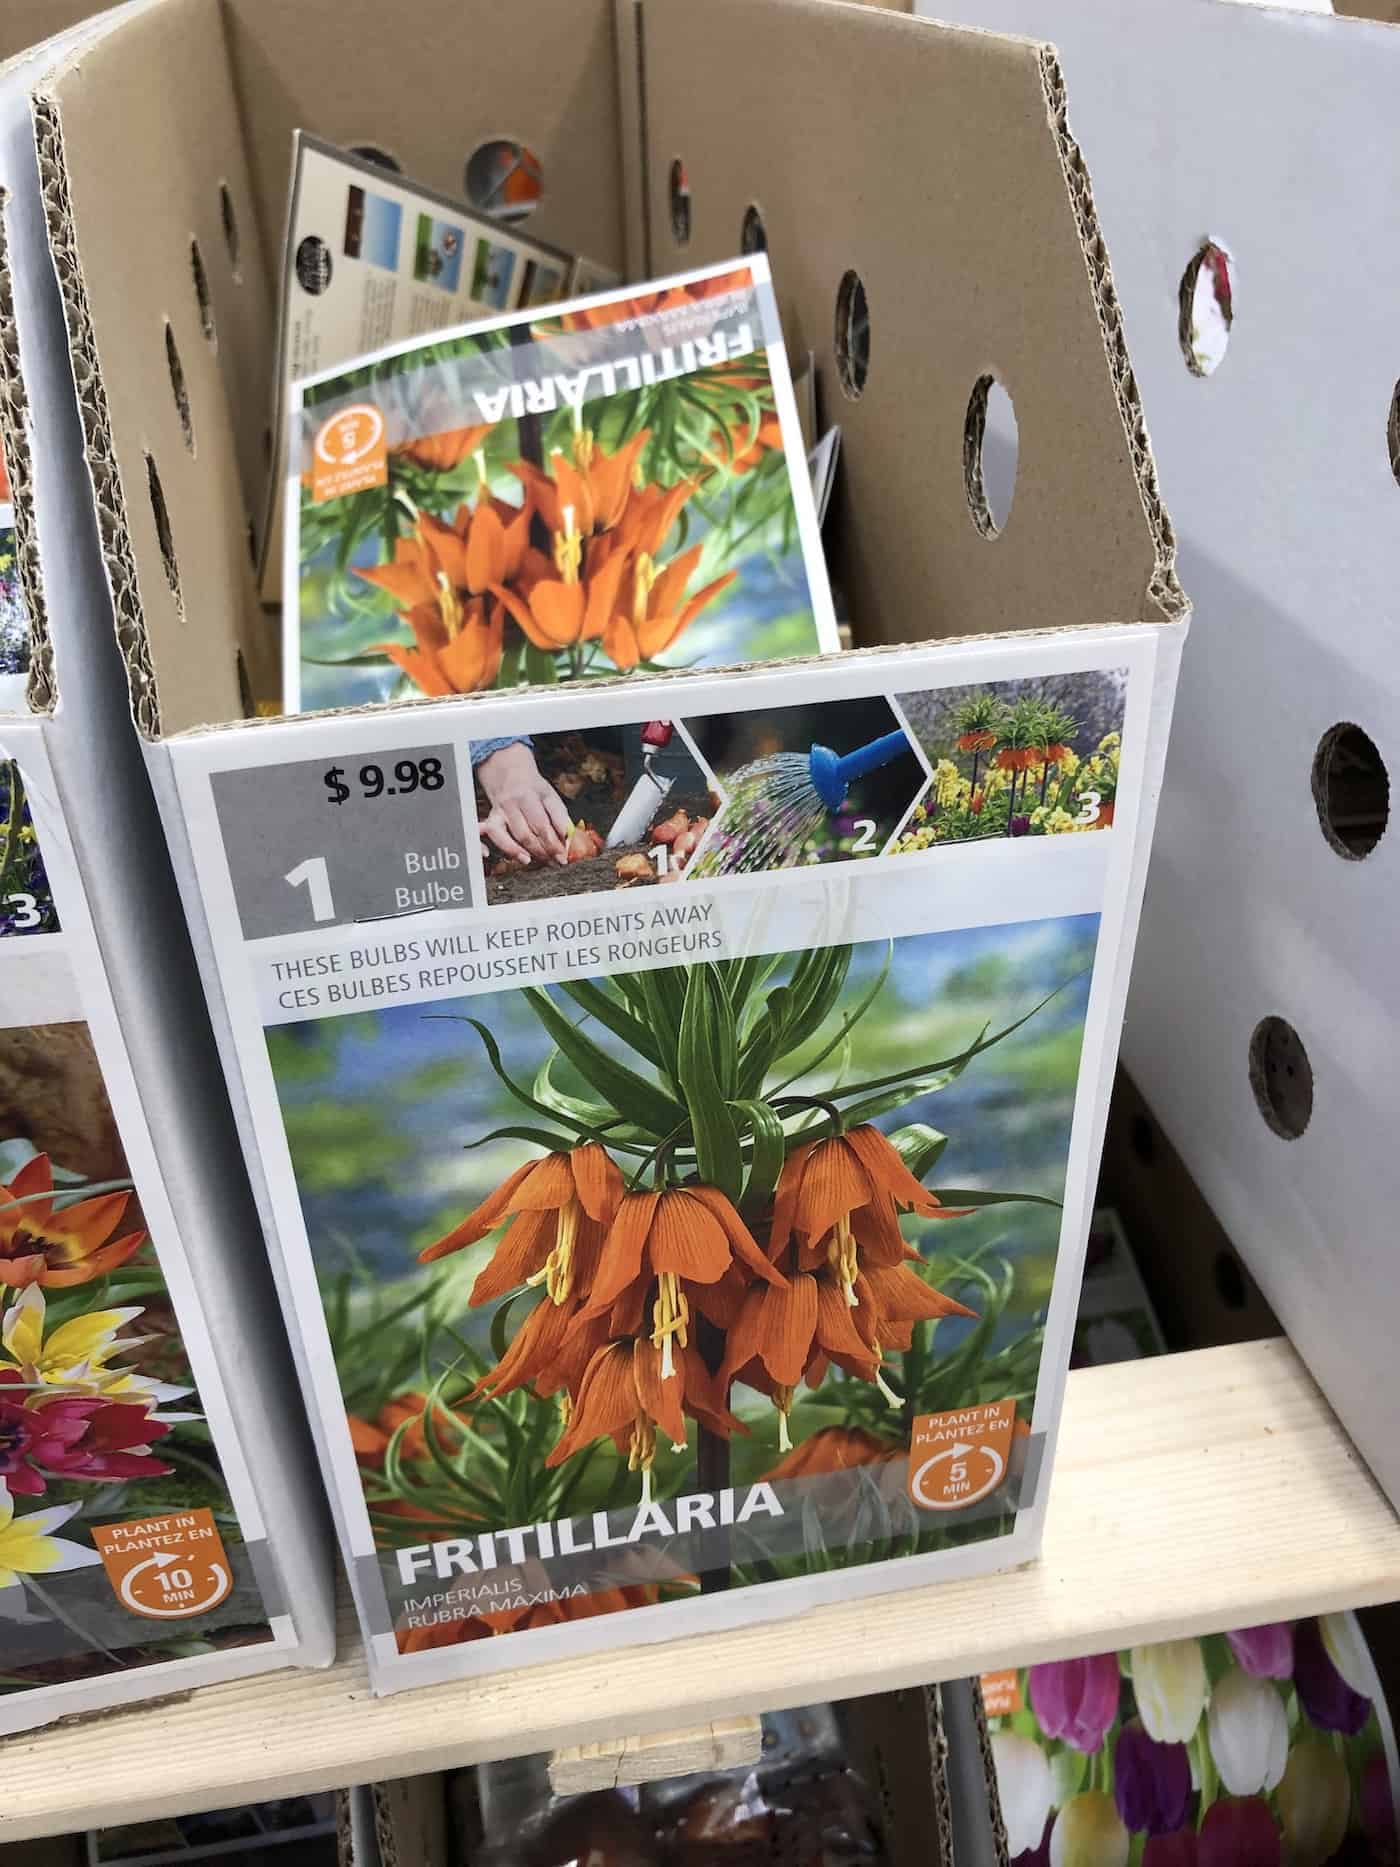
Many fritillaria bulbs smell a tad skunky, but this is normal—it’s a natural repellant to keep away deer, rodents, and other pests. However, because of this offensive odor, it may be best to plant them away from your home (or at least downwind).
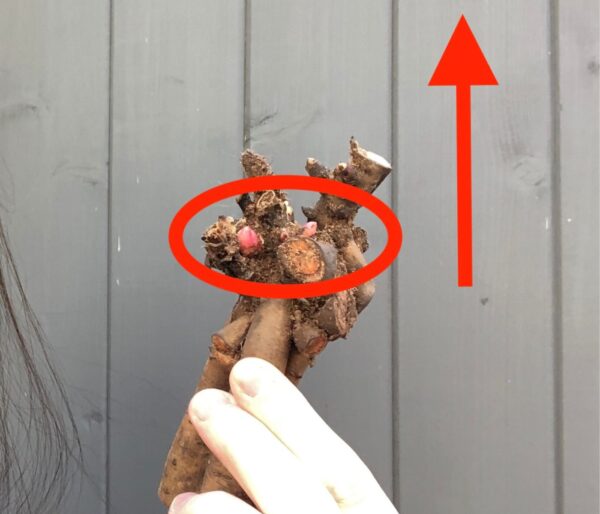
Each type of fritillaria plant has a different kind of bulb, but most are rounded with small indentations or points at the top. These indentations or points should be planted facing upward. If the bulbs already have small roots, use them to determine which side of the bulb should face down into the soil. After planting, water them just enough to slightly soak the soil. The roots will grow fully in the fall and remain dormant until the flowers and foliage bloom in the spring.
If you can’t plant the bulbs right away, open the box or bag to give the bulb some air circulation. Store them in a cool, dry place with low humidity, away from heat, frost, and strong sunlight. Never put flower bulbs in the freezer! Keep them at 50 to 70°F. Poor storage conditions could cause bulbs to die or become moldy.
Fritillaria plants require soil that is rich, well-draining, and has a neutral pH. The best soil is a sandy loam. If your soil is naturally heavy in clay, break up the clay about a foot deeper than the planting depth and mix in peat moss, aged leaf compost, and/or well-aged neutral pH compost.
Do not add horse manure, chicken droppings, mushroom compost, or other hot manure or immature compost. These will create inhospitable soil and may kill your plants. You can try to add compost you’ve made yourself, but first, make sure that it is completely decomposed, healthy, and has a neutral pH. Partially decomposed compost can spread fungal diseases and nasty pests.
Plant large fritillaria bulbs 6-7 inches deep and 8-10 inches apart. Plant the smaller fritillaria bulb 5-6 inches deep and 5-6 inches apart. Don’t put anything (including fertilizer) in the bottom of the hole you’re planting your bulb in because this can create a risk of root burn. After about two weeks of “sweater weather”, when the nighttime temperatures drop to the 40s, and the daytime hovers around 50-55°F, plant your bulbs. If your bulbs are planted too late, the root system could struggle to grow. Underdeveloped root systems could result in more foliage than flowers.
Don’t plant fritillaria bulbs in raised beds or outdoor containers, such as window boxes. These areas would expose the bulbs to repeated cycles of freezing and thawing. This constant spike and dive in temperature will result in failed root growth, destruction of the root system, frozen bulbs, and bulb rot from poor water drainage. Fritillaria bulbs must have a consistent winter temperature, with good water drainage, in order to grow a mature root system and foliage and flower production. Keep your plants in a mostly sunny, partly shady area.
How to care for Fritillaria plants
Once the plants have bloomed, the bulbs become much easier to care for. In the case of high winds and driving rain, the stalks may need to be tied to a stake to help support them.
Thanks to their skunk-spray odor, these bulbs repel deer and rodents and can help protect other bulbs in your flowerbeds.
Bulbs planted in the fall will grow roots soon after they are planted and will go dormant during the winter months. Early the next spring, the bulbs will begin to sprout stems and buds and will flower during early summer. A month after flowering, these plants will begin to die back.
The plants should bloom by themselves the first year; don’t fertilize them yet. For the rest of the plant’s lifetime, it’s recommended to fertilize the plants three times a year: once during the fall, when you’d plant, to help the roots grow; again when the sprouts begin to grow in the spring, to help nourish the plant growth; and a final time when the flowers start to die, to feed the bulb itself. Gardeners who grow fritillaries have found that tomato fertilizer is a good choice for their fritillaria plants.
At the very least, fertilize the plants once a year. Once the plants have bloomed, spread about 1 tablespoon of fertilizer around each bulb and water the soil to help the fertilizer soak in. Keep the fertilizer two inches or so away from the stem to avoid damaging the plant.
Ensure that the bulbs don’t dry out. Most bulbs need slightly more moisture during the growing season—however, be sure that the soil drains well, and be careful not to overwater. Overwatering leads to root rot, which can easily kill the plant. Once the plants have bloomed, be sure they are regularly watered, either from rain or a sprinkler. If the weather is hot and dry, water the bulb thoroughly at least once a week.
Fritillarias can branch off each other underground, naturally producing new bulbs called offsets. These offsets, if left to grow undisturbed, may cause overcrowding amongst the plants, which will result in an uneven spreading of nutrients and smaller flowers. To avoid overcrowding, it’s best to carefully uproot the plants and remove the offsets every two years. After the foliage has died and the bulbs have gone dormant, dig up the bulbs. Carefully separate young offsets from the original bulbs and replant them all, properly distanced from each other. They’ll continue to grow, giving you a continuous supply of fritillaria bulbs. If you’d like, you can even sell the offshoots for profit.
Some gardeners may treat fritillaria plants as annuals and plant new bulbs each year. However, with the correct care and growing conditions, these plants can return and multiply each year. If you want to keep these plants as perennials, fertilize the plants either before they flower or immediately afterward.
When the blossoms fade away, they can be cut off at the top of the stem. The foliage itself should be allowed to die naturally. When the foliage has yellowed and died completely, you can cut the stalk off at ground level. Clean up the dead material to avoid spreading disease; dead foliage is also an invitation to pests, so cleaning it robs them of habitat and keeps them away from your other plants. Even though the foliage is dead and gone, the bulb is still alive underground. Keep watering the soil throughout the summer and fall to ensure the bulbs don’t dry out.
Common questions aboutFritillaria
Why do my fritillaria plants have more foliage than flowers?
If your fritillaria plants are creating more foliage than flowers, it normally indicates an issue in the root system. A mature plant may need to be dug up in the fall; carefully separate the bulbs that may have grown together and begun strangling themselves. Transplant the original plant and newly separated bulbs to the original depth and spacing.
In any batch of fritillaria, a percentage will be “blind”. These bulbs produce foliage but don’t flower. There’s no known reason for this—it’s not due to the size or quality of the bulbs. Because there’s no way to know ahead of time which bulbs will not bloom, it’s best to plant some extras, just in case.
What pests affect fritillaria plants?
Although these plants repel pests such as deer and rodents, fritillaries are susceptible to lily beetles. Remove these bright red beetles by hand as soon as you see them. Slugs and snails also feed off the fritillaria’s foliage, so take the usual precautions. Gritty substances will keep snails and slugs out of your garden. Consider spreading crushed eggshells, sand, or gravel around your garden or flowerbed.
Caffeine kills slugs and snails and coffee grounds repel them. Chopped mint in your soil can also work to keep these pests away, but it may poorly affect your fritillaria plant. You can try planting lavender, sage, parsley, mint, rosemary, or creeping thyme bushes nearby. You can try keeping chickens or ducks on your property, although they are known to be pretty rough with plants.
Are fritillaria plants poisonous?
Unfortunately, these plants can be poisonous to plants and animals alike, even fatal if consumed in high quantities. They contain toxic alkaloids, such as imperialine. These toxins disrupt kidney and heart functions. The foliage and sap also contain Tulipalin A, which causes an allergic reaction when it’s put in contact with bare skin. This could cause redness, eczema, and even pustules on the affected skin.
