fbpx

DIY photo cube ornament

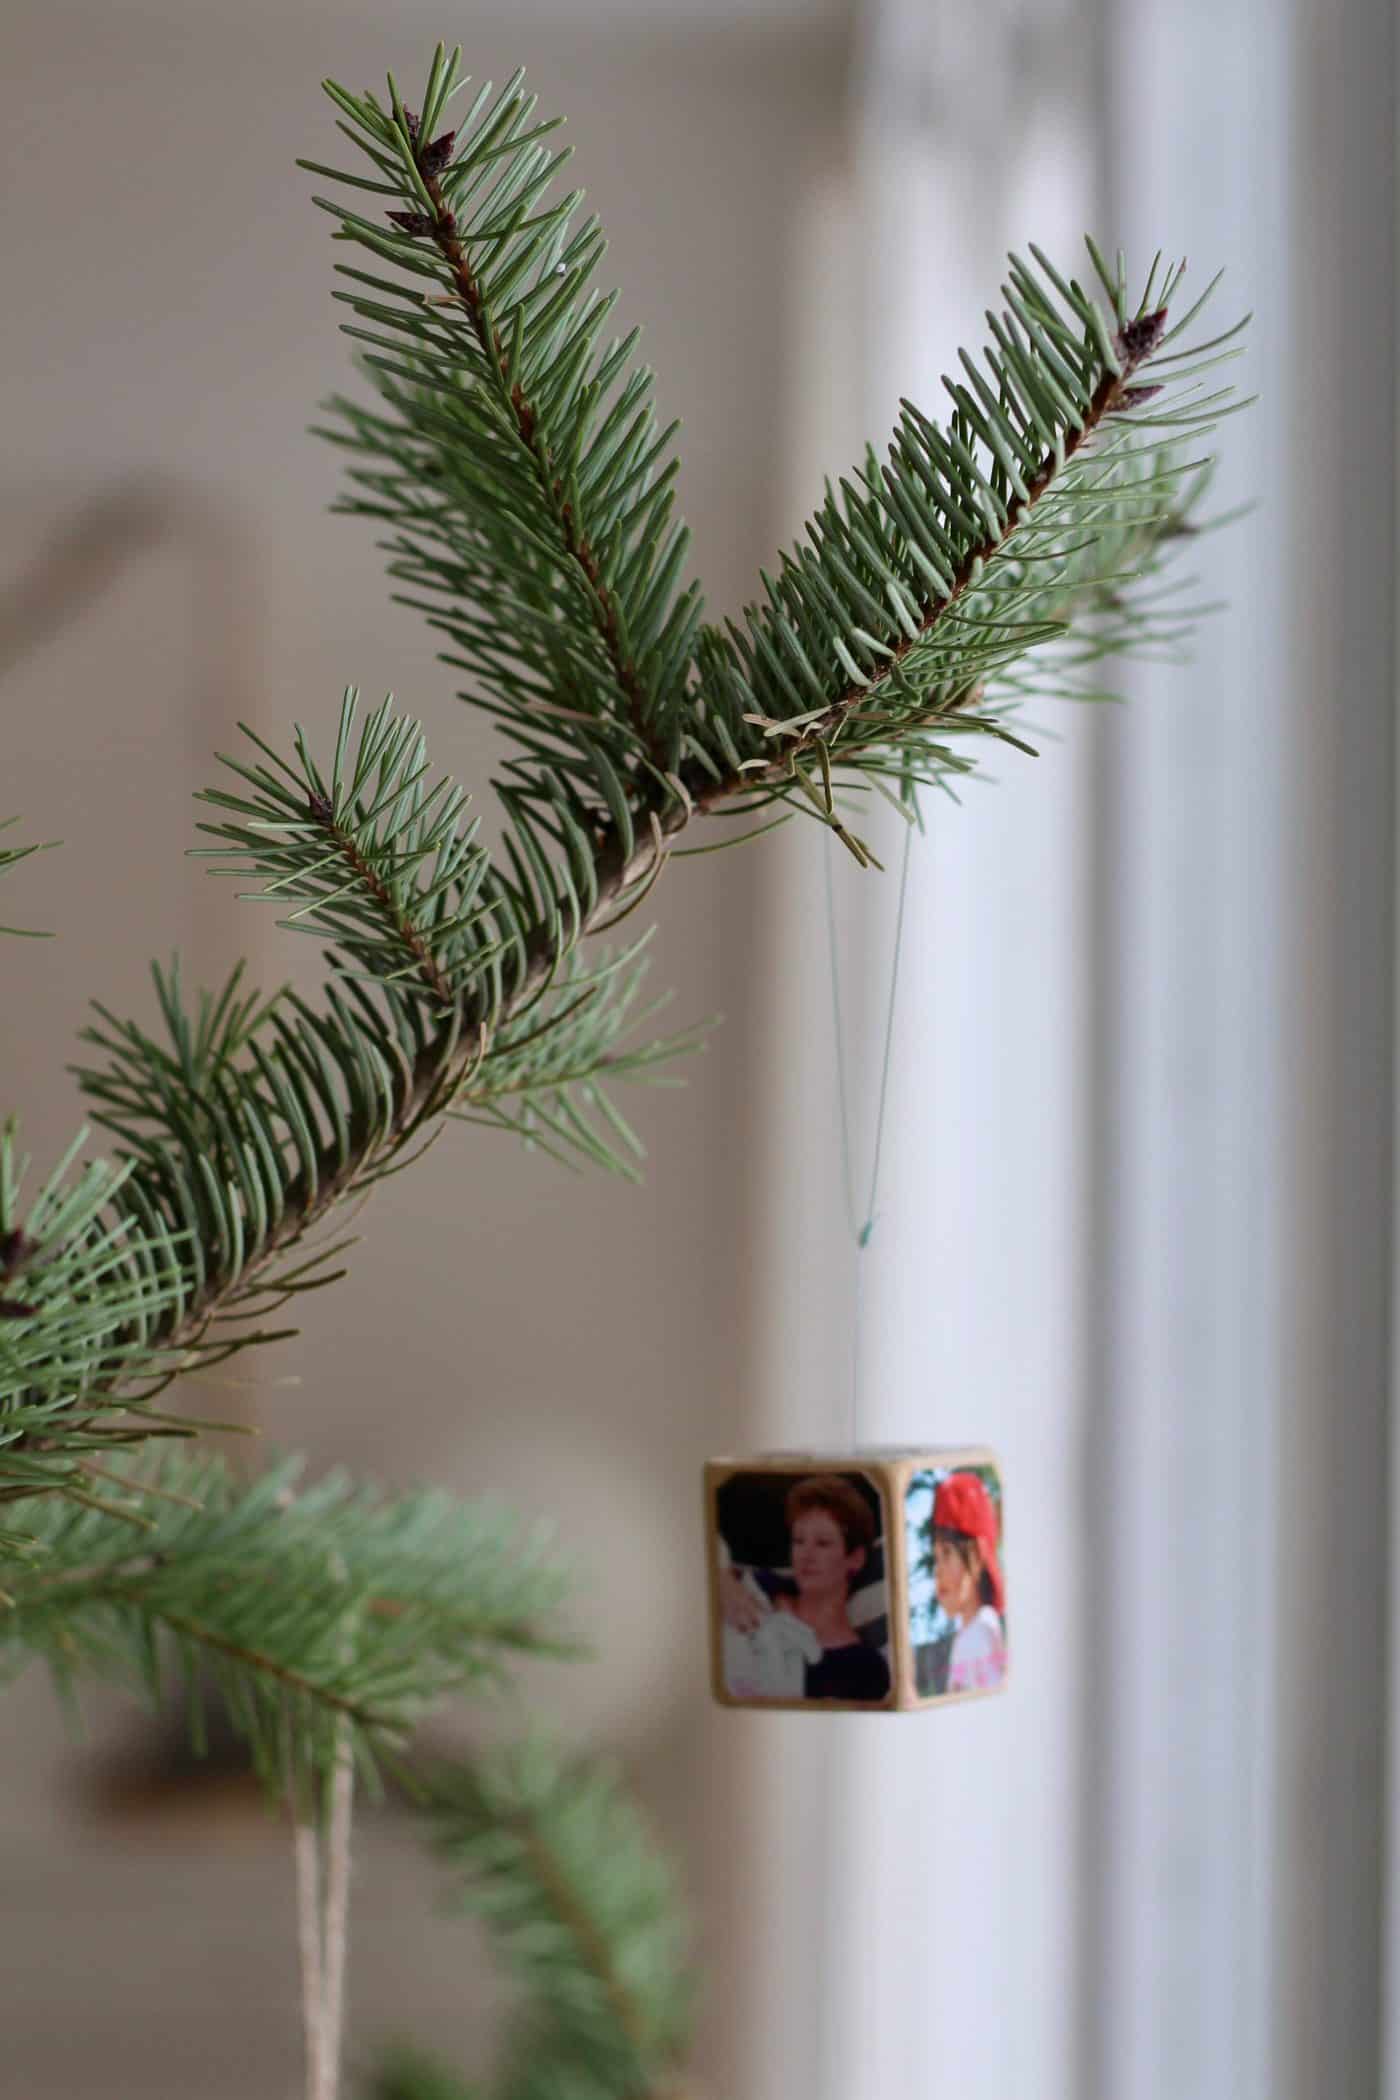
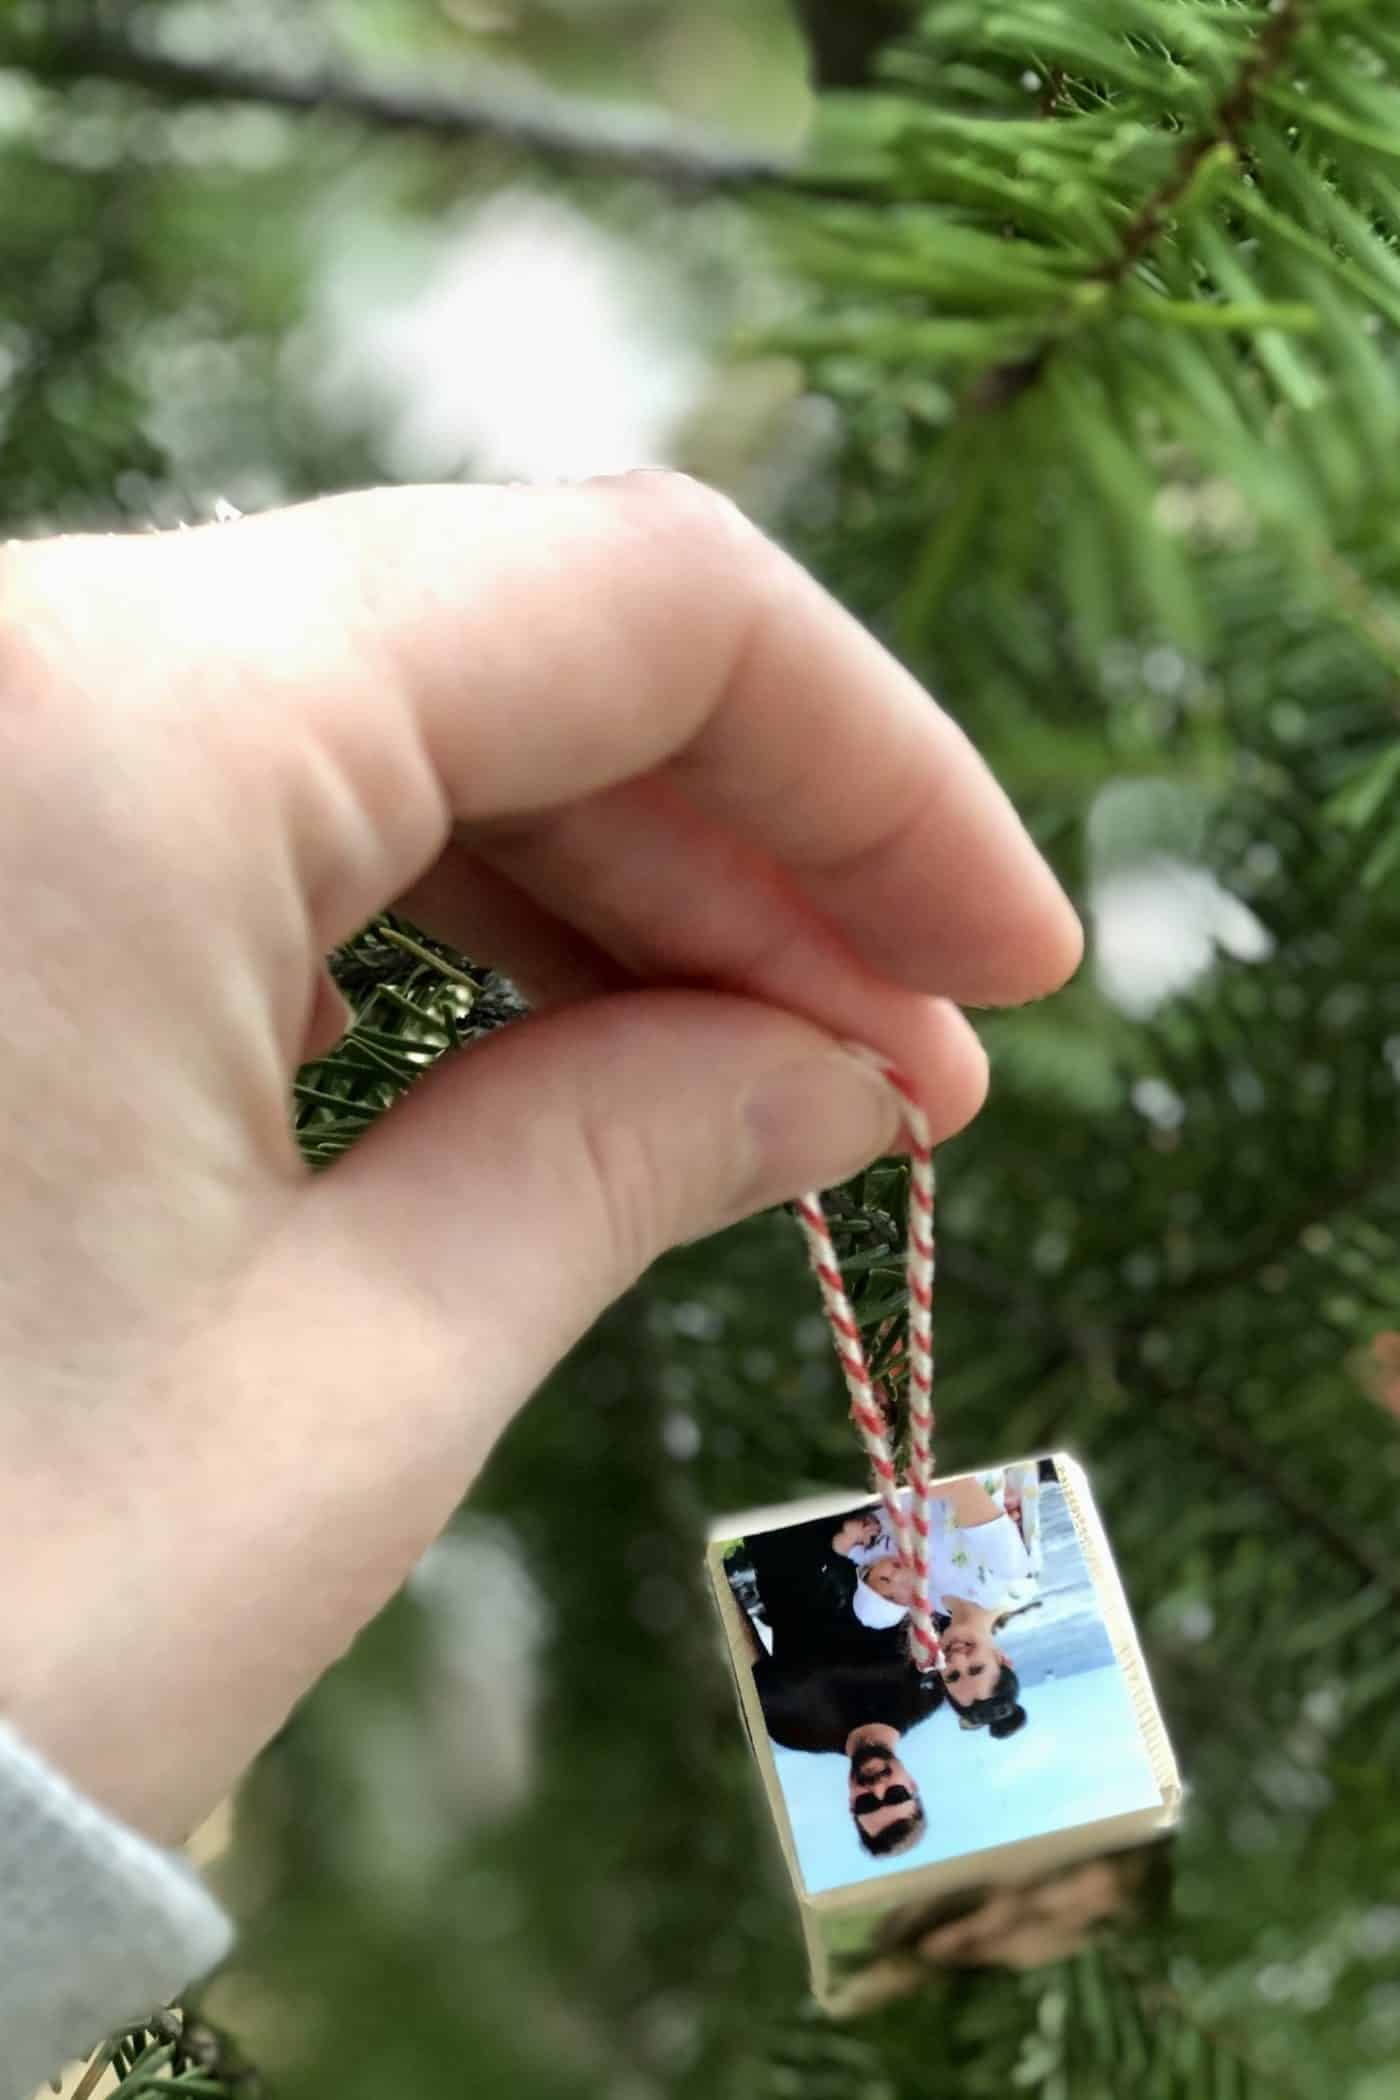
This photo cube ornament was such a fun Christmas craft! It’s inspired by one of our family’s favorite tree ornaments. My parents’ friends made us our first photo cube ornament 25 years ago. It’s such a joy to find it every year as we decorate the tree. And now we can make more!

Diy photo cube christmas tree ornament

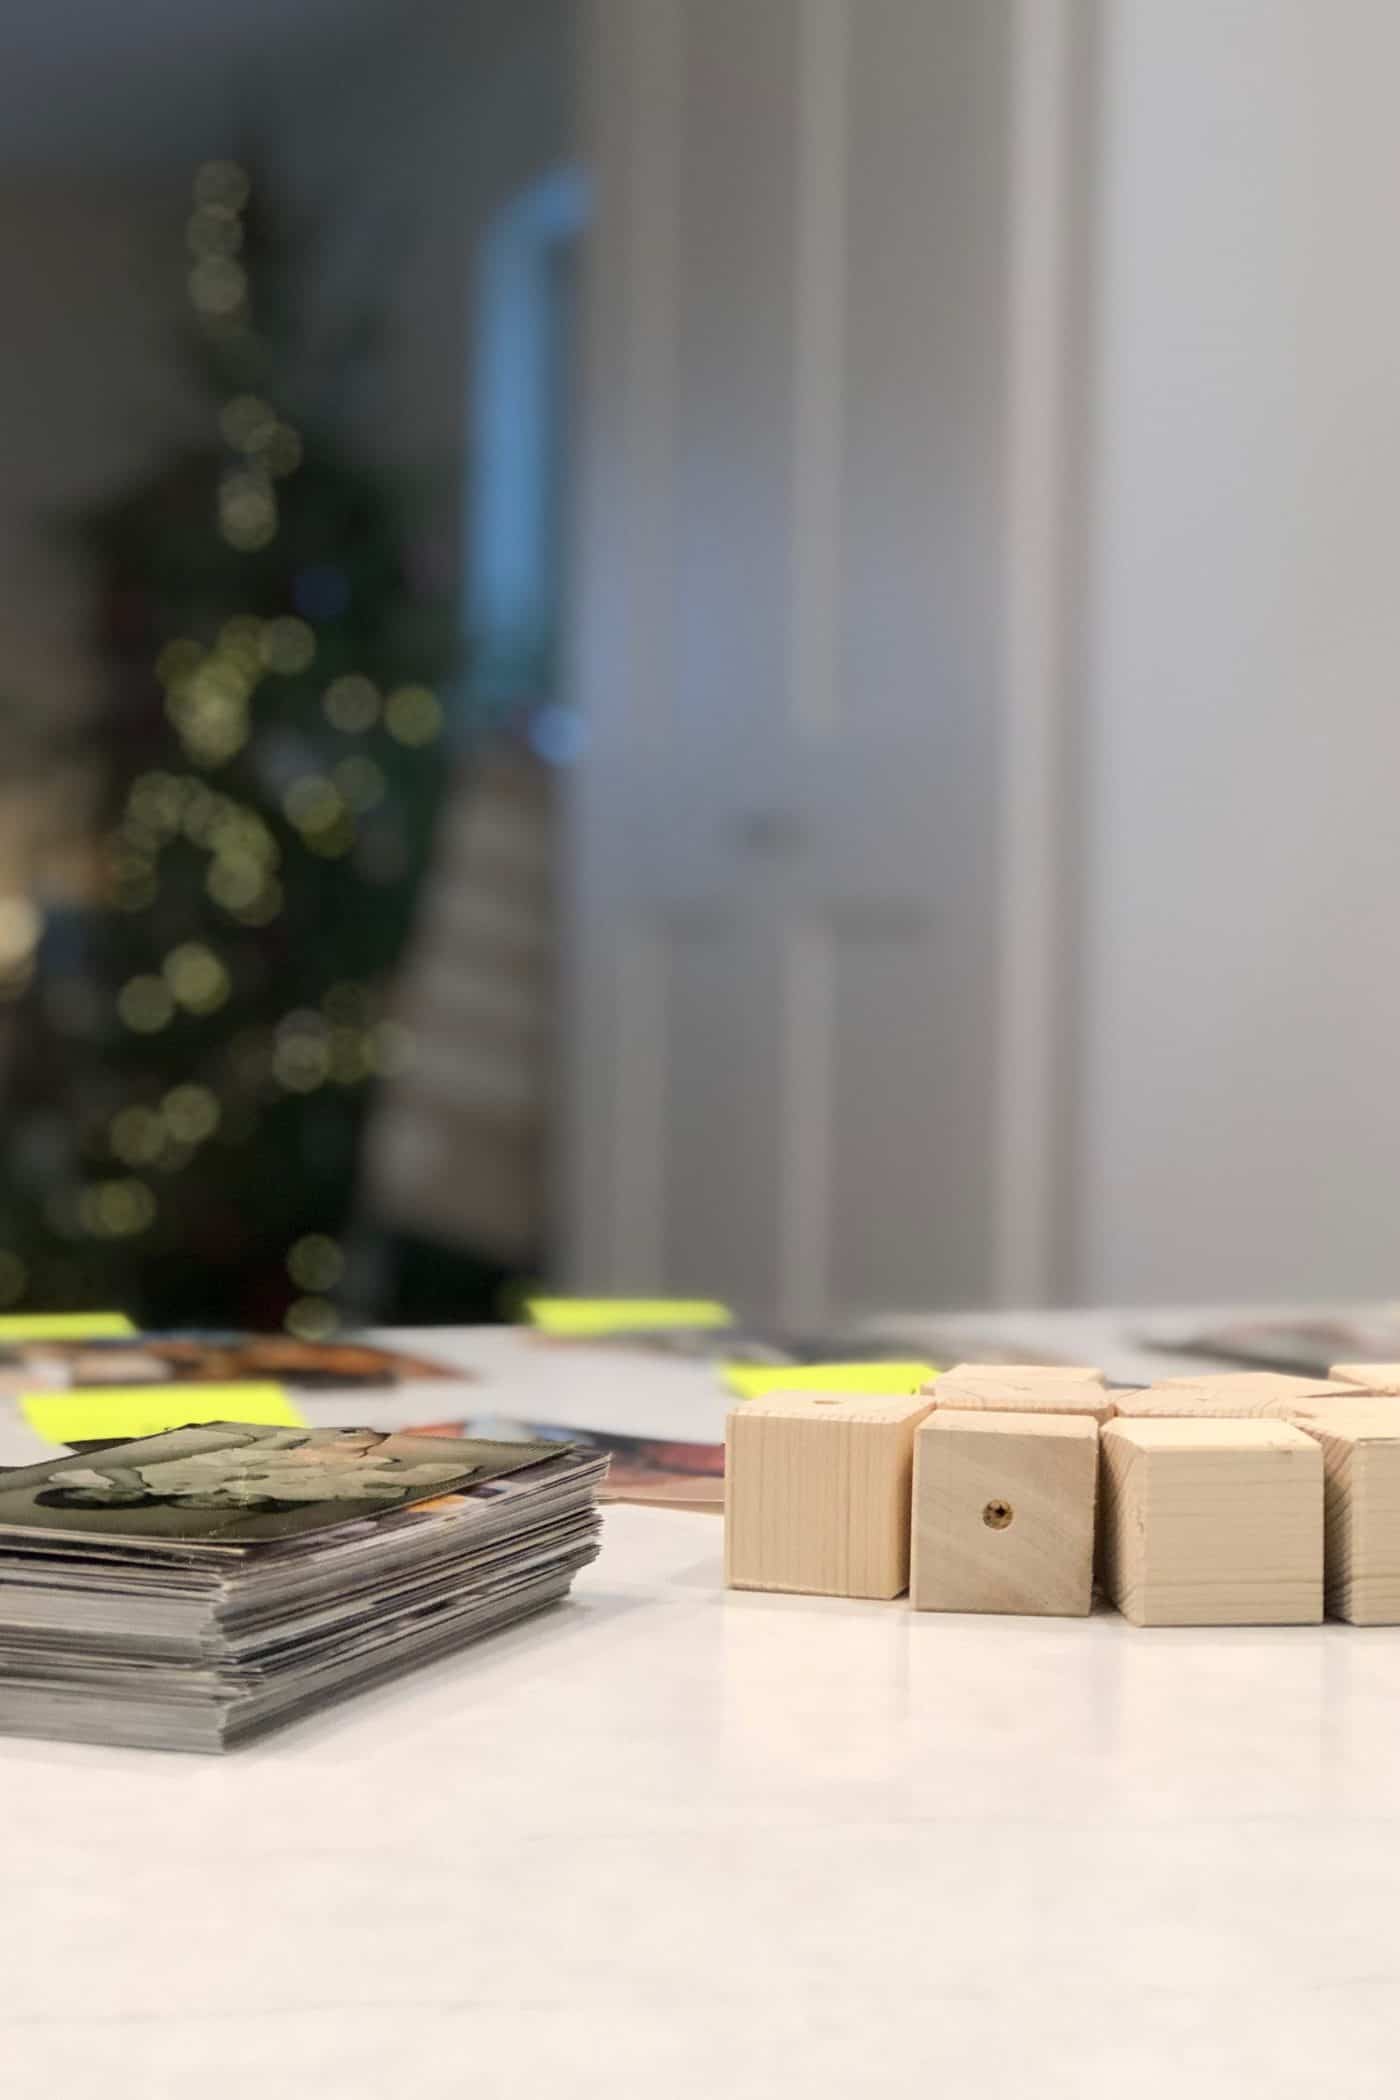
Supplies for making a photo cube ornament

Here are the supplies for making your own photo cube ornament:

  • Wooden block
  • Sandpaper
  • Drill
  • Scrap paper
  • Photos
  • Sharpie
  • Scissors
  • Awl or nail
  • Tacky glue
  • String
  • Needle

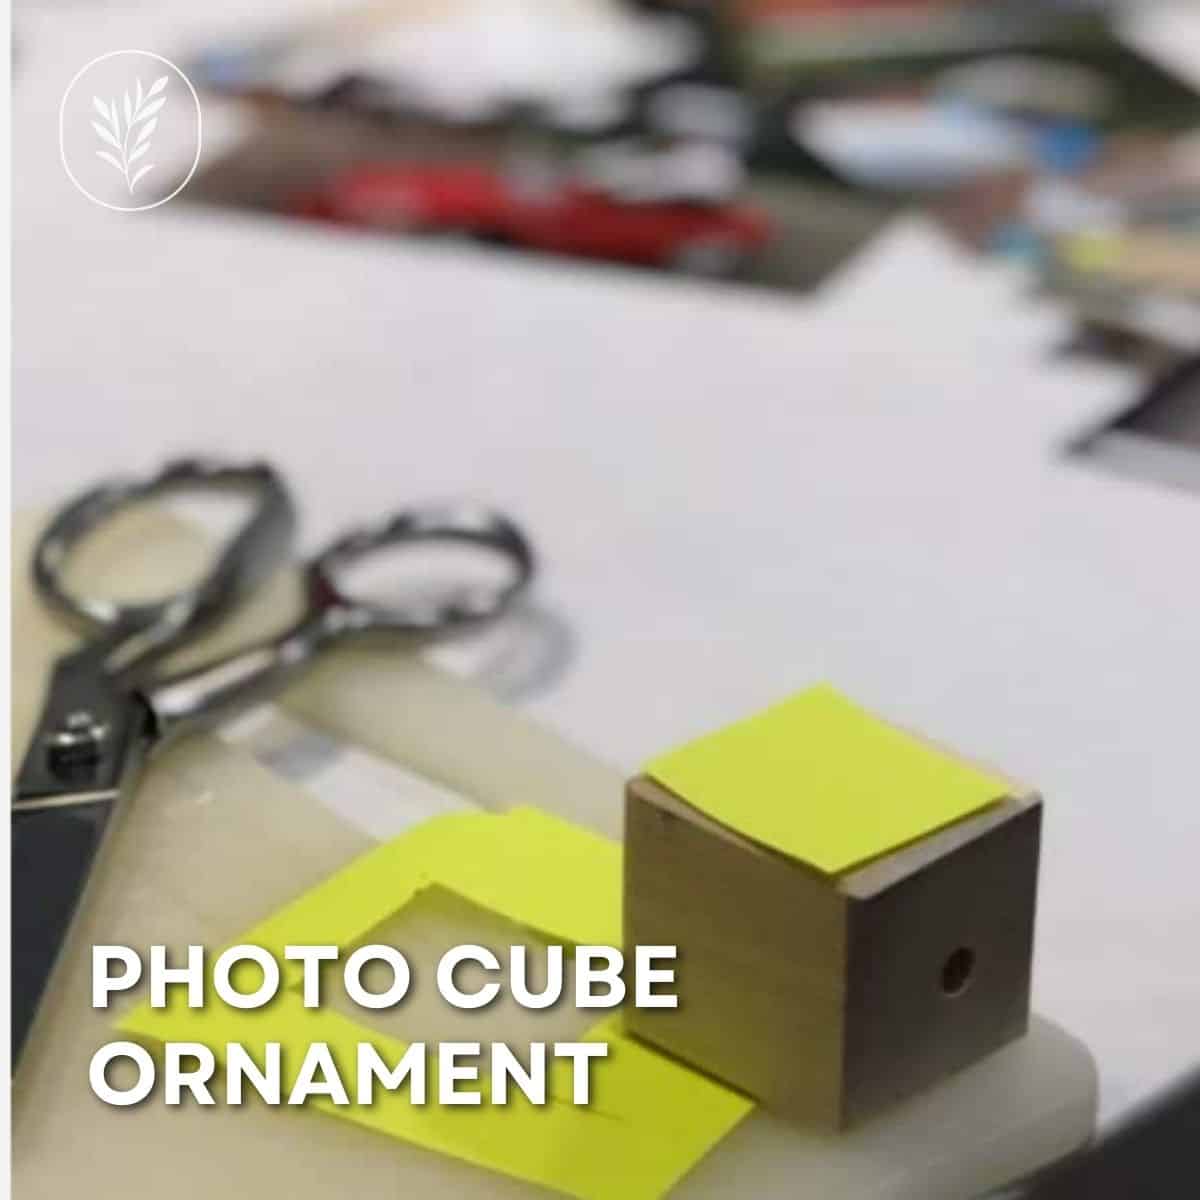
Gather your supplies together before starting this photo cube ornament DIY project.

How to make photo cube ornaments for the christmas tree

How to make a DIY photo cube ornament

Here are the steps for making your own photo cube ornament for the Christmas tree. Ensure you follow all the instructions and safety precautions for the equipment you decide to use.

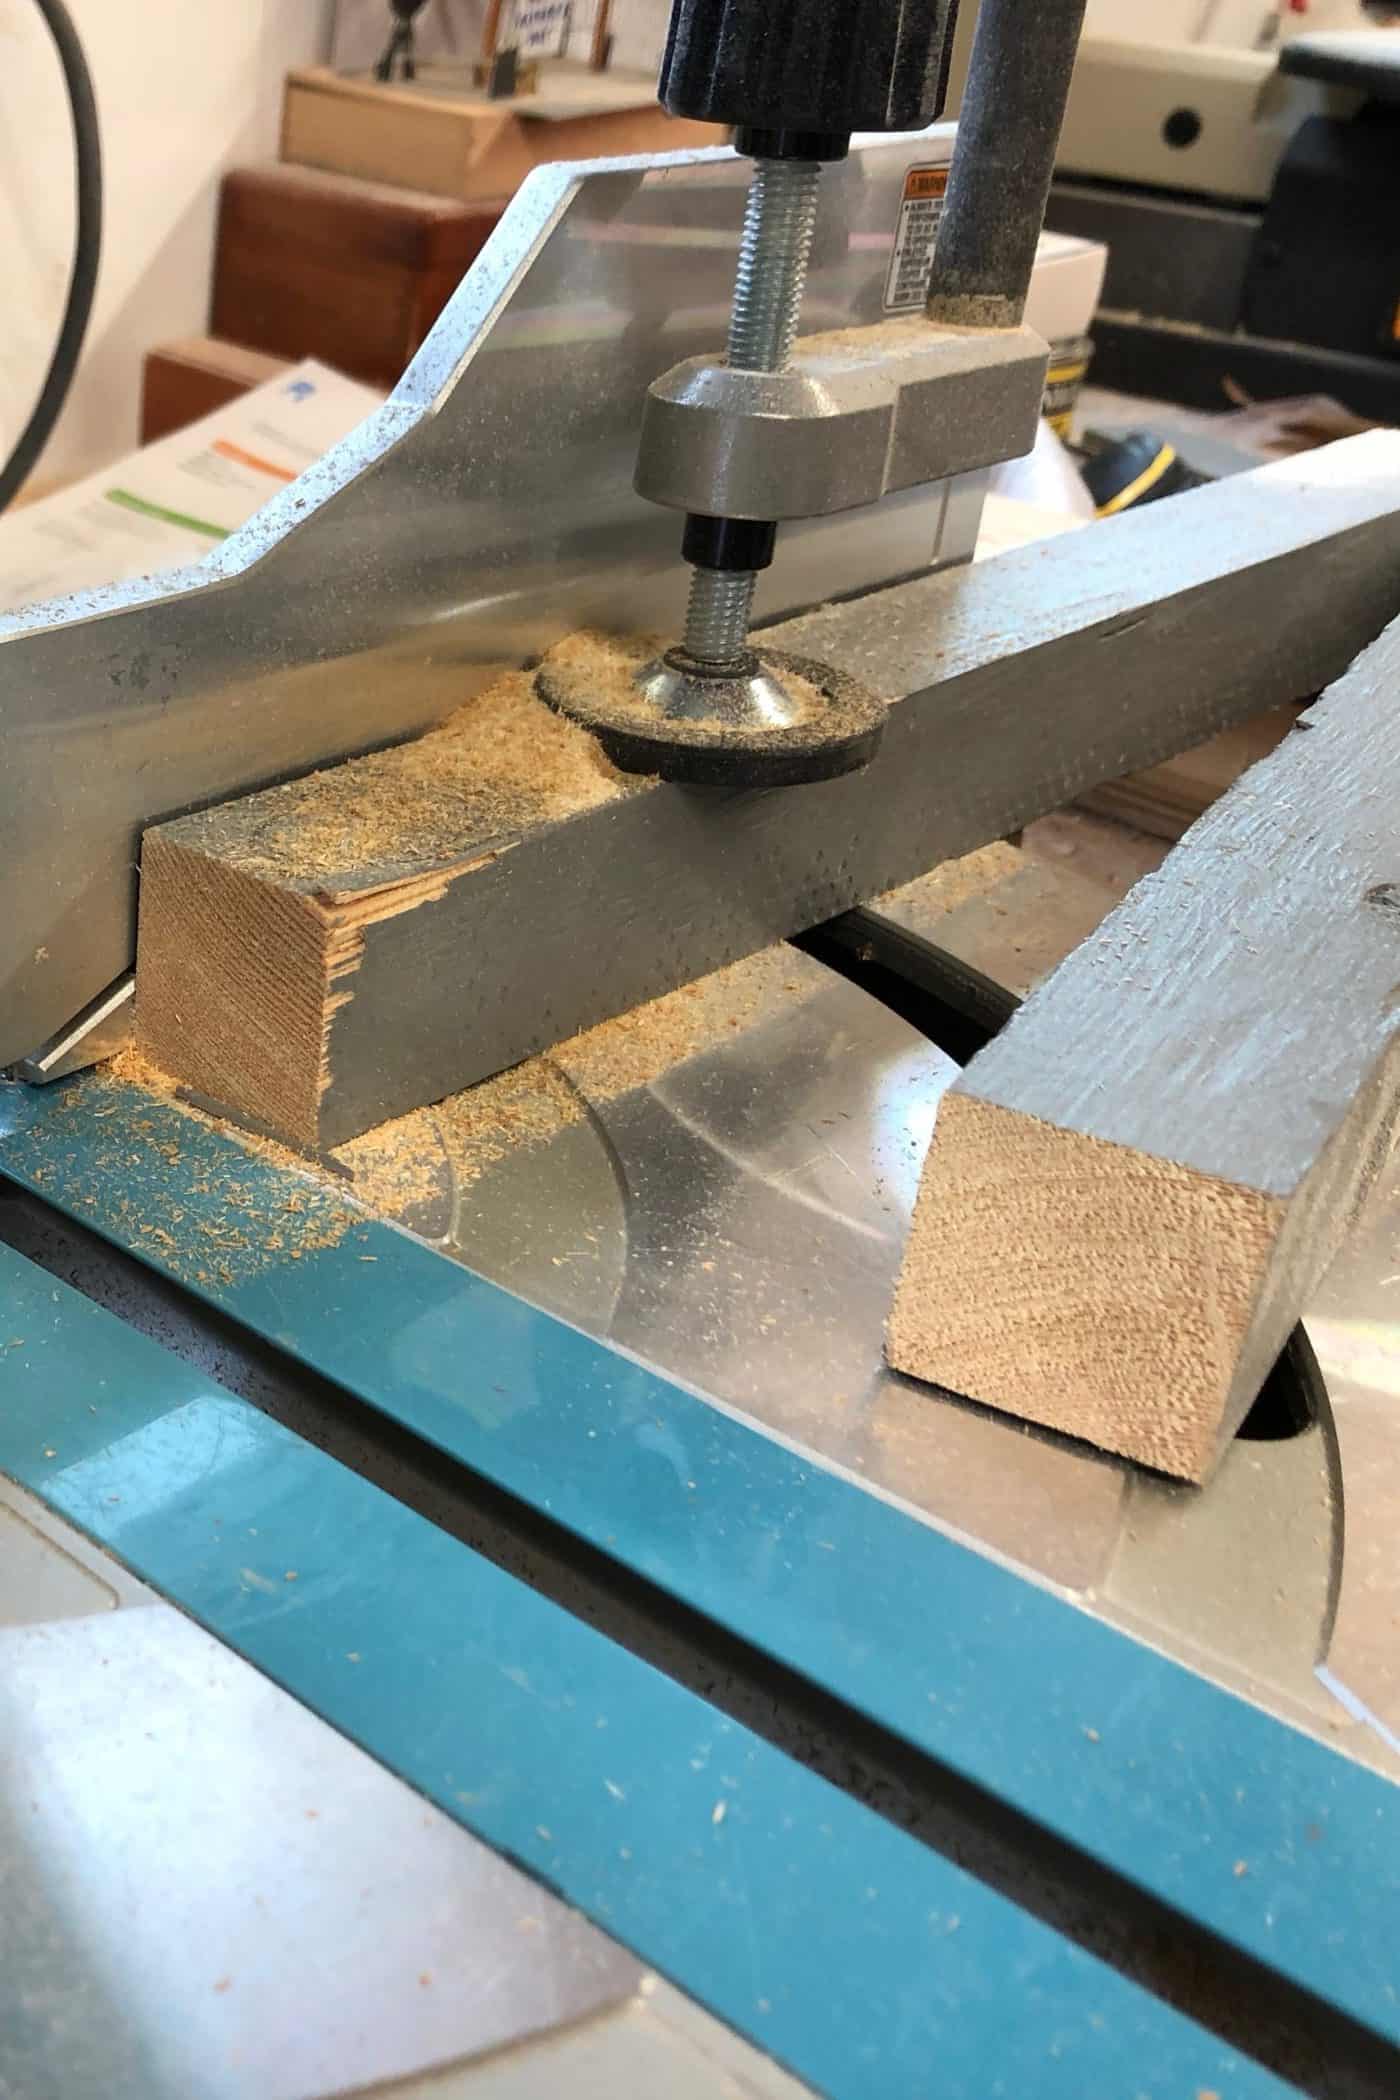
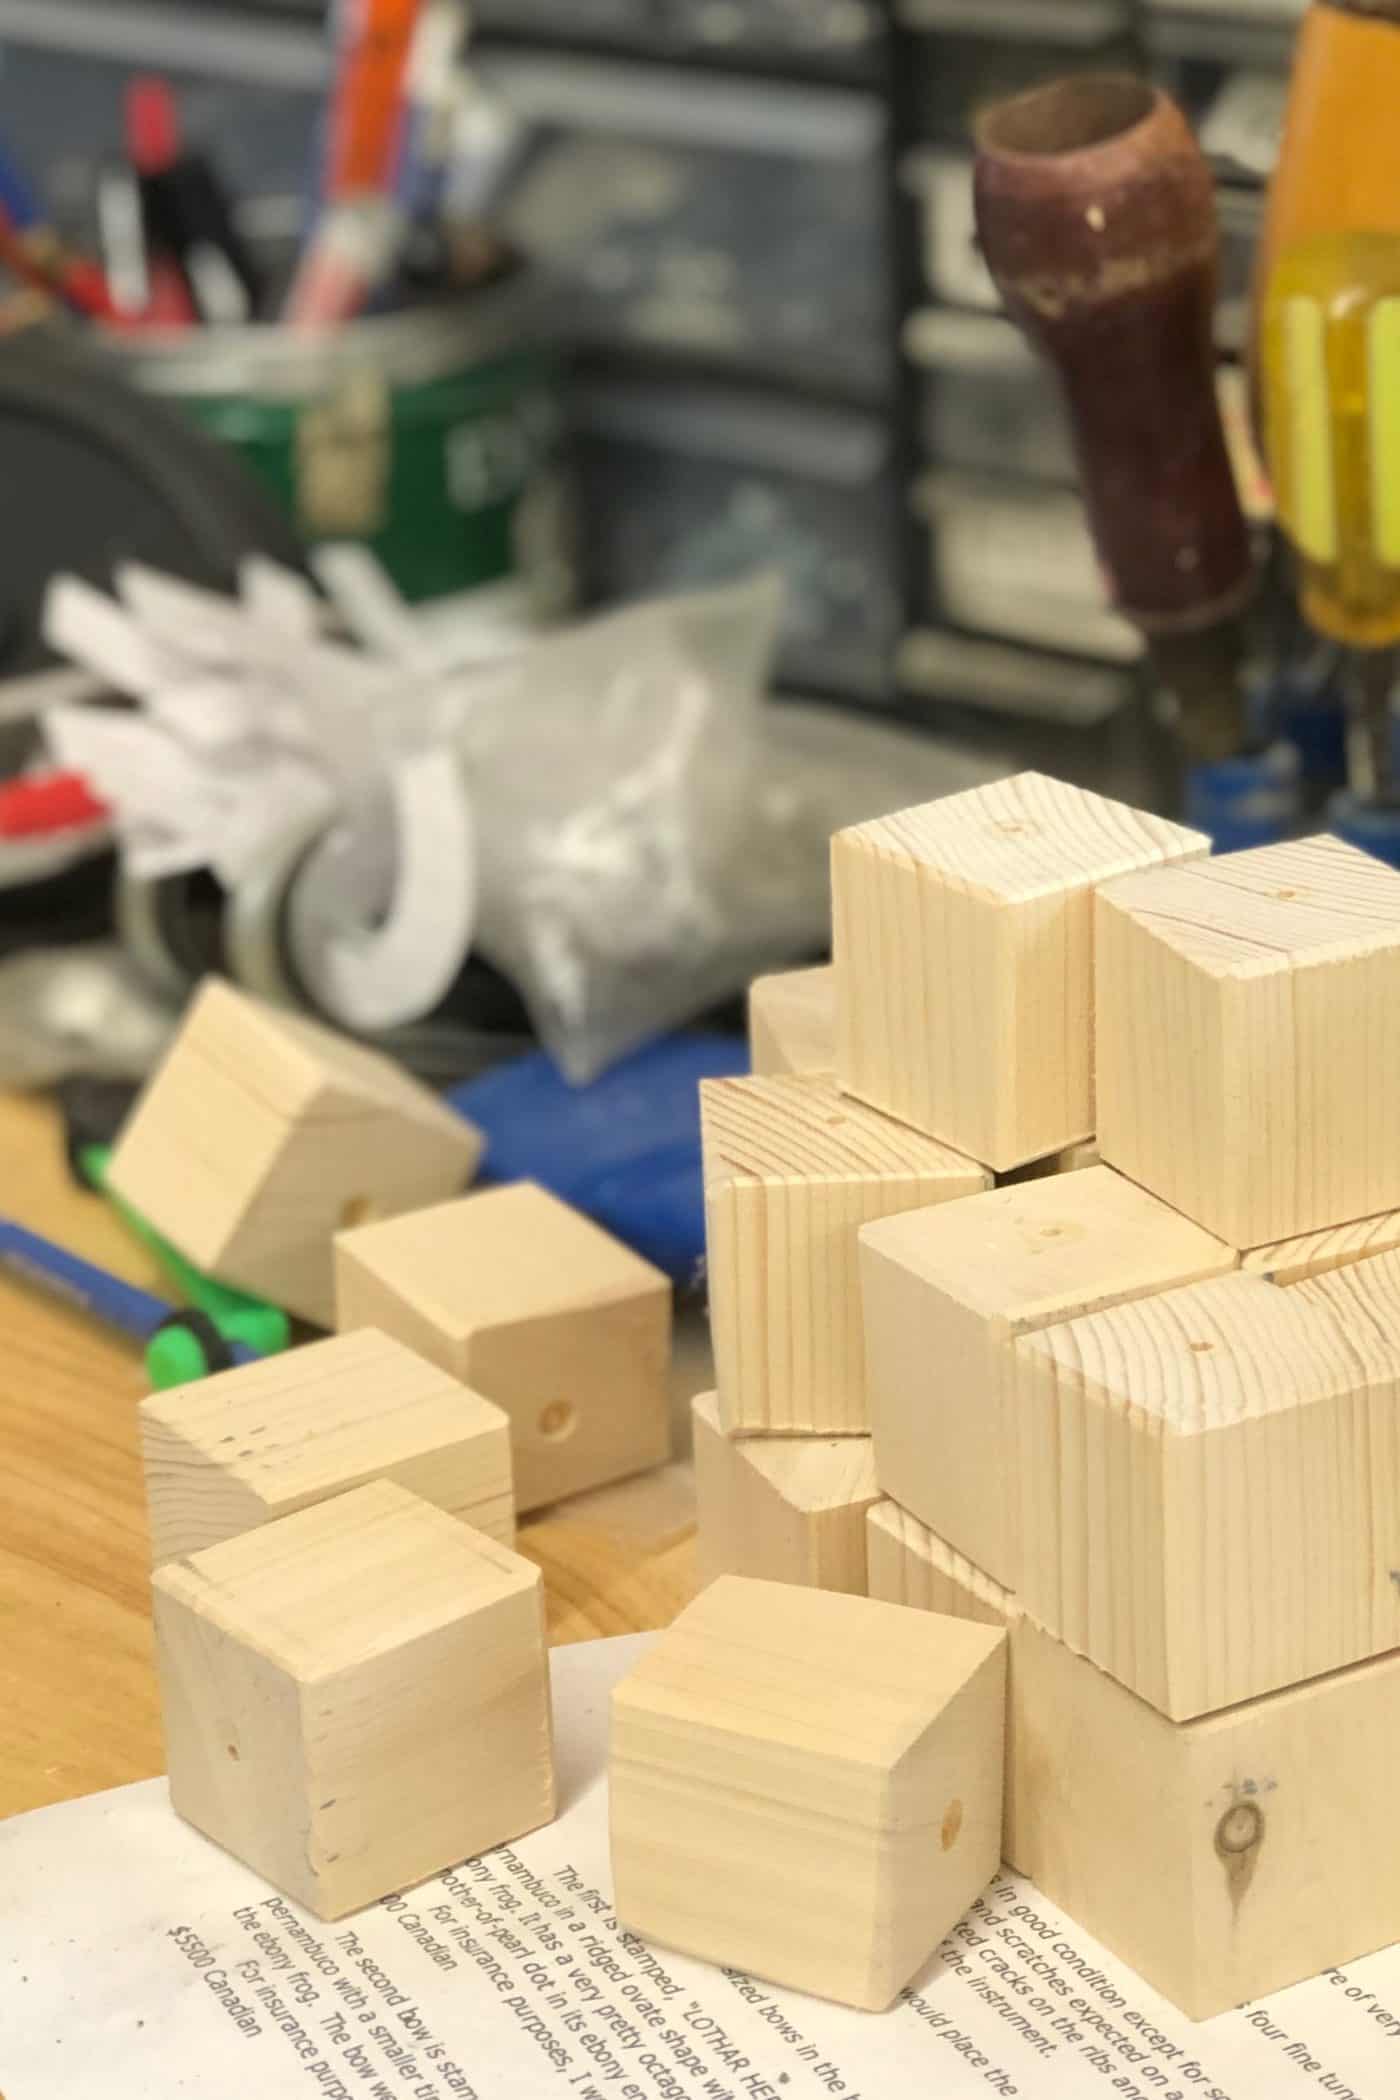
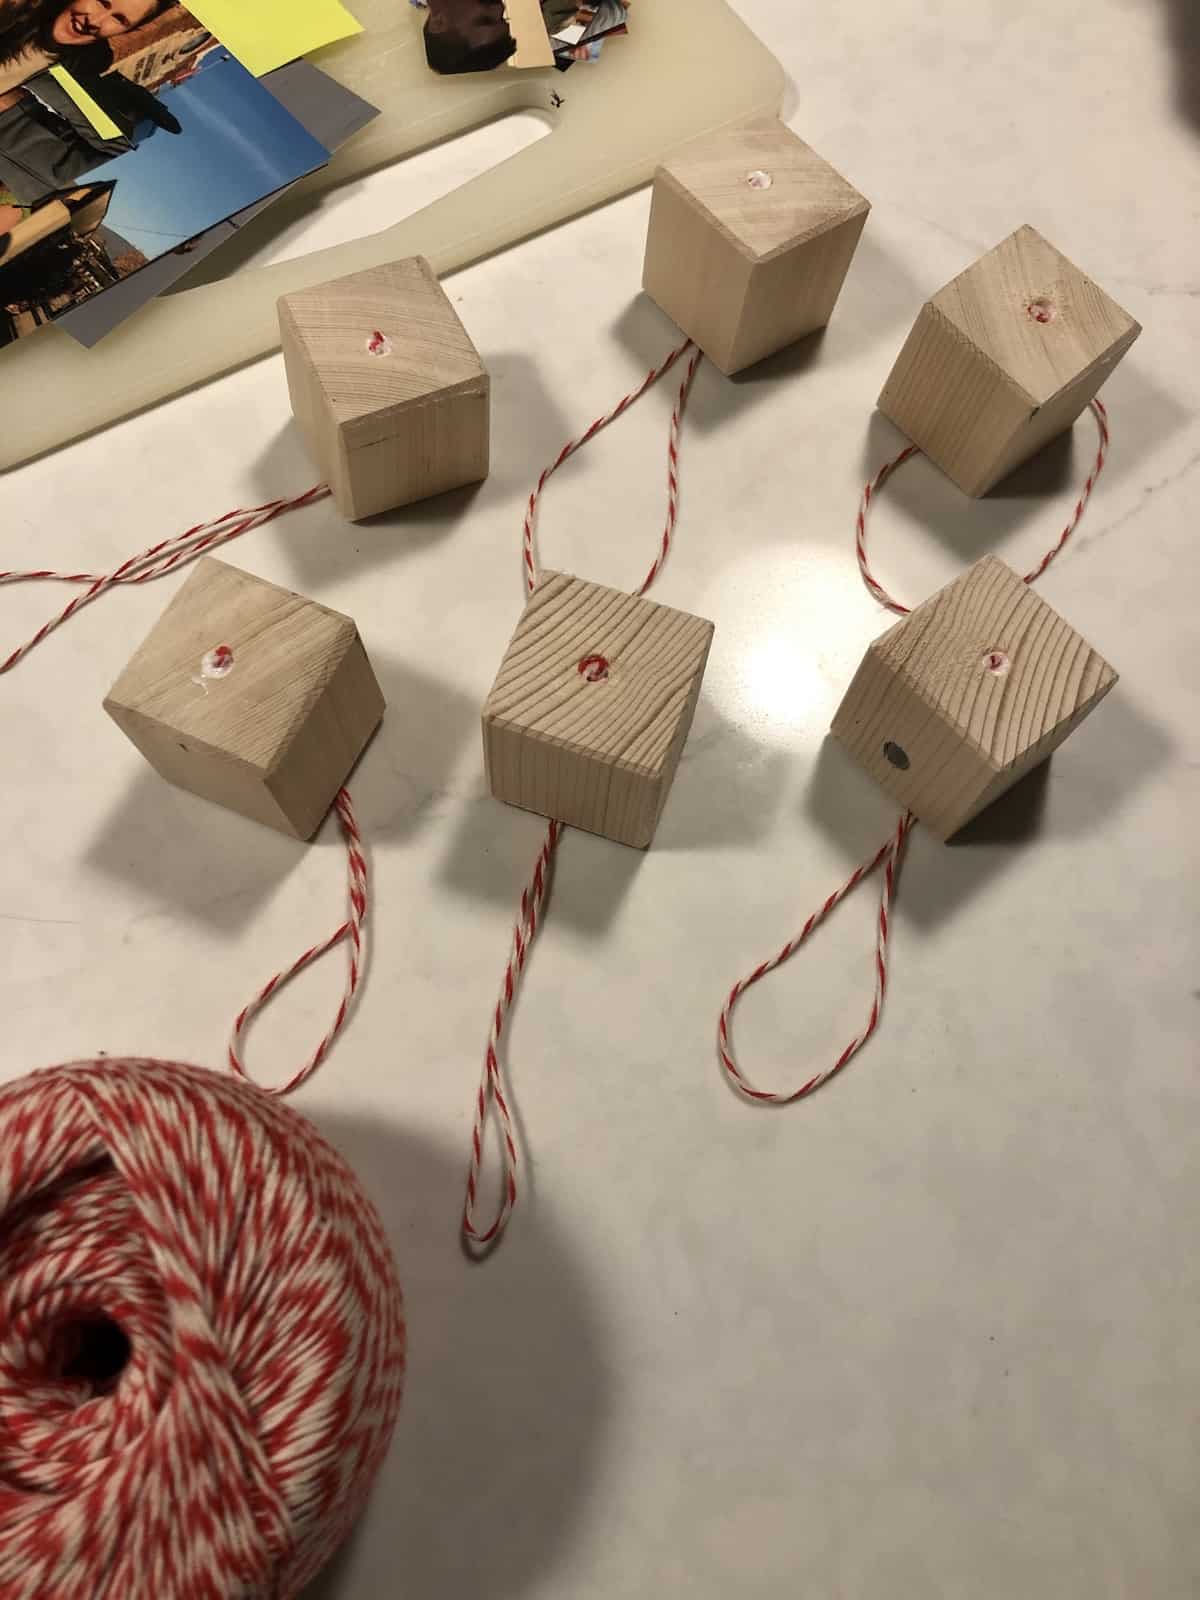
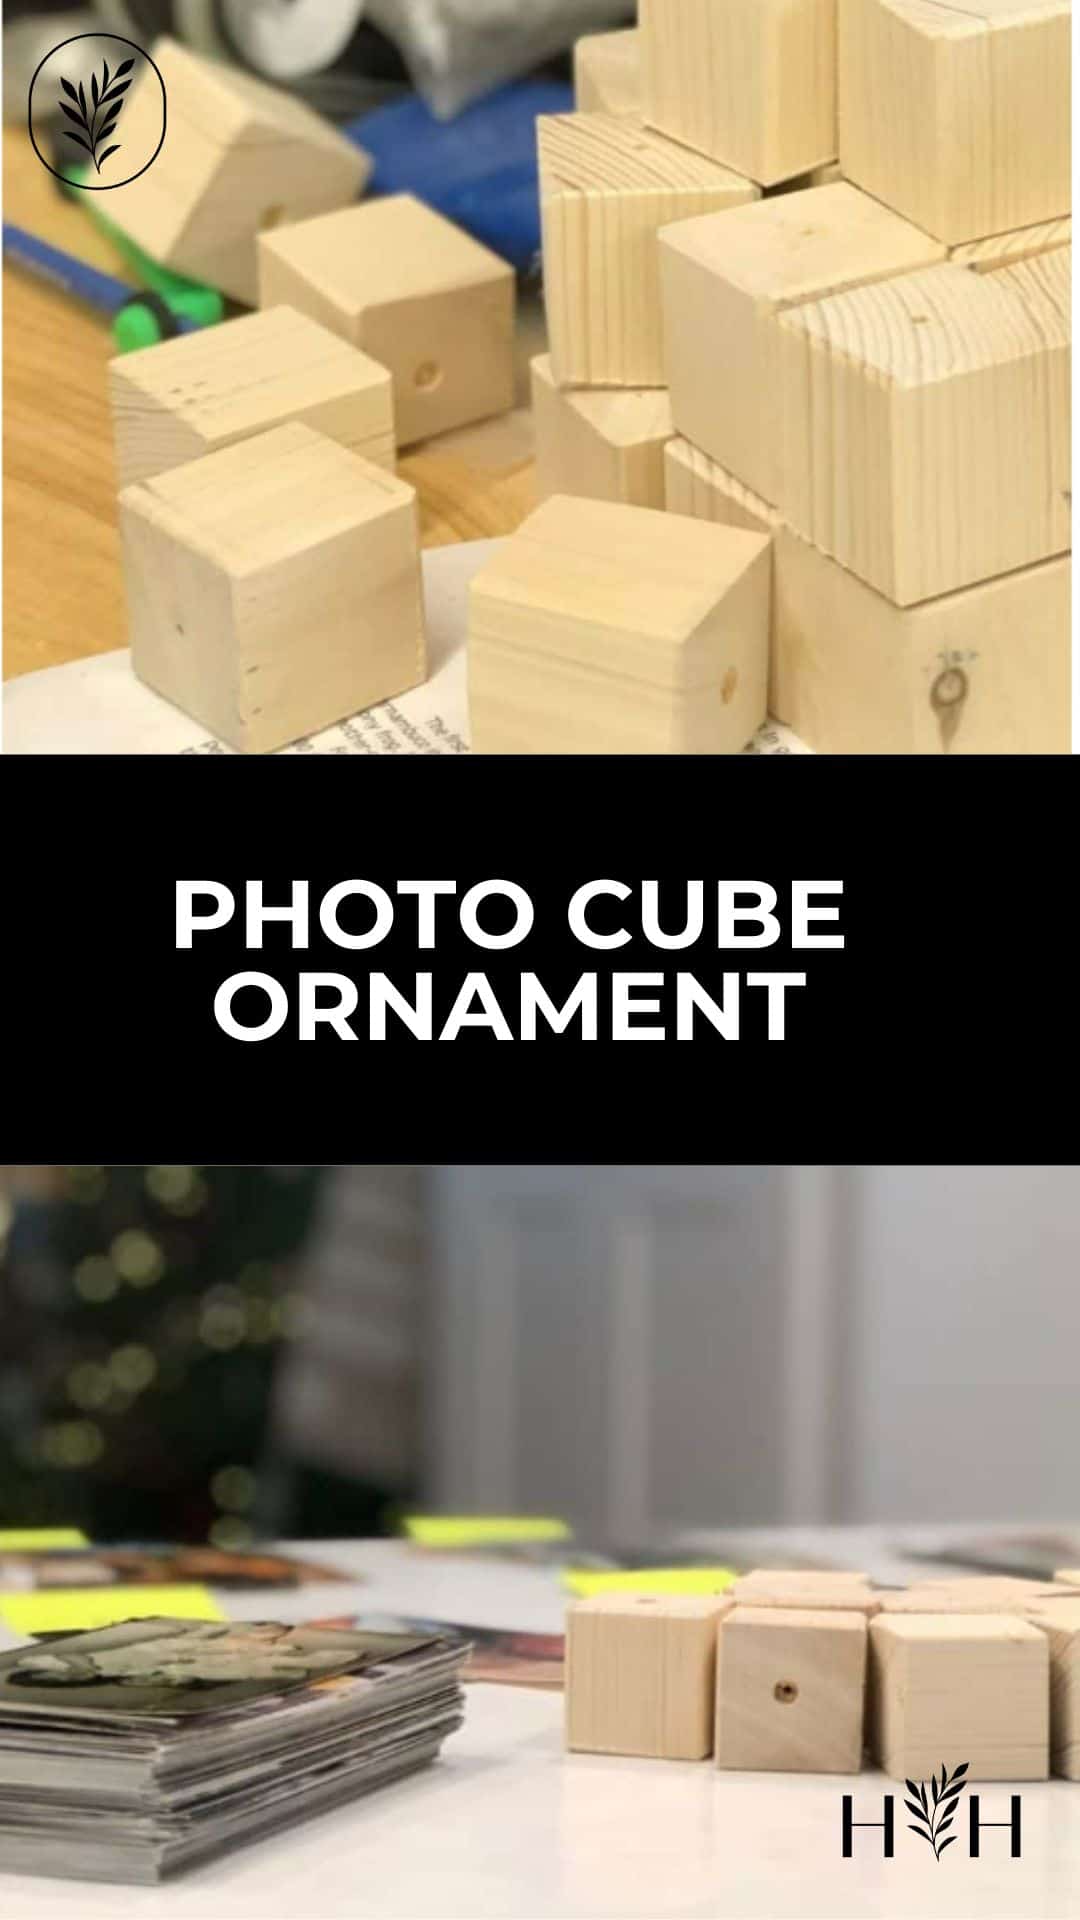
  1. Find or make a wooden block. A size of about one inch to two inches works well. We made our own from 2″x2″ scrap lumber, but you could also use kid’s wooden play blocks.
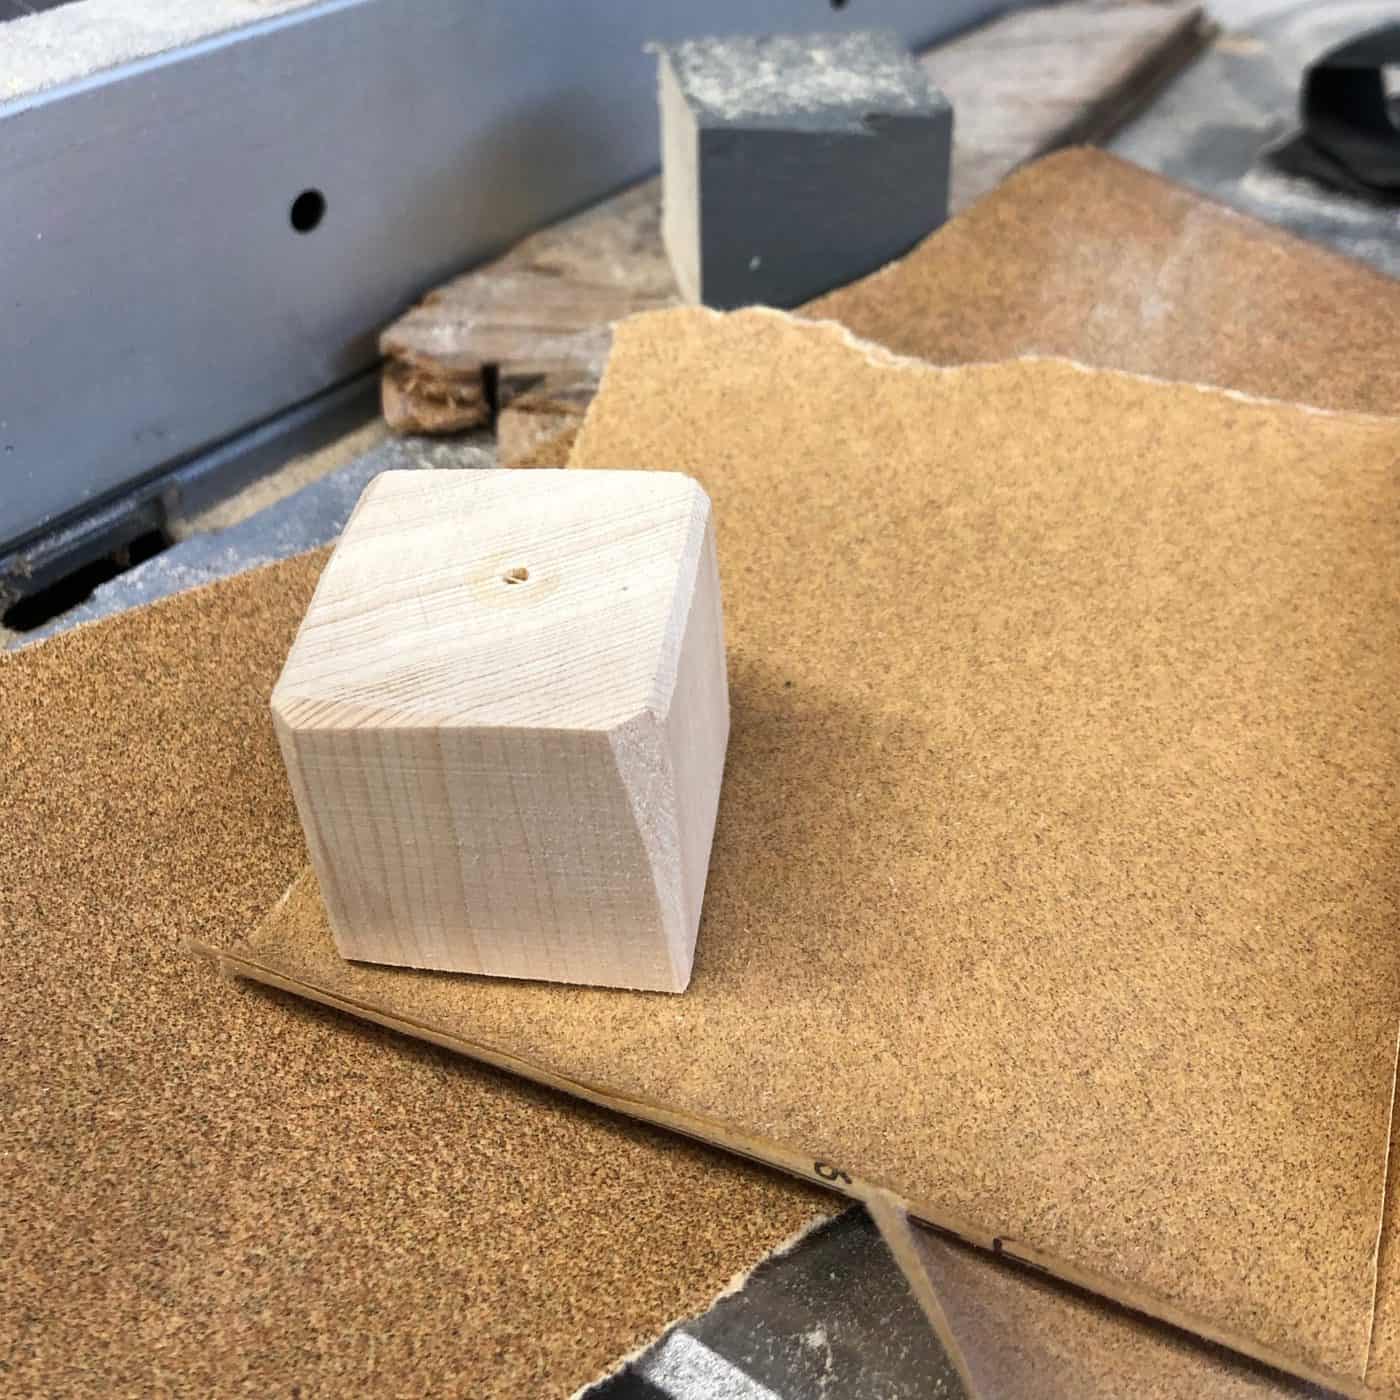
  2. Sand off any rough edges. You can sand down the edges of the wooden cube if you like or leave them at an angle.
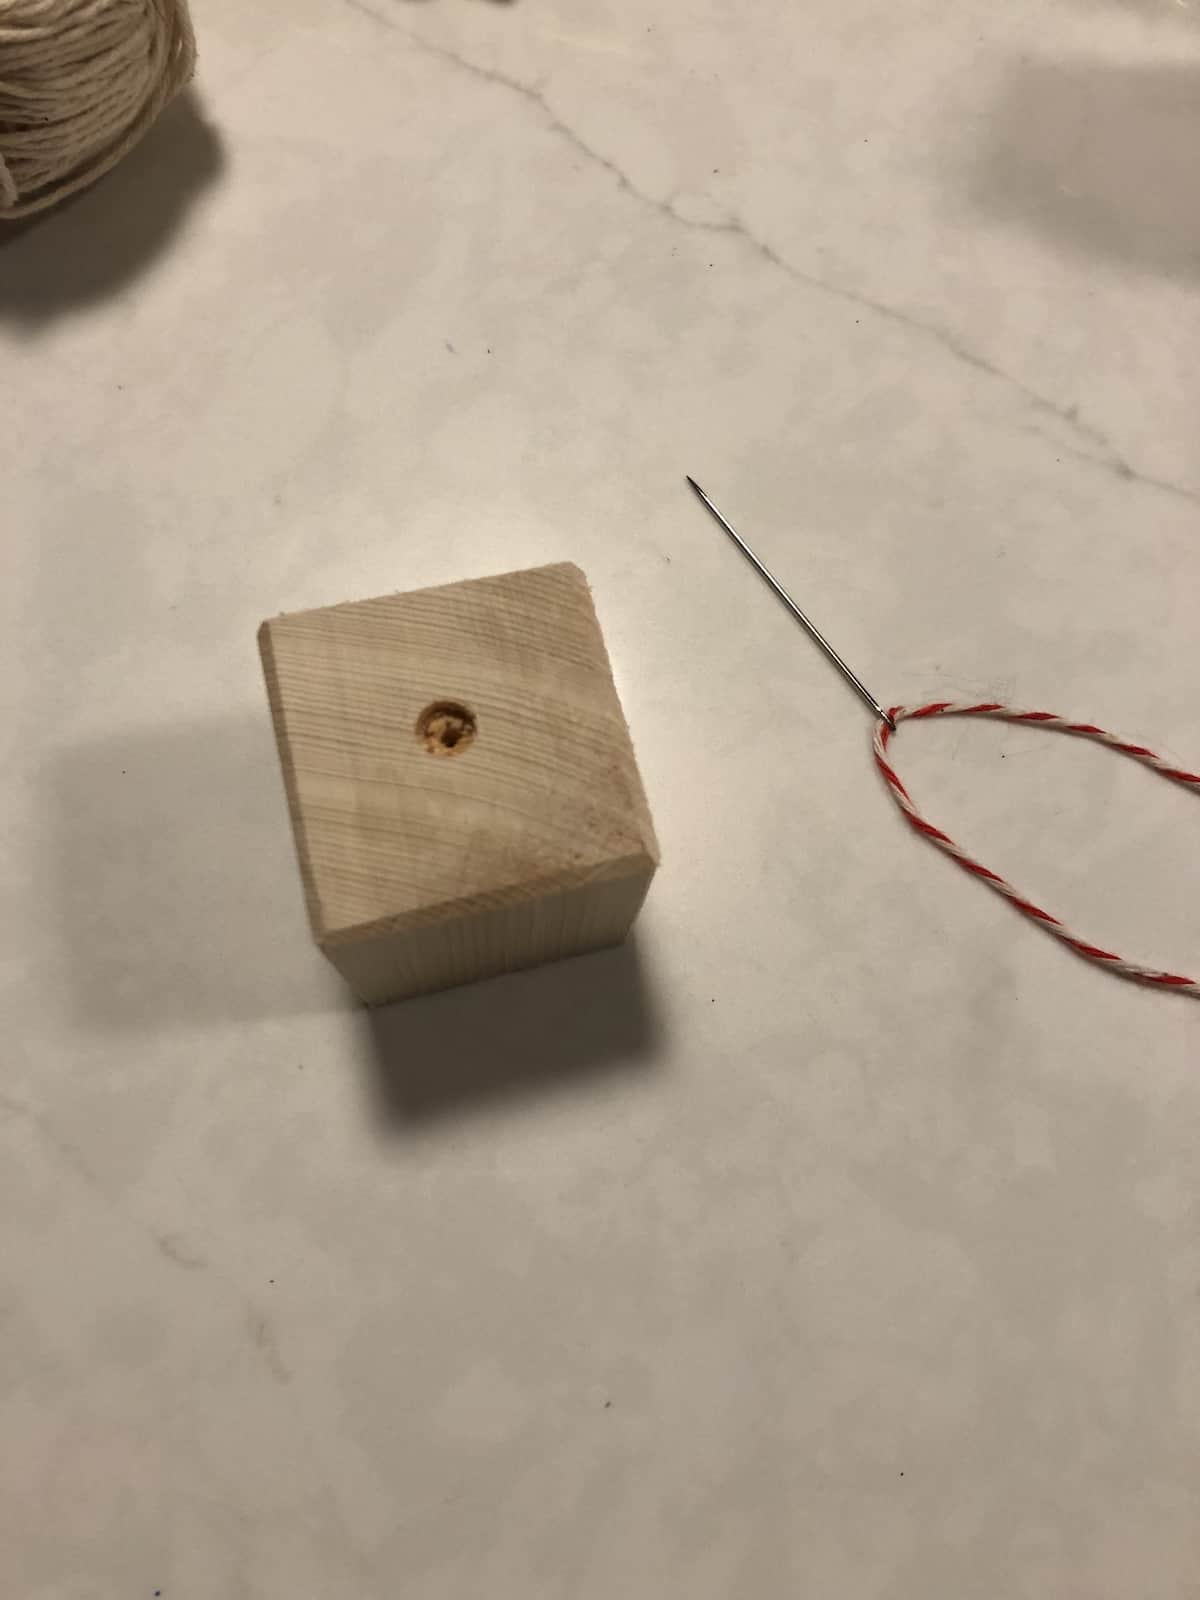
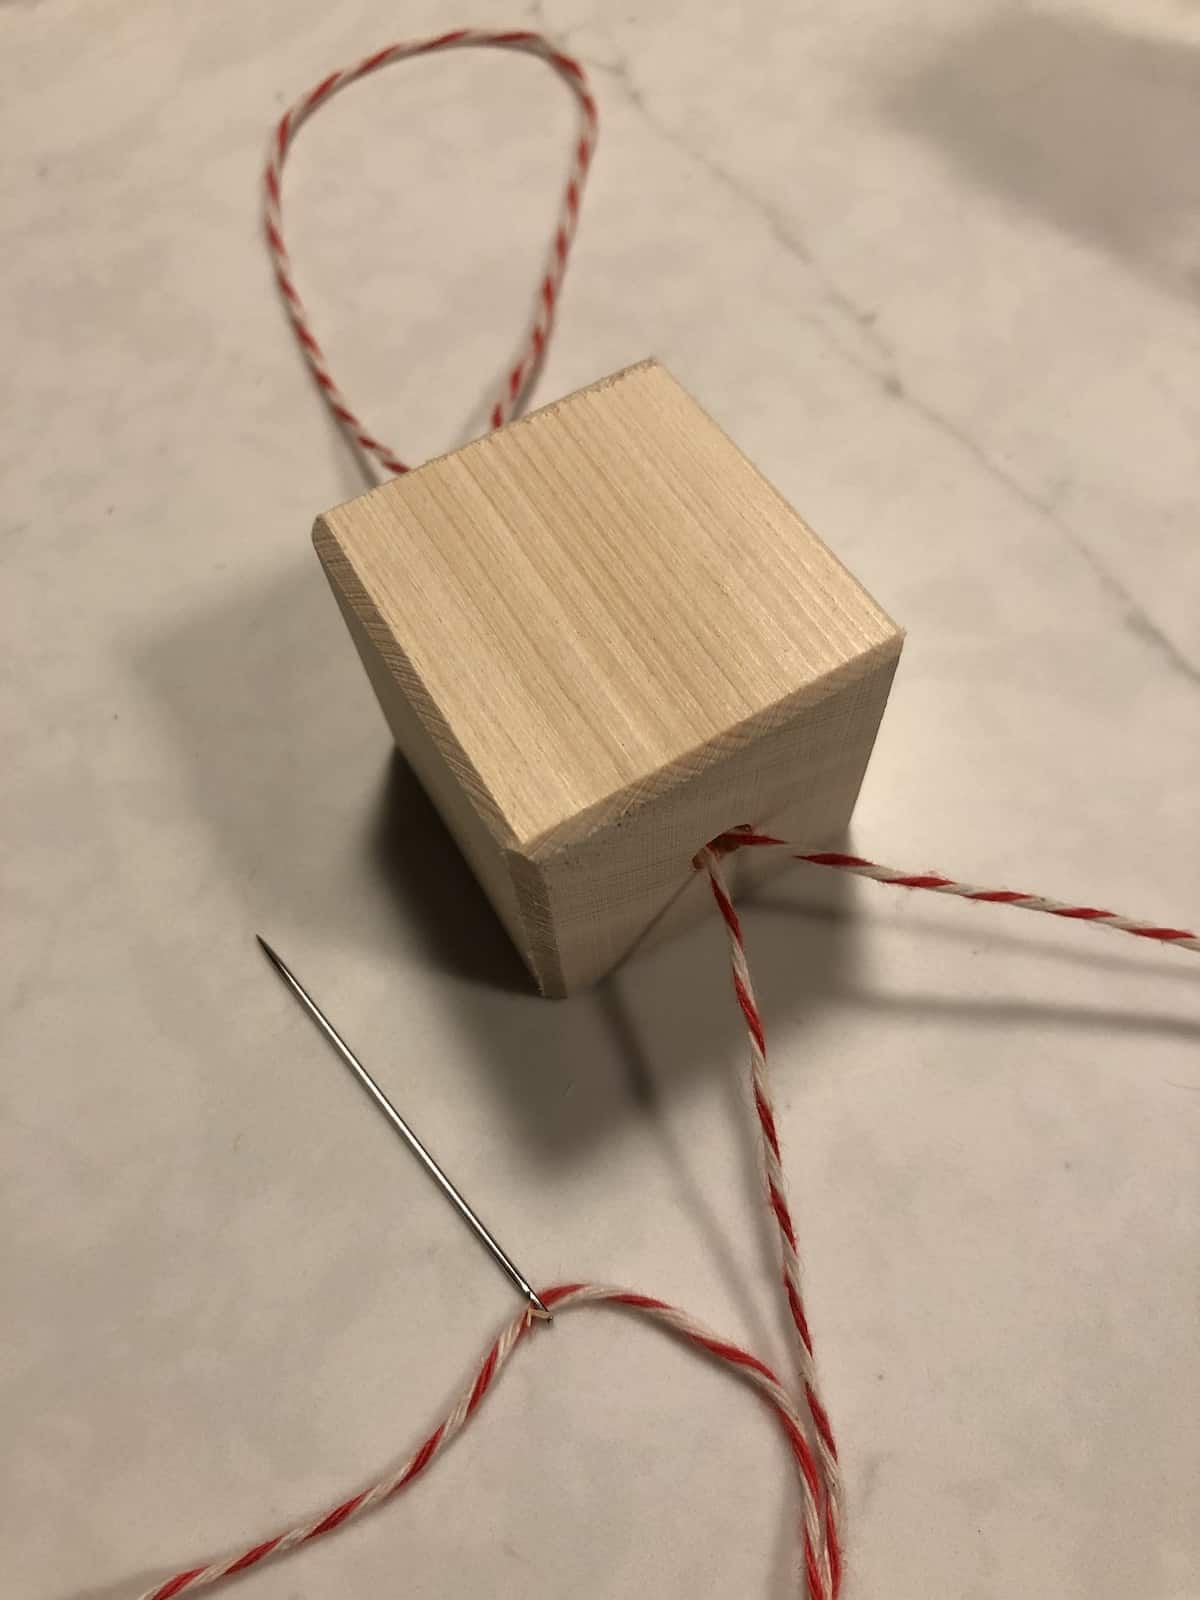
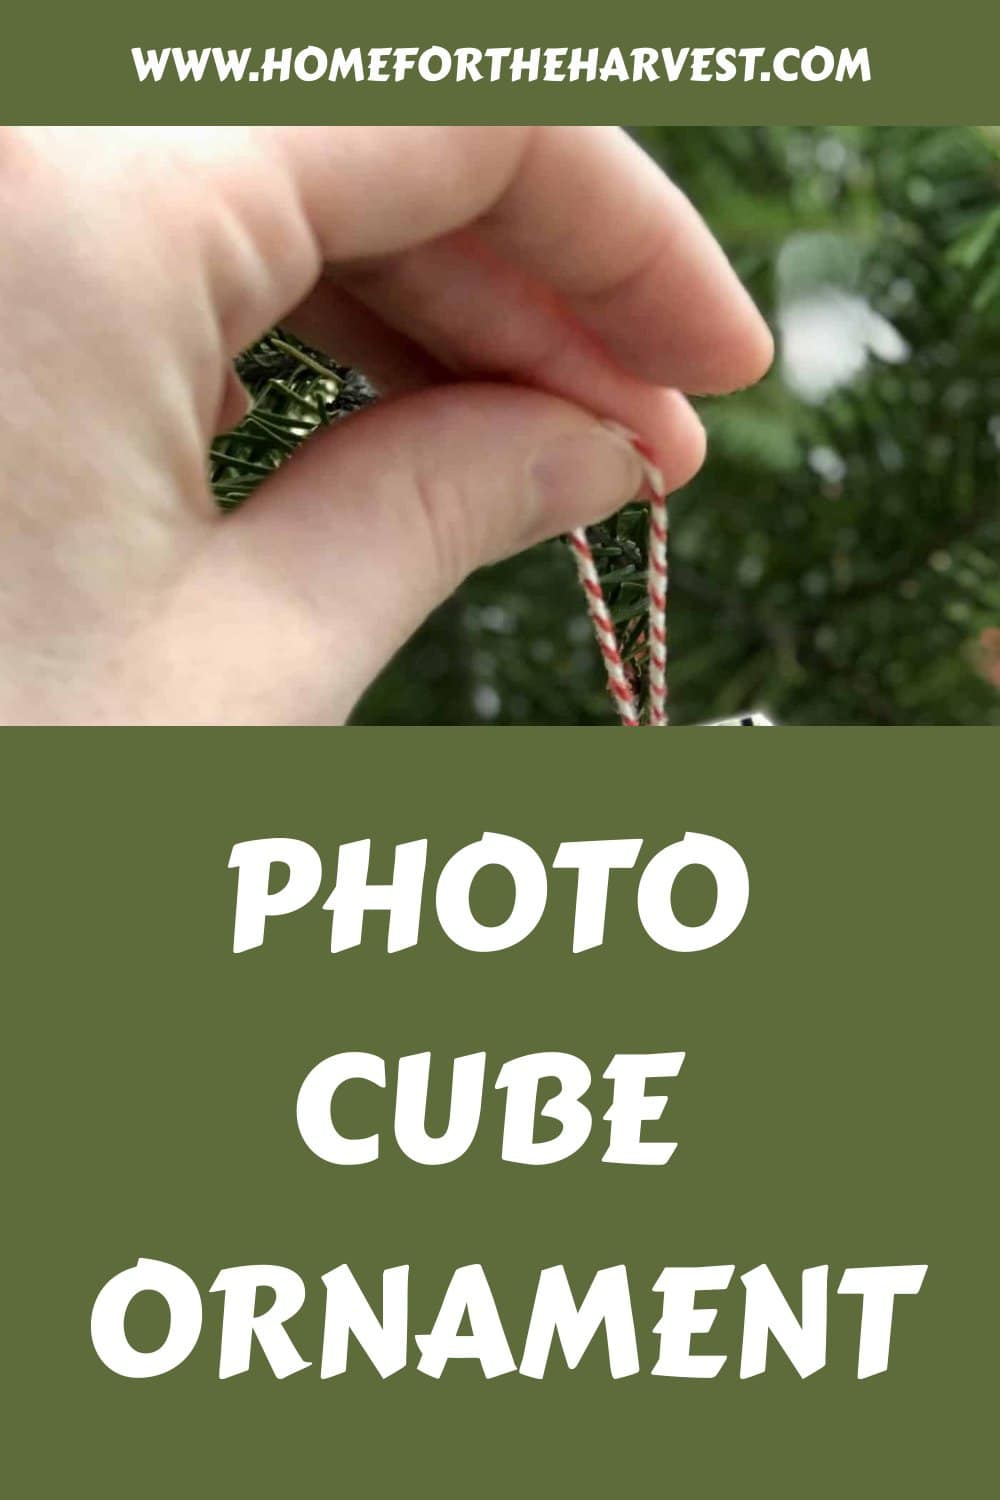
  3. Drill a hole through the wooden block. Ensure the hole is large enough to fit the string and needle through it. We also put a bit of a divot on one end of the hole to hold the knot in the string (see photos below).
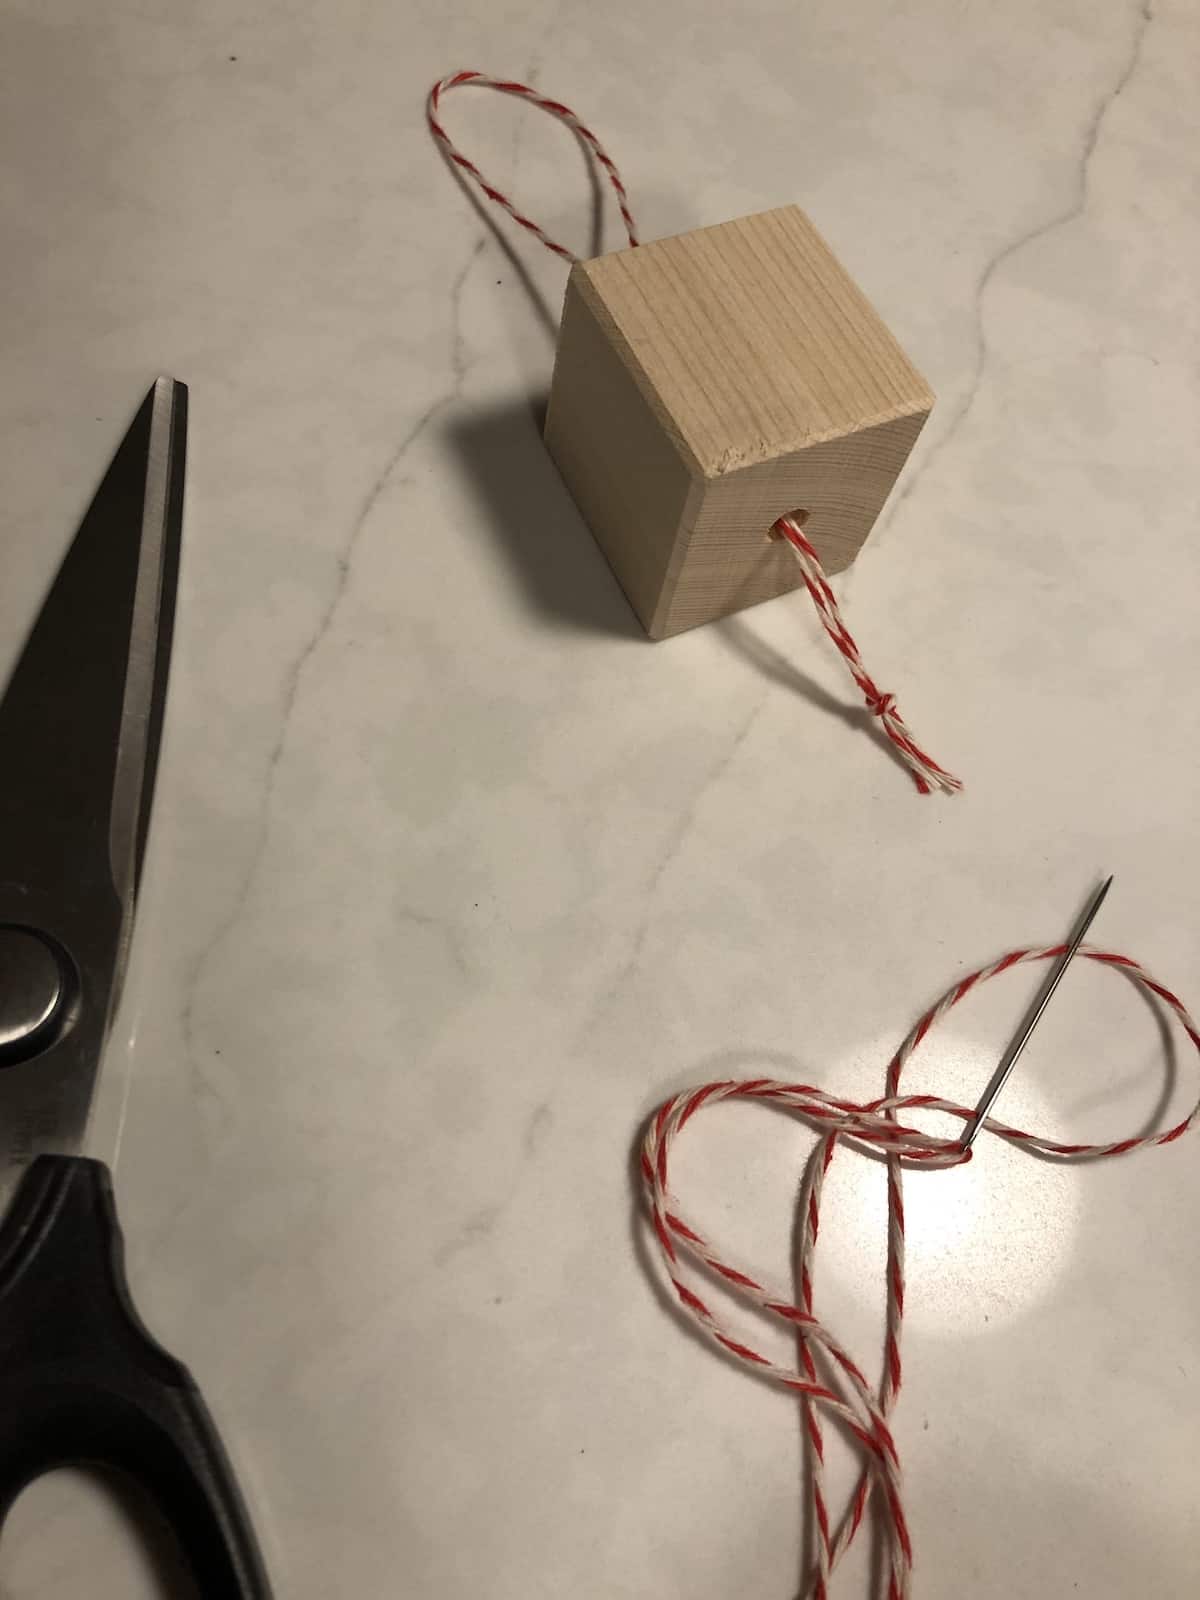
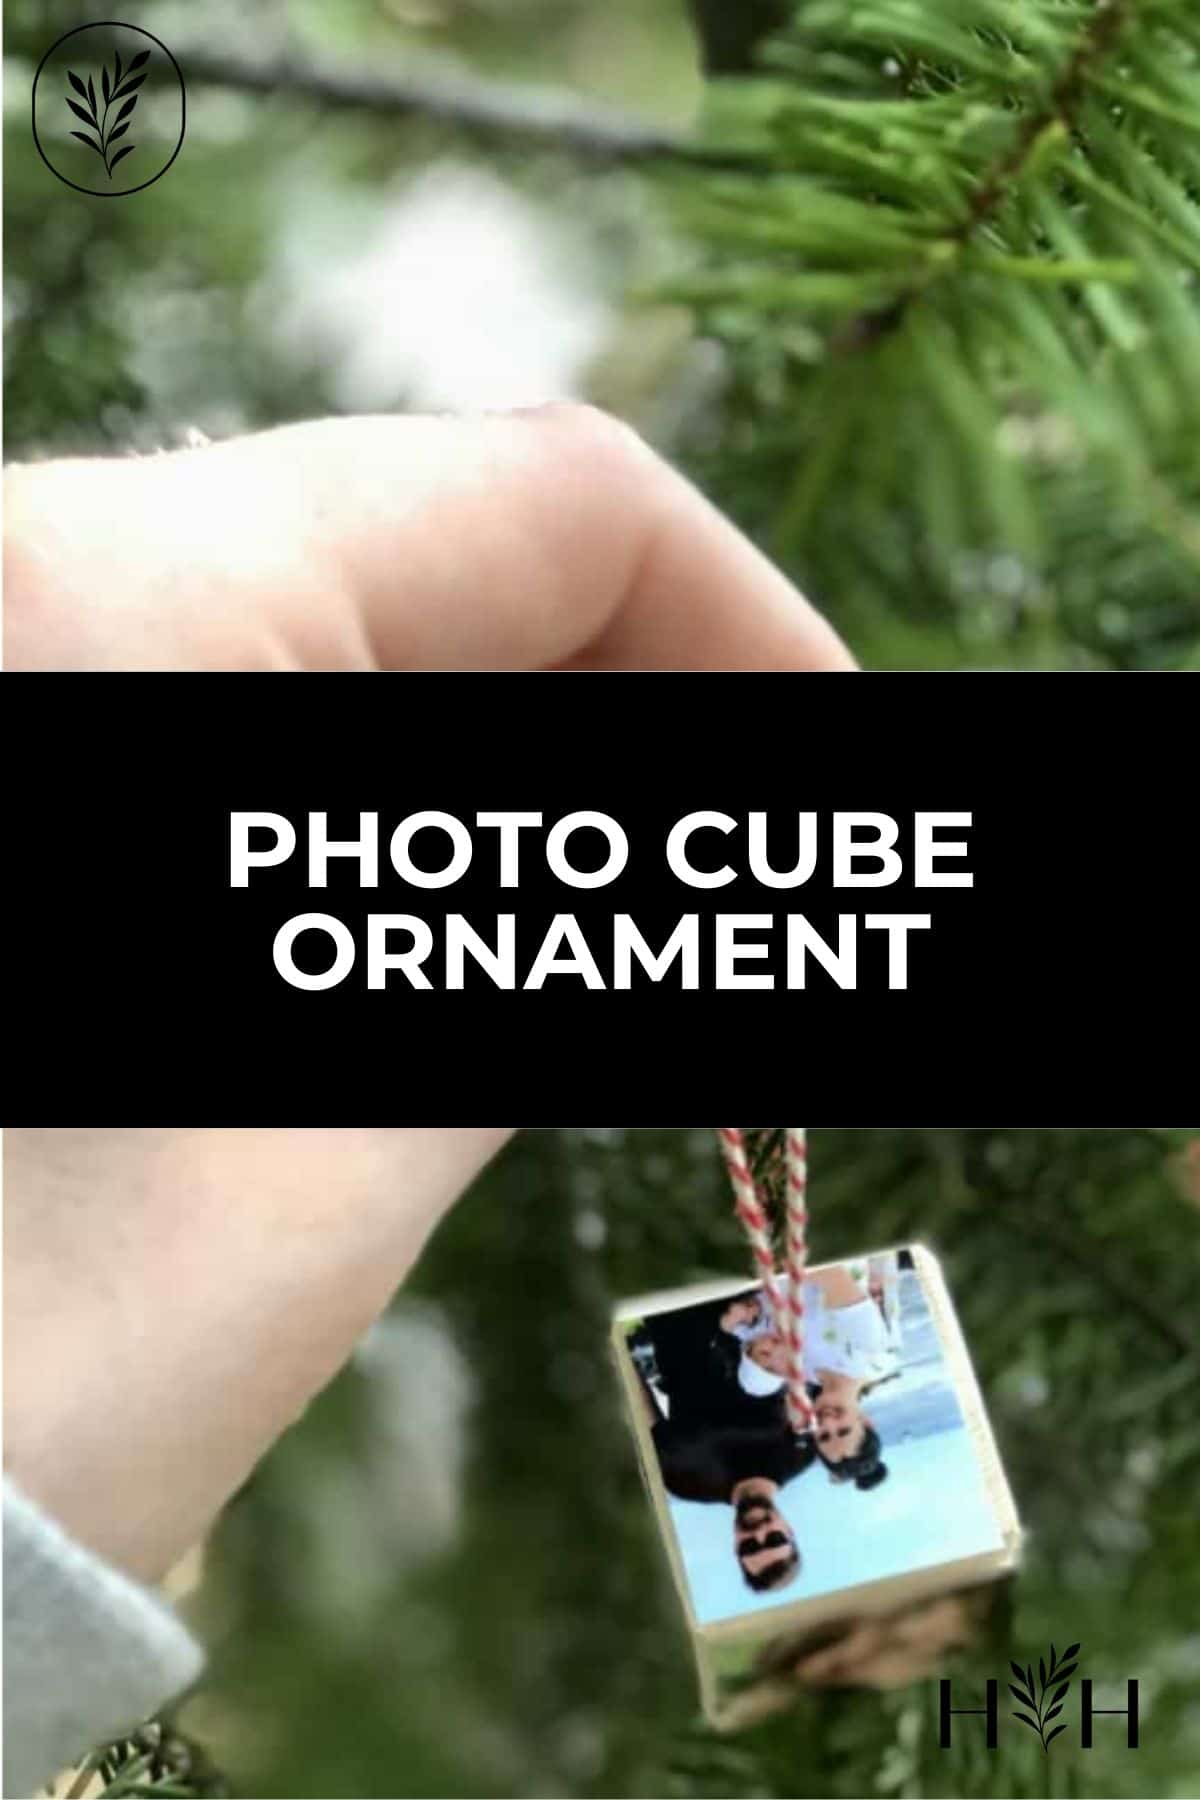
  4. Use the needle to pull the string through the wooden block to create a loop. Go up through the block and then back again through the hole, leaving enough string to hang the ornament.
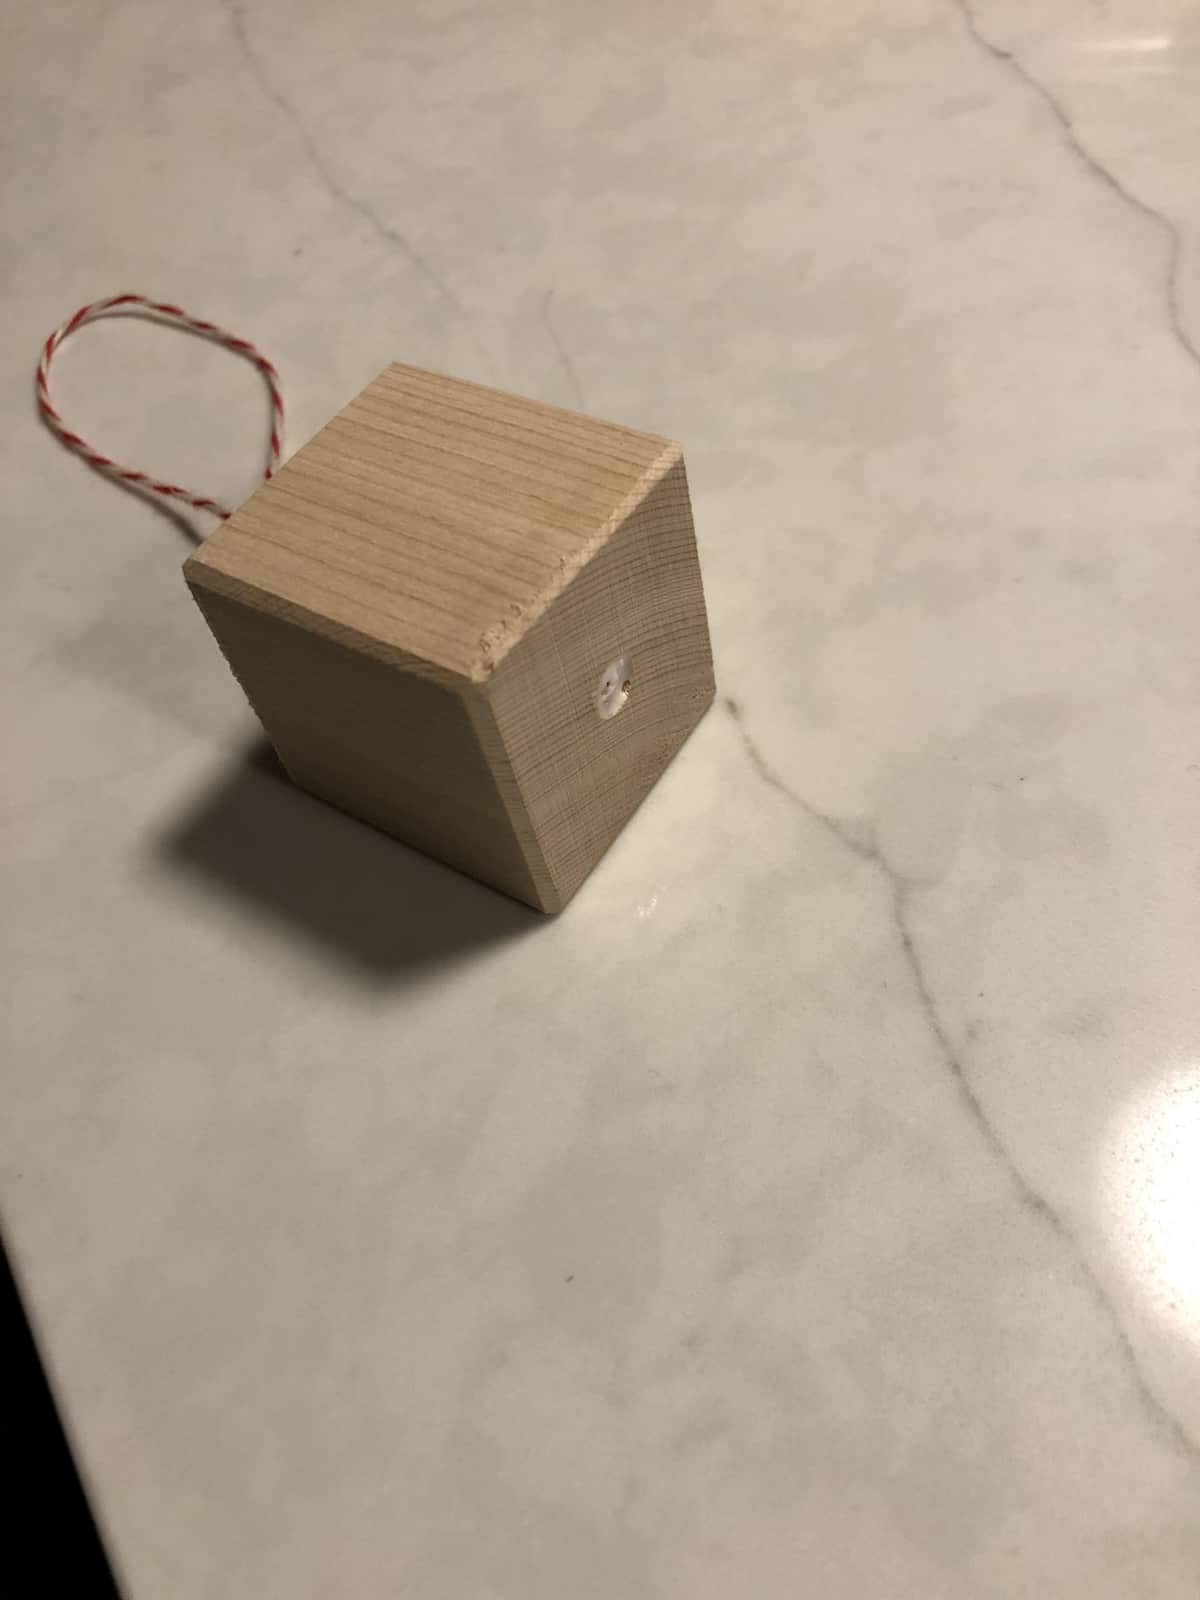
  5. Tie the string in a loop below the wooden block to create the hanging loop for the photo cube ornament. Cut off the extra string and put a dab of glue in the divot to hold it together.
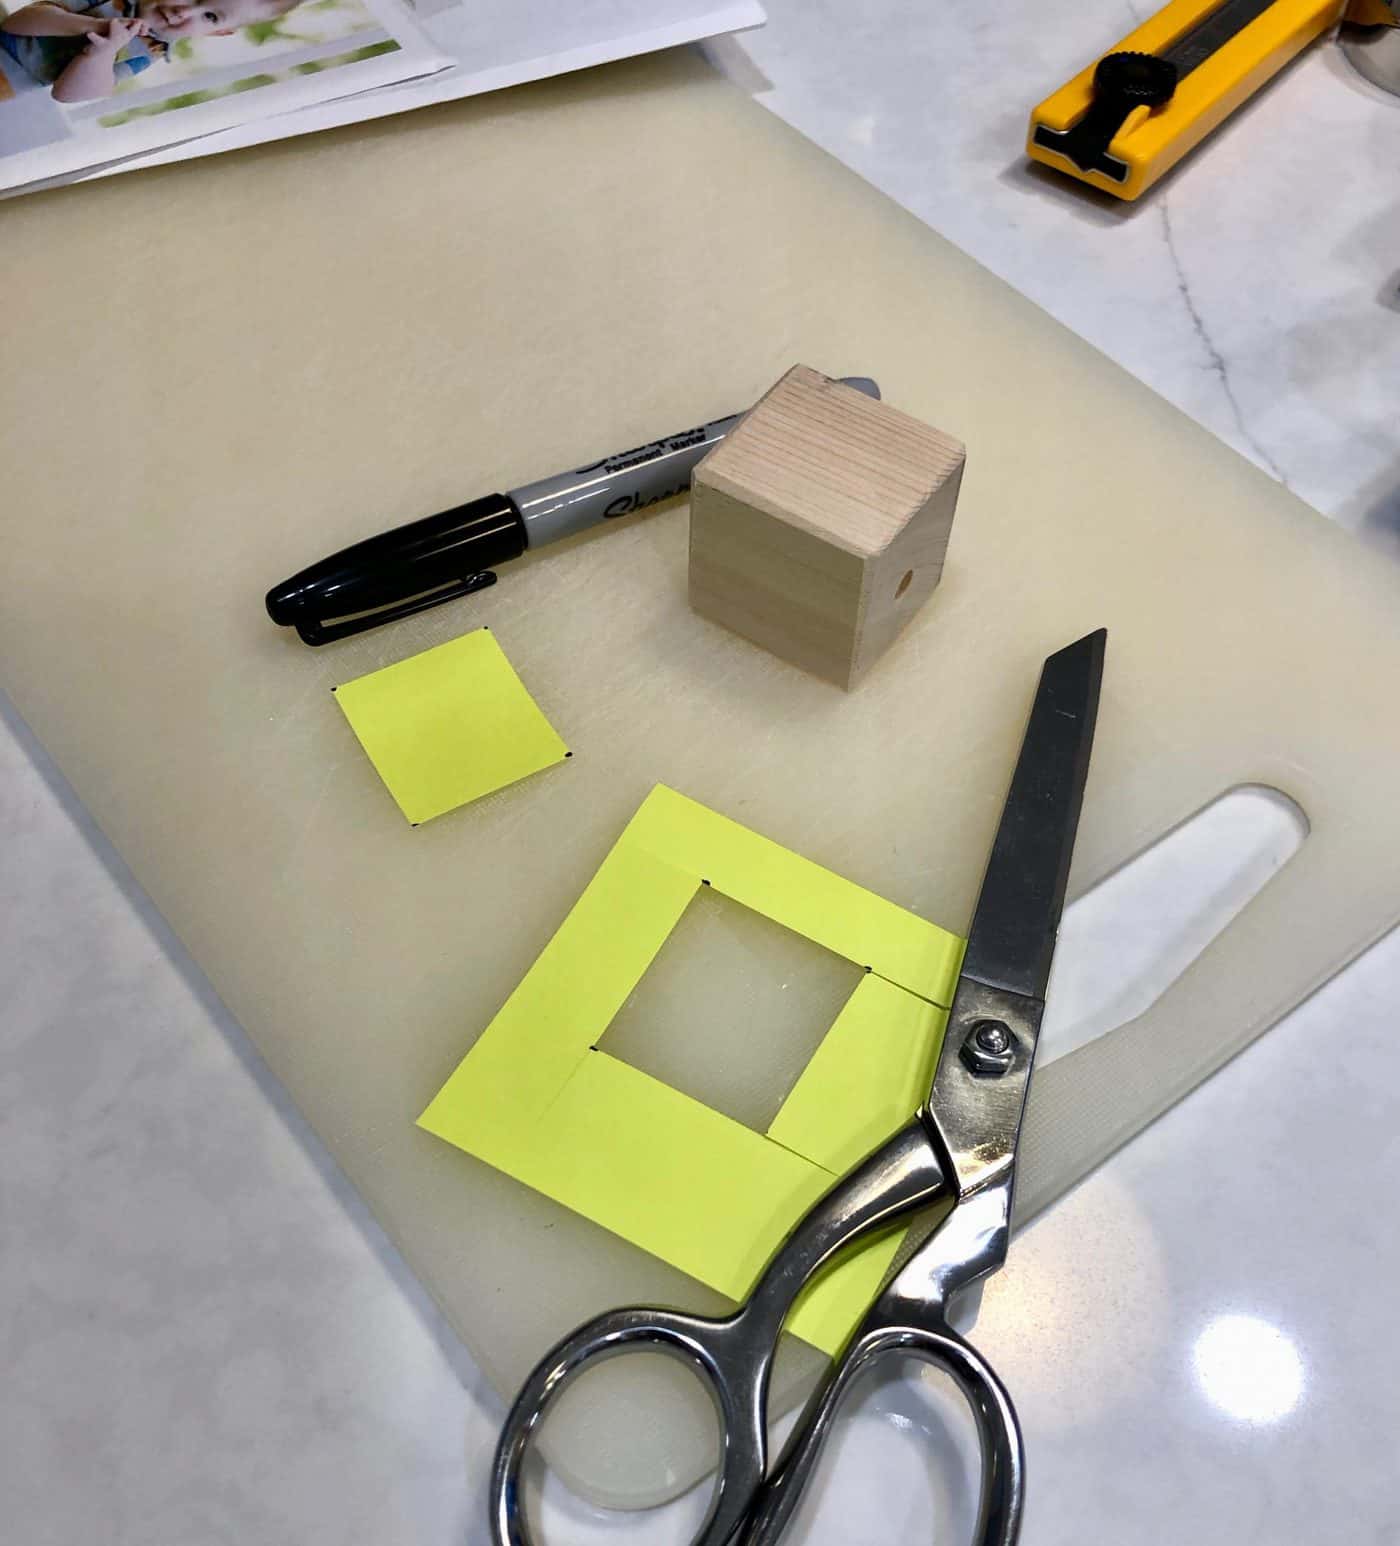
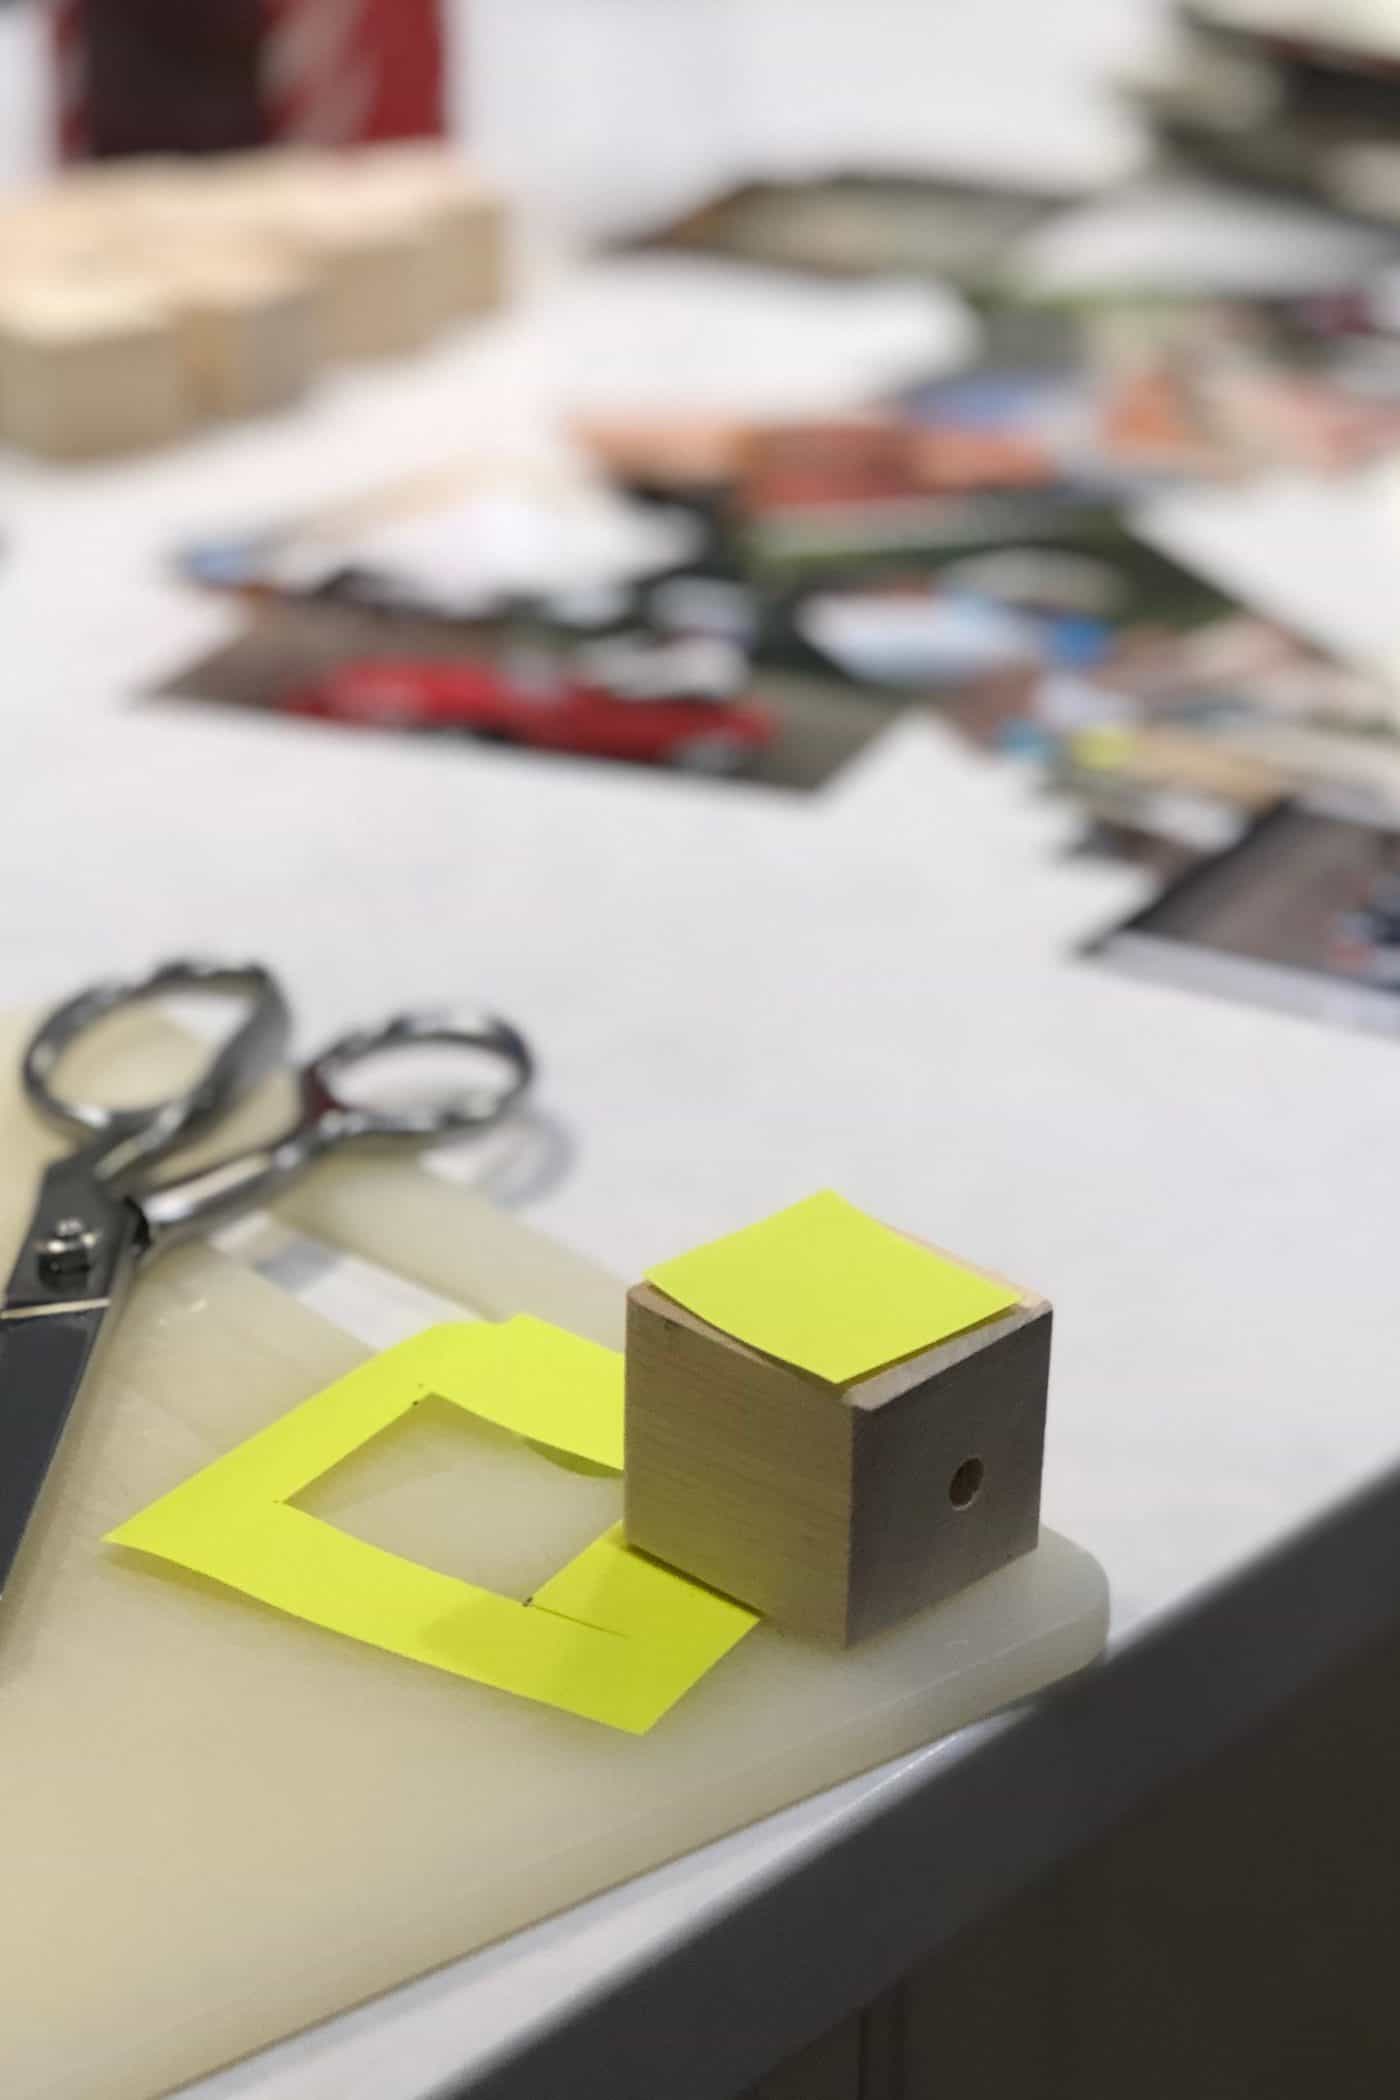
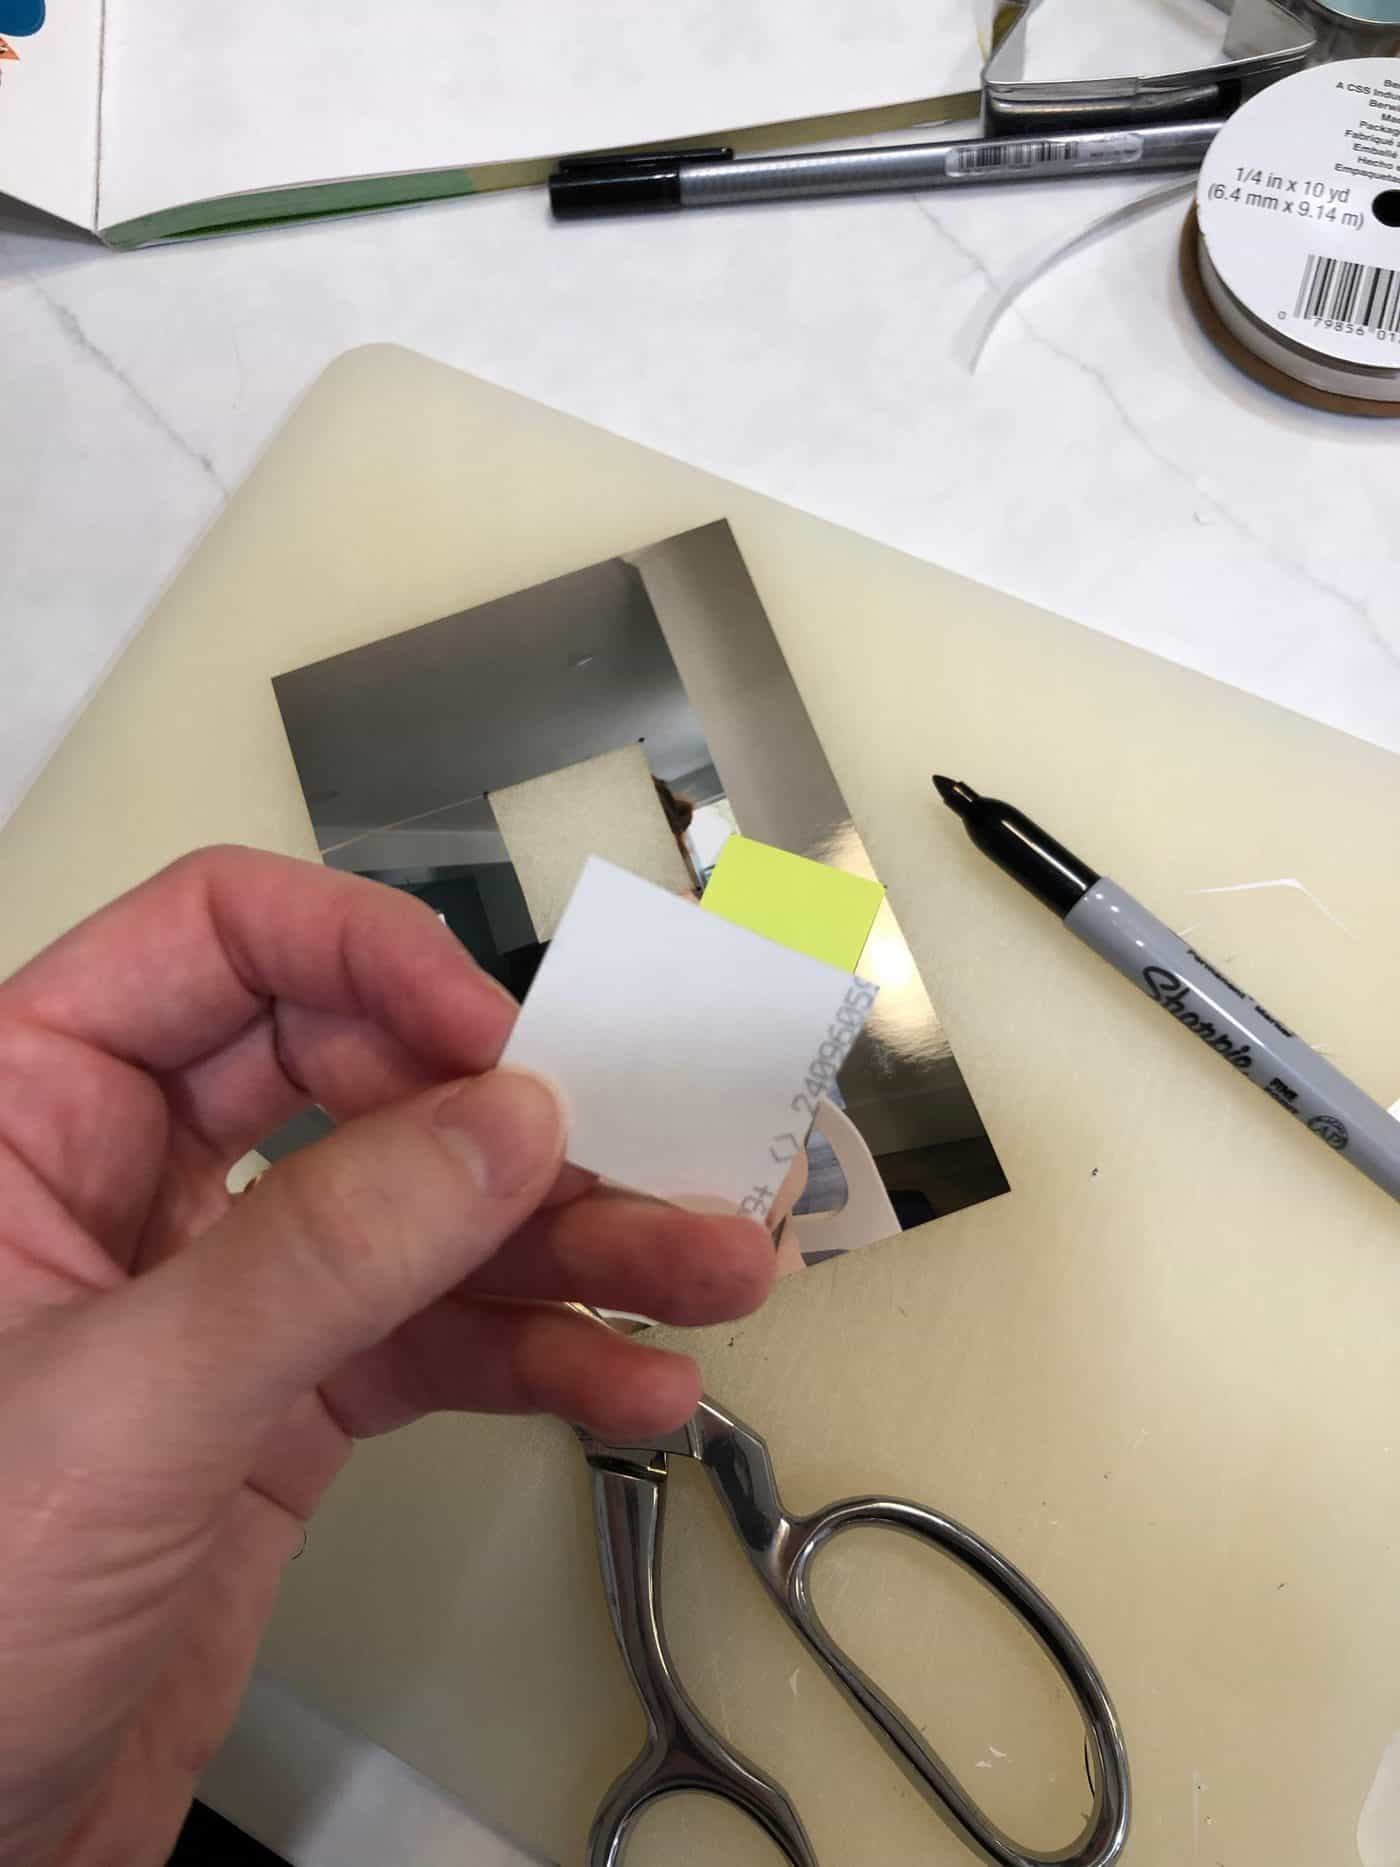
  6. Make a template for the photos by taking a piece of scrap paper and cutting it to the desired size for the photos. We used a lime green post-it note to make the photo-size template (see below).
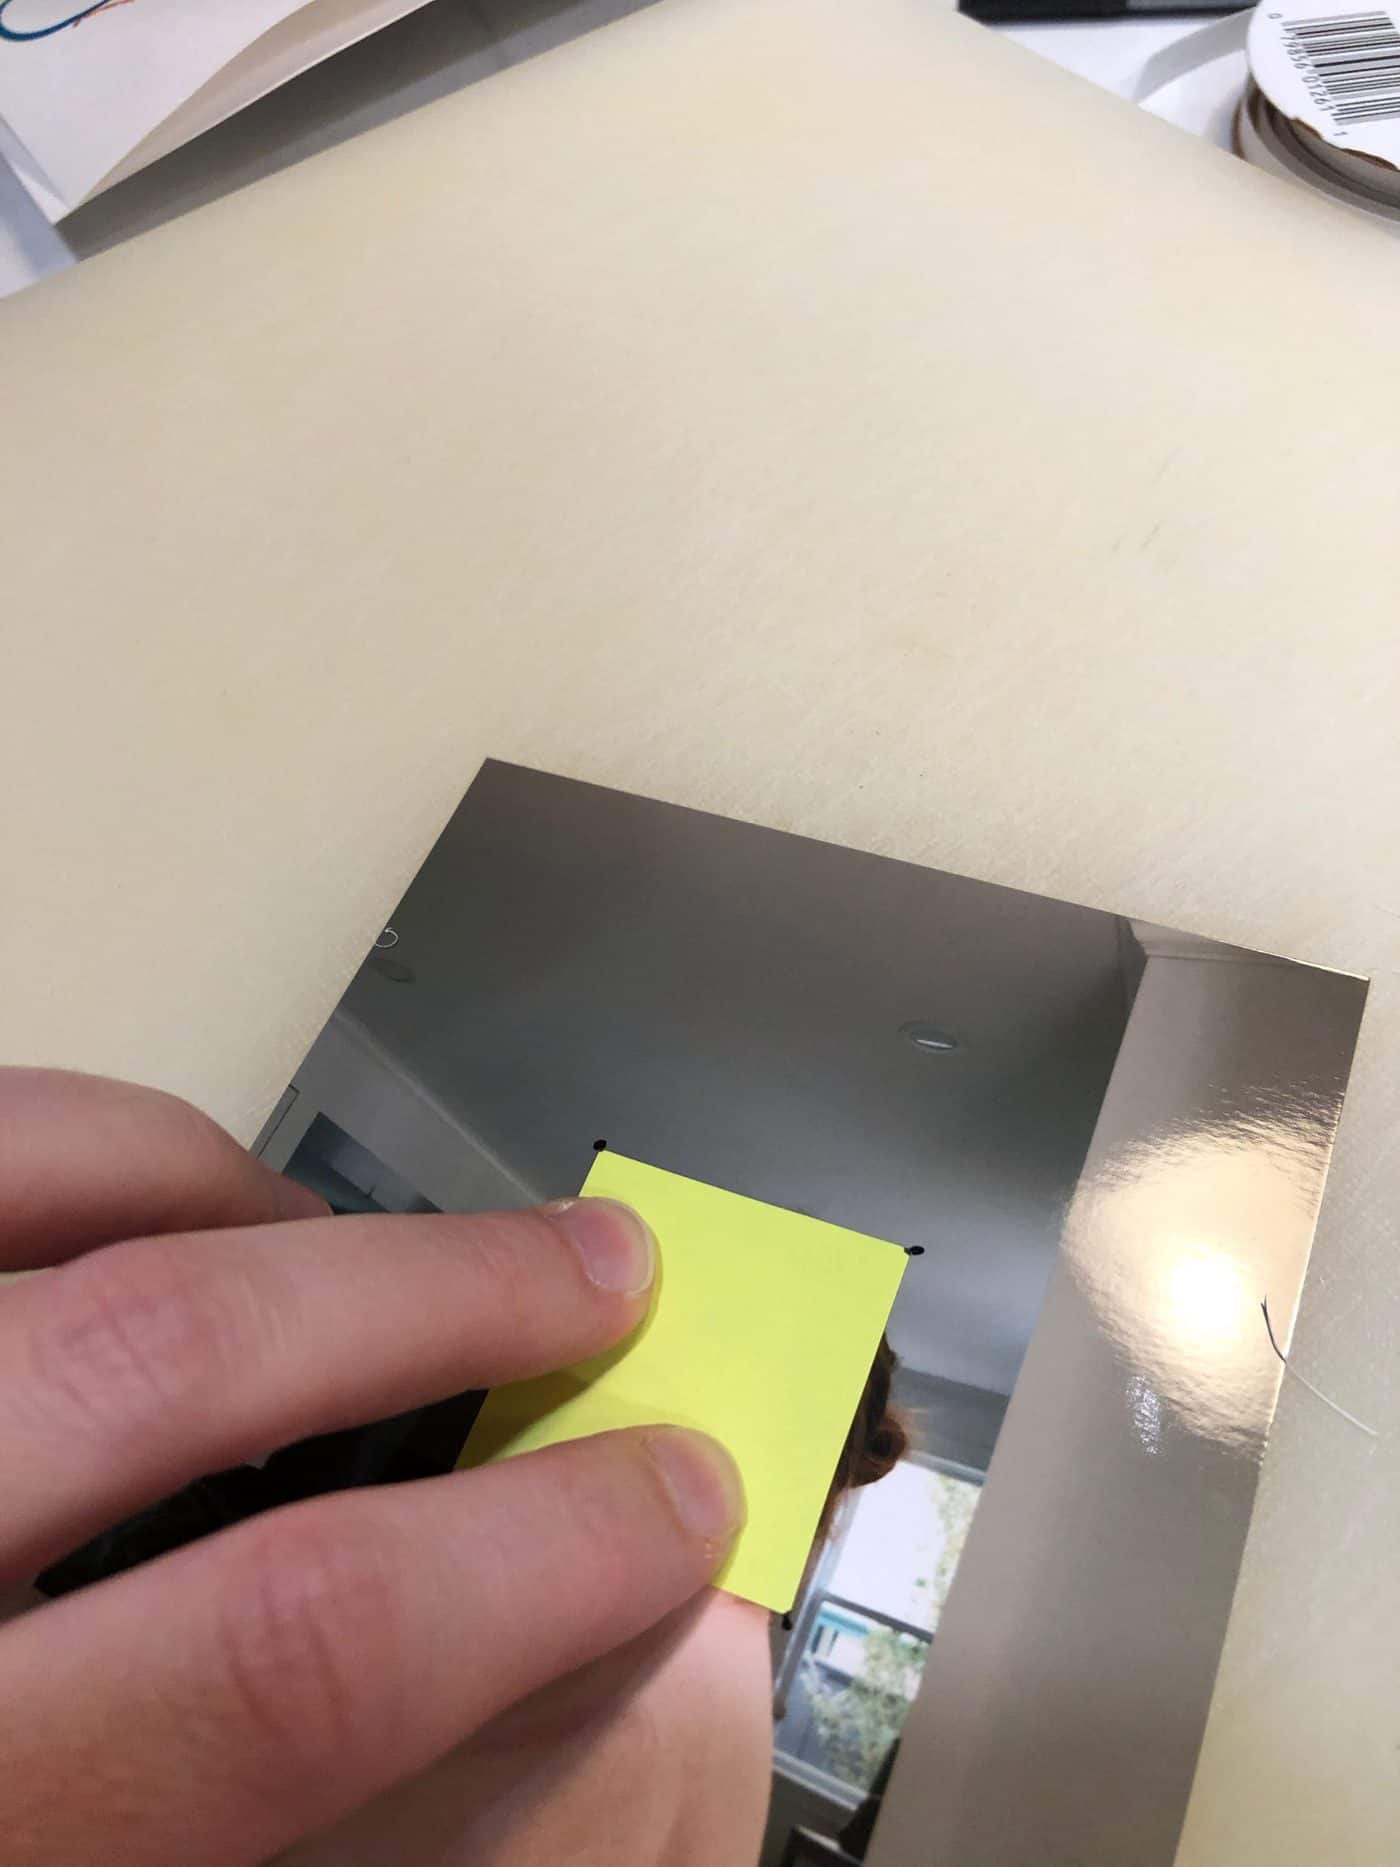
  7. Use the template to cut out properly-sized photo squares to glue onto the block. I used a sharpie marker to mark the corners of the template onto the photo.
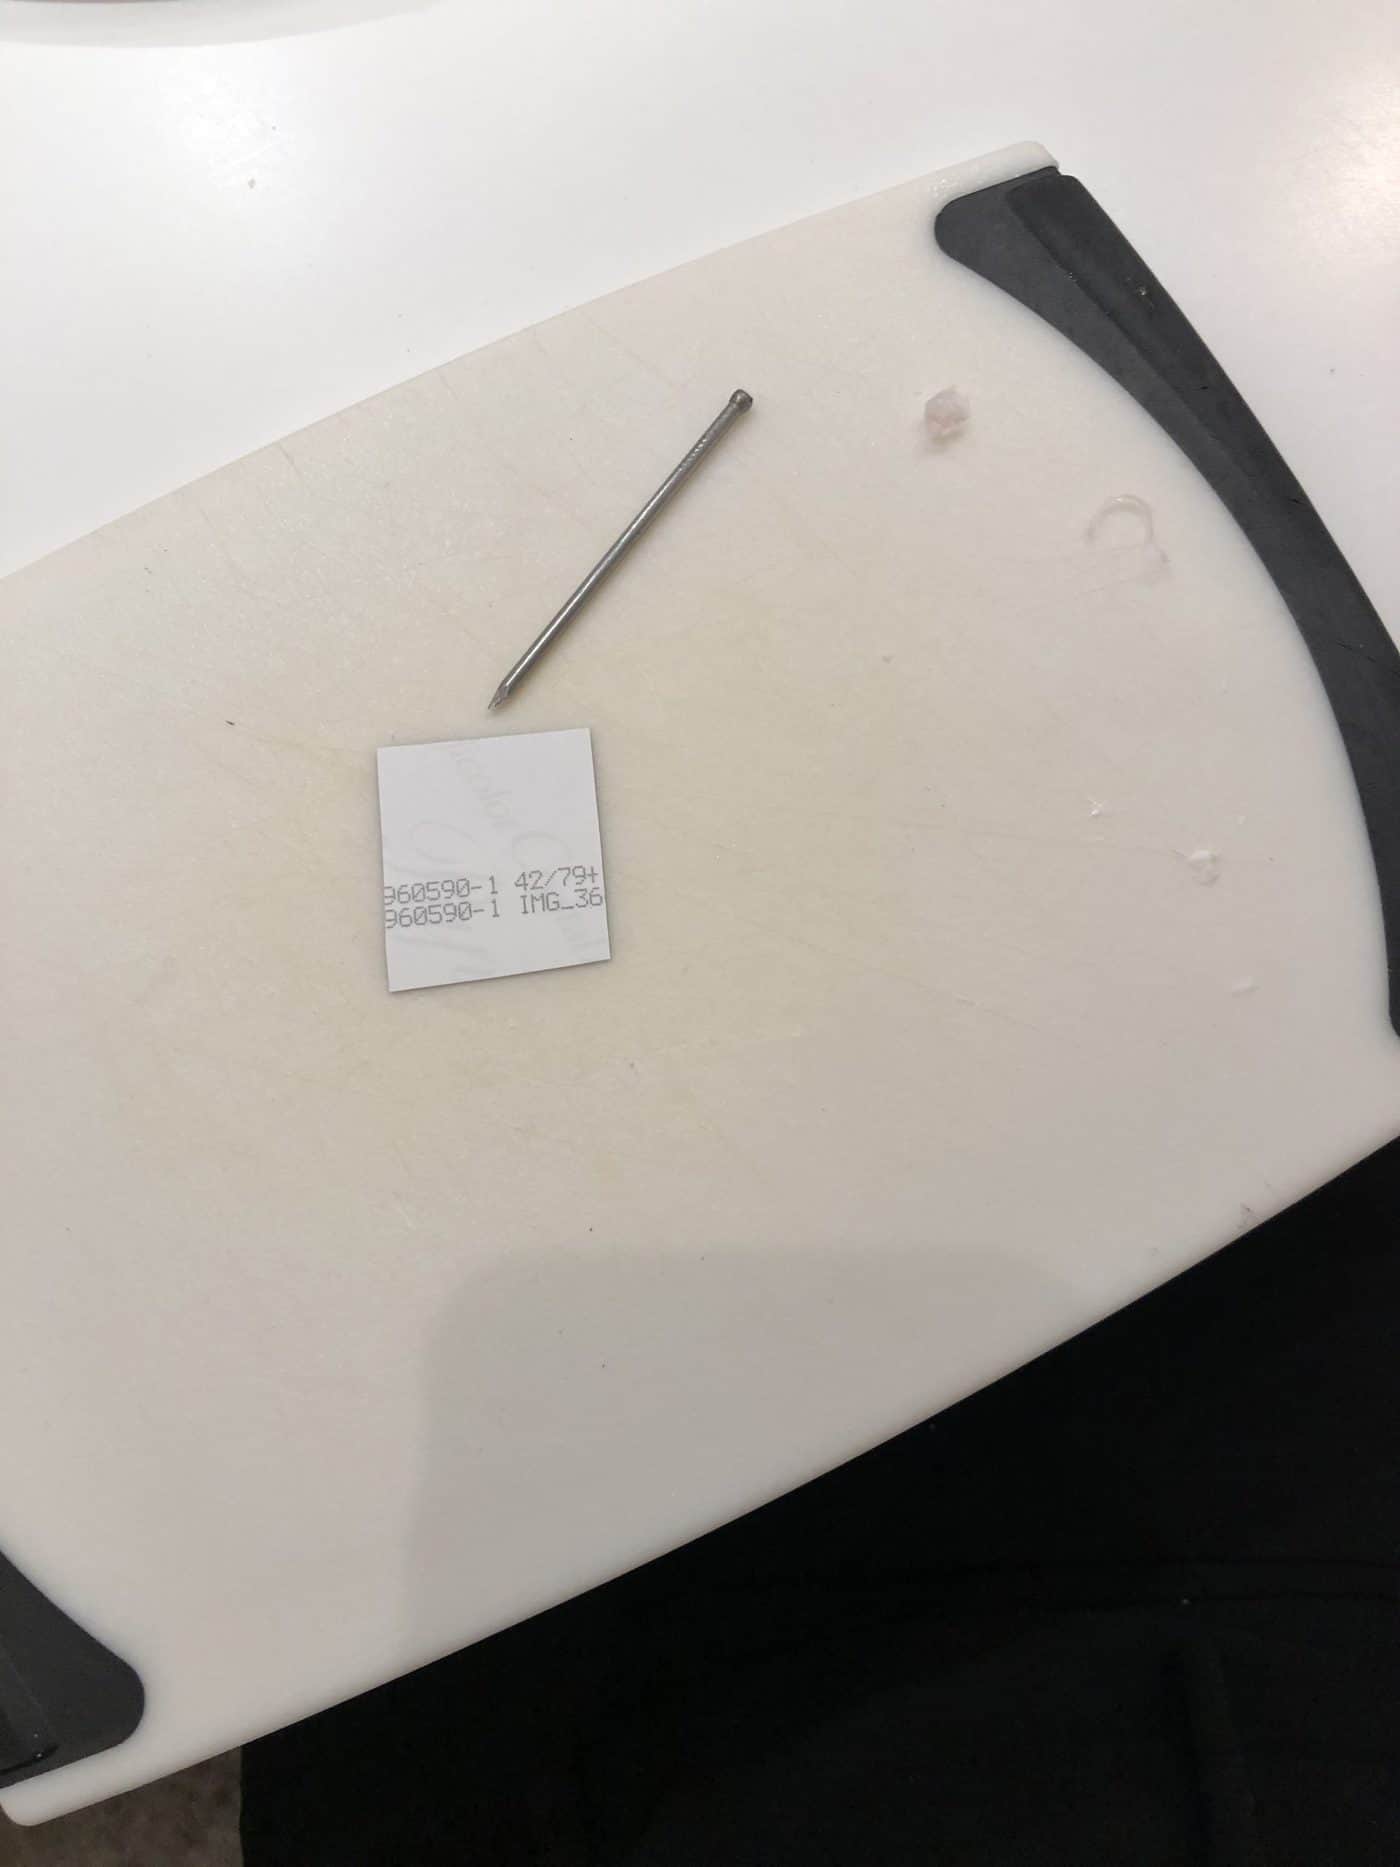
  8. Select 6 of the photos you’ve cut out to go onto the wooden block ornament. One photo will have to go on the top and will need a hole punched through it, so pick a photo that won’t look too odd with a hole poked in the middle of it.
  9. Poke a hole in the middle of the top photo. I didn’t have an awl so I just used a nail.
  10. Glue a photo onto each side of the photo cube ornament.
  11. Let dry!

That’s how to make a photo cube ornament from a wooden block. Have fun choosing your photos and putting this project together!

Making wooden blocks out of hardware store lumber
Scrap lumber is used to make wooden cube blocks.
Sanding the edges on a wooden block cube before putting photos on it
Rough wooden block with a hole drilled through it.
Stack of wooden blocks on workbench with ornament hanging holes drilled in them
Stack of wooden blocks ready to be made into ornaments.
Threading a string into a wooden block
Here is the divot at the bottom of the block. This little hole will hold the knot in the string on the bottom of the ornament.
Wooden block christmas tree ornament
Threading the string through the wood block.
How to attach the hanging string to the wooden block ornament
Tie a knot in the string to create a loop.
Glue the string into the wood block to make a tree ornament
I glued the knot into the divot hole to keep the string from moving in the block.
Wood cube ornaments prior to glueing on photos
Here are the wood cube ornaments ready to have photos glued onto them.
Poke hole in photo for string
The top photo will have a string coming through it, so i poked a hole in it to let the string through.
Cut a piece of paper to the size you want the photos to be
I used a post-it note to create a template stencil for cutting out square photos.
Check that the paper photo template is the right size
The photo template made with the lime green post-it note was just a little bit smaller than the sides of the cube.
Use the square piece of paper to mark out the portion of the photograph to cut out
Use the photo template to cut pieces of photos into the right size for the cube.
Cut out photos to the size of the wooden block
Ta-da! This photo is ready to be glued onto the wood cube ornament.
Diy photo cube christmas tree ornament
Here is the finished photo cube ornament going on the christmas tree!
The original photo cube ornament on the christmas tree - diy wooden block memento holiday decor
And here is the original photo cube ornament that inspired this christmas craft :)
Mary Jane Duford
Mary Jane Duford

Mary Jane Duford is a quintessential Canadian gardener. An engineer by trade, she tends to an ever-expanding collection of plants. In her world, laughter blooms as freely as her flowers, and every plant is raised with a dash of Canadian grit.

Mary Jane is a certified Master Gardener and also holds a Permaculture Design Certificate. She's also a proud mom of three, teaching her little sprouts the crucial difference between a garden friend and foe.

When she's not playing in the dirt, Mary Jane revels in her love for Taylor Swift, Gilmore Girls, ice hockey, and the surprisingly soothing sounds of bluegrass covers of classic hip-hop songs. She invites you to join her garden party, a place where you can share in the joy of growing and where every day is a new opportunity to find the perfect spot for yet another plant.

Leave a Reply

Your email address will not be published. Required fields are marked *