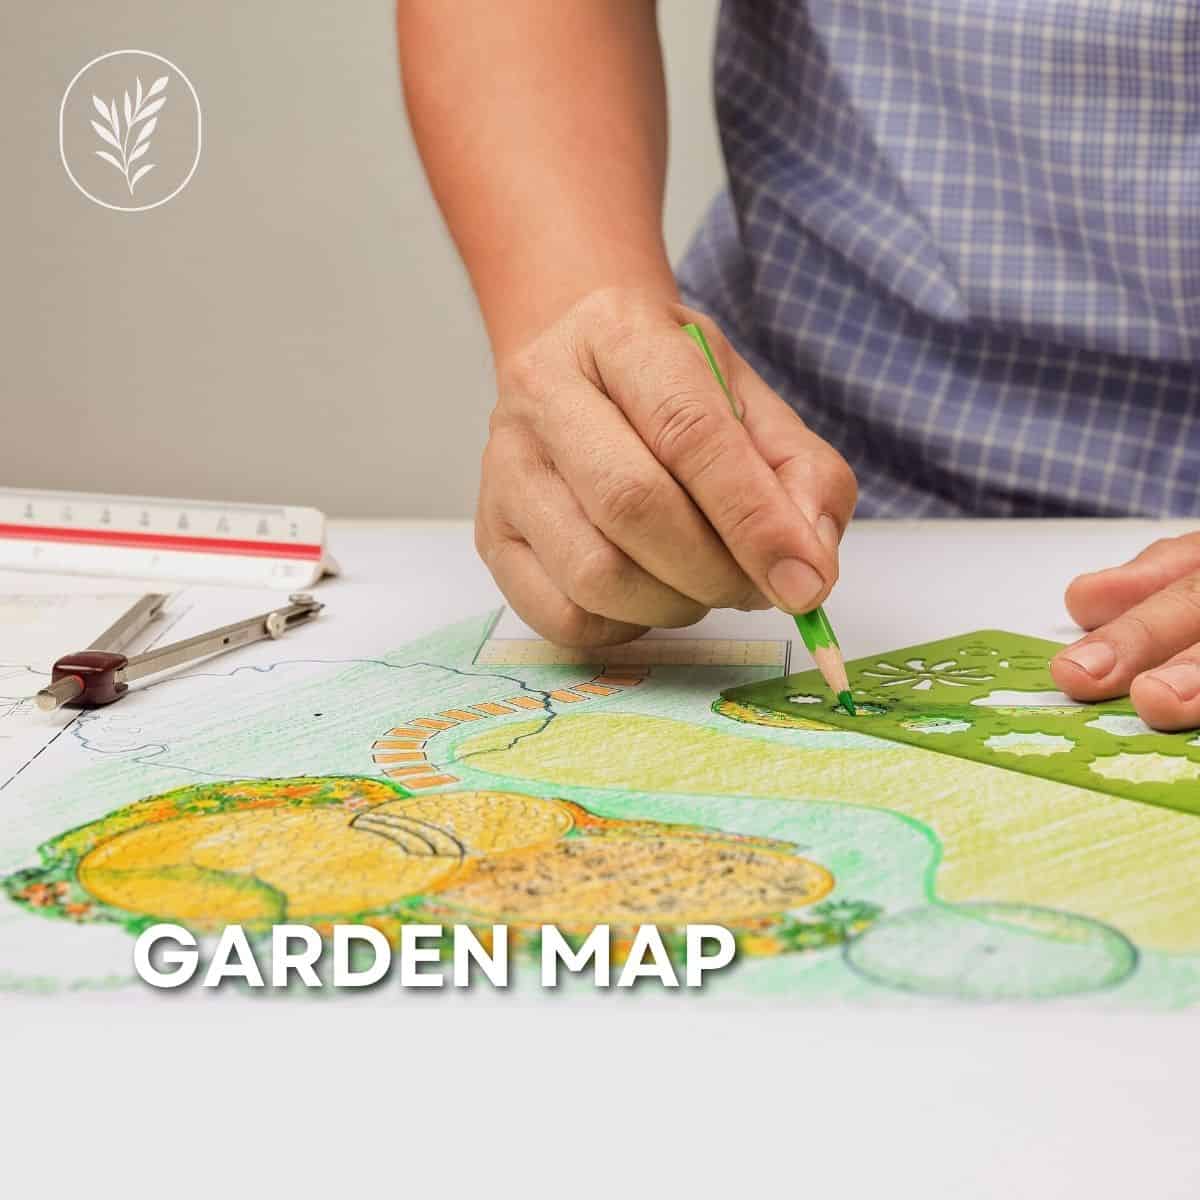

Drawing a map of your future garden is possibly the most fun part of garden planning! When the soil outside is cold and frozen, dreaming about how your vegetable garden will look in just a few months is incredibly satisfying. I love to get some pencil crayons in the middle of winter and draw a lovely garden map.
Mapping out your vegetable garden
Planning your garden is a wonderful way to beat the winter blues. Proper planning will also make your garden planting so much easier once it does warm up outside.
Garden beds are an important part of this planning process as they help define the space and keep your plants separate. Think about what types of vegetables you’d like to grow and how much space each plant will need. It also helps to note any particular sun or shade needs for each type of plant. With this information in hand, you can map out your garden beds with precision and accuracy.
Just follow the garden plan you’ve created for yourself, and you’ll find that the process of planting your garden outdoors is easy and fun if you’ve got a proper plan. Don’t forget to use your free garden planner if you don’t already have a copy!
Getting ready to draw your vegetable garden layout
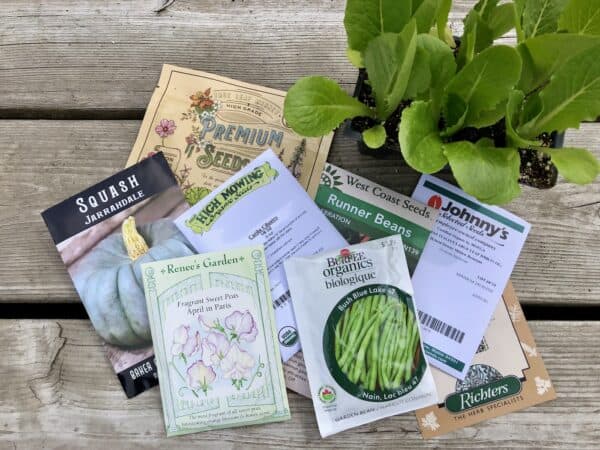
Before you start drawing out your garden layout, ensure that you’ve selected your crops, decided how many plants of each crop to grow, and calculated how much area each crop will need. You won’t be able to draw an effective map without first planning your plants out properly. When you have your crops selected and your area ready to grow your desired number of plants, you’re almost ready to start mapping!
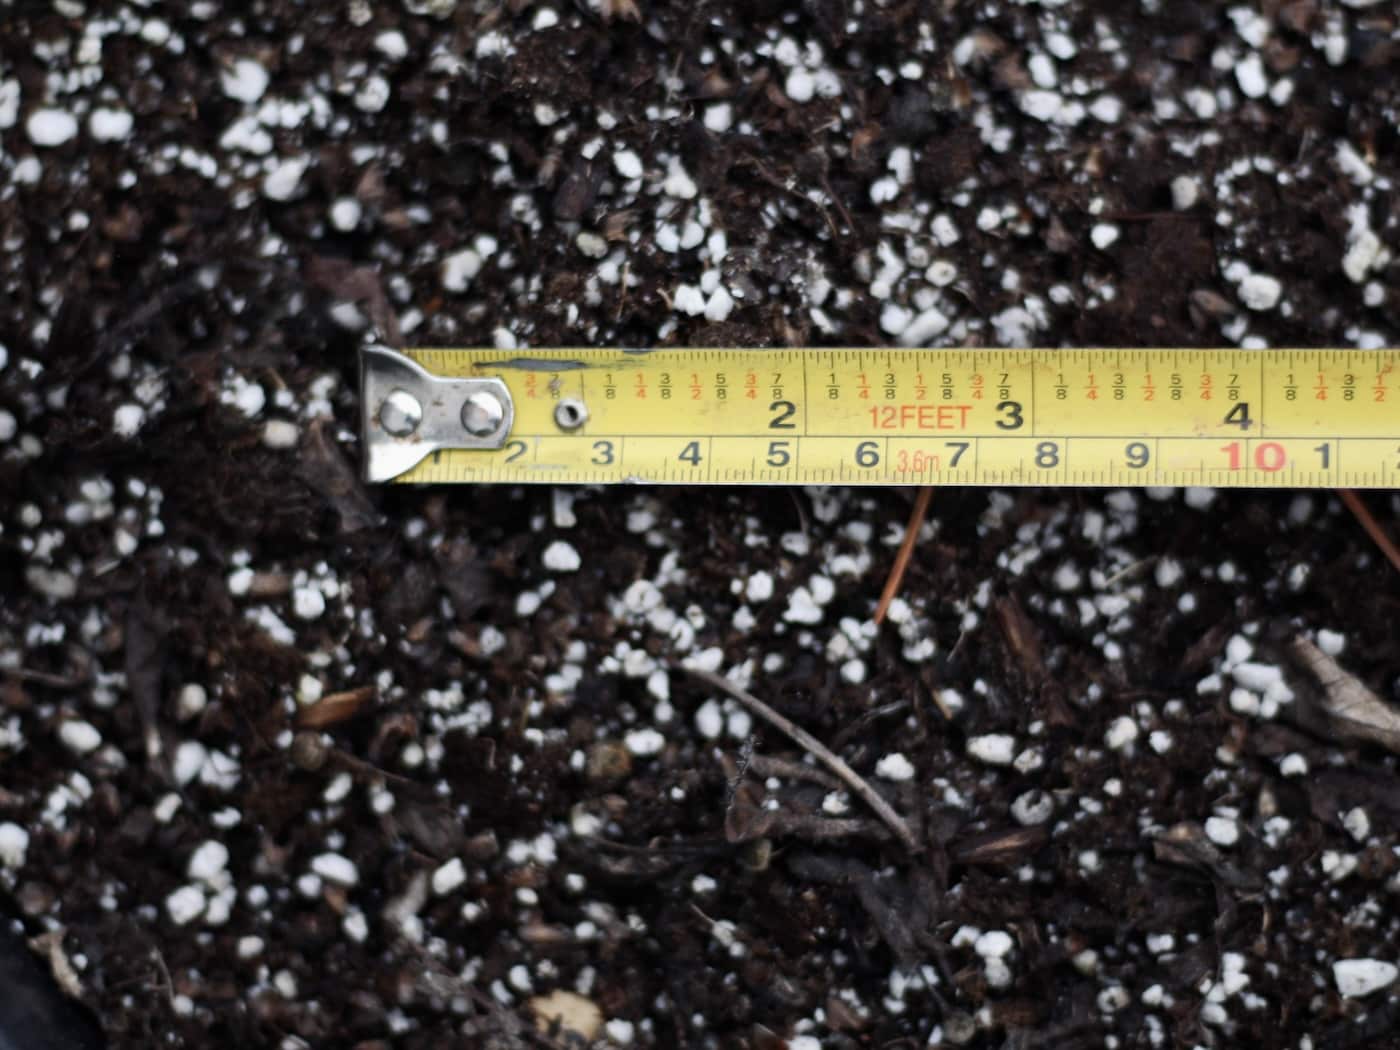
Go outside and measure your garden
Yes, this is required pre-work. Go outside and measure your available vegetable garden space/plant spacing limits. If you don’t yet have a garden, now is a great time to plan the sizing details. You’ll already have estimated your total available area in the garden planner, so use that as a guide.
While you’re outside, take note of environmental factors such as common wind directions, shadows from other structures, the locations of large oak trees, and which areas get the most sun. These factors will affect where you place your plants. As you imagine your future garden in the space before you, you’ll naturally start to consider your preferred garden plan and where everything should go.
Most beginner gardeners start with in-ground gardens or container gardens. Most experienced gardeners tend to use raised bed gardens as they are both easier to use and more productive in terms of harvest.
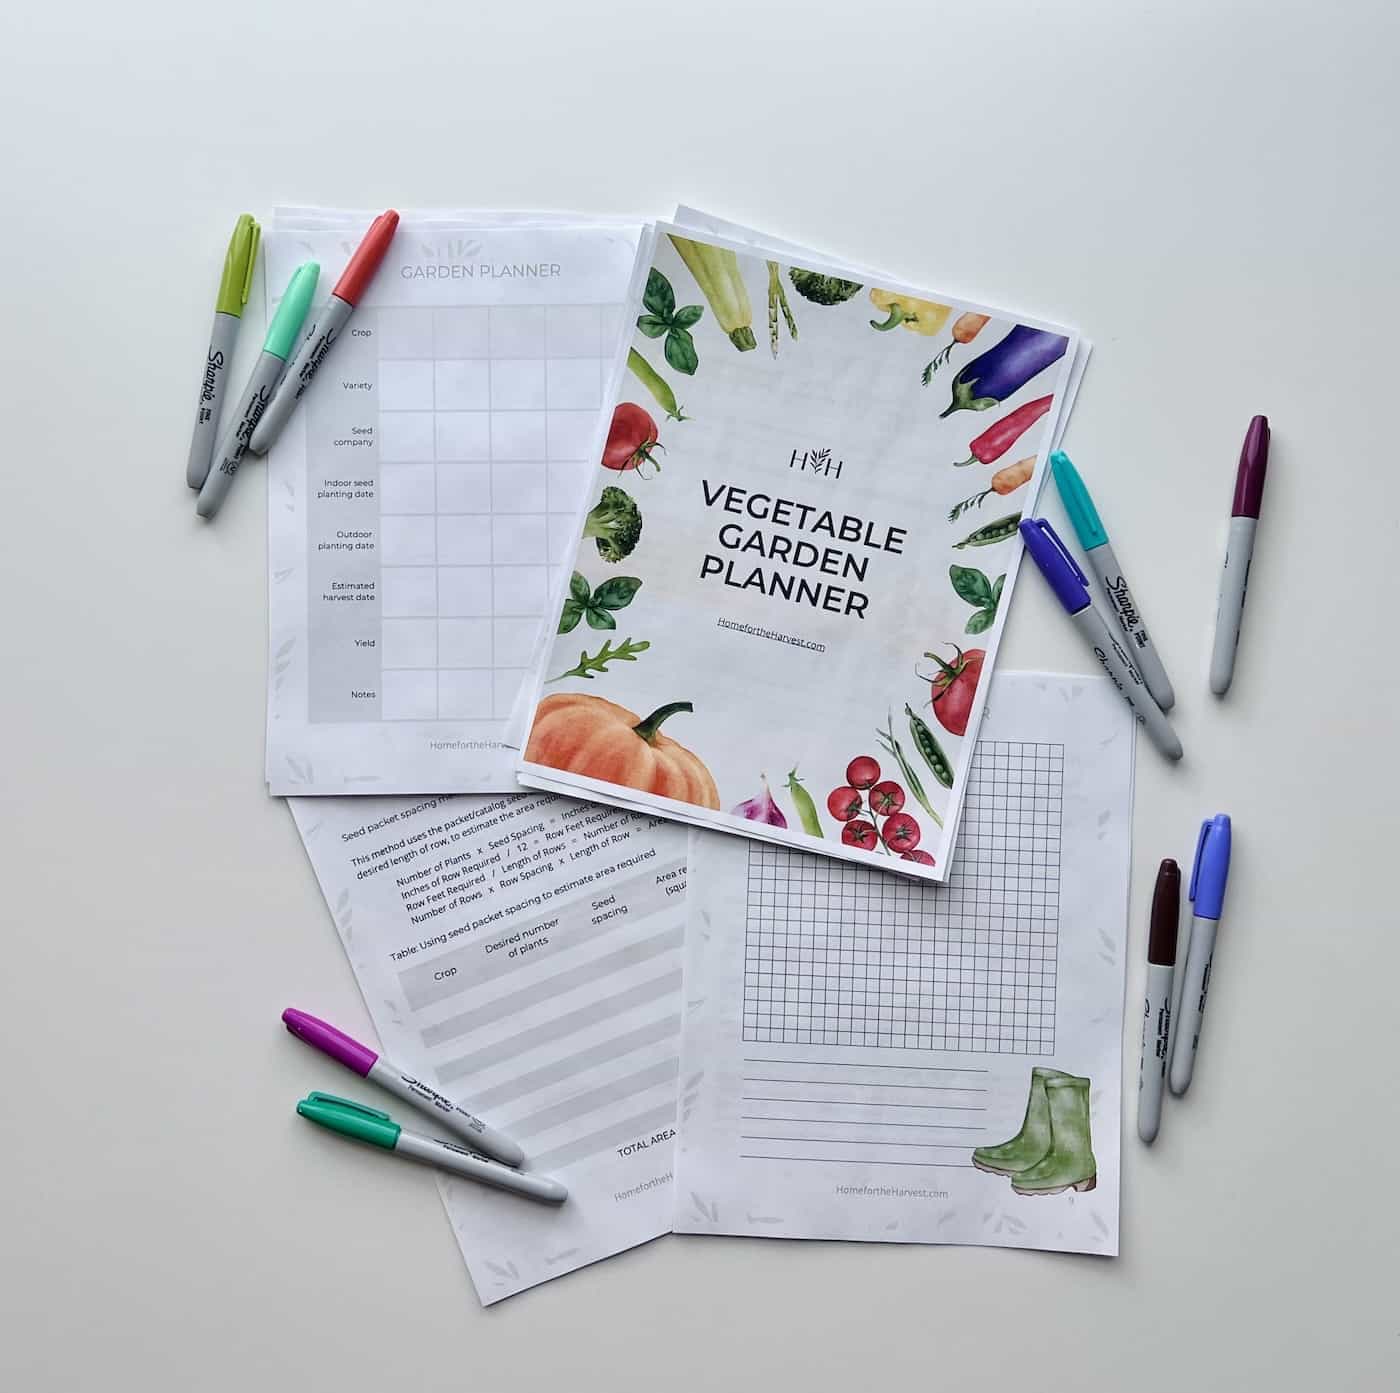
Supplies: Gather these items for your garden map
- Garden Planner
- Pencil
- Thin black pen
- Pencil crayons
- Ruler
- Tape measure (if your garden size is unknown)
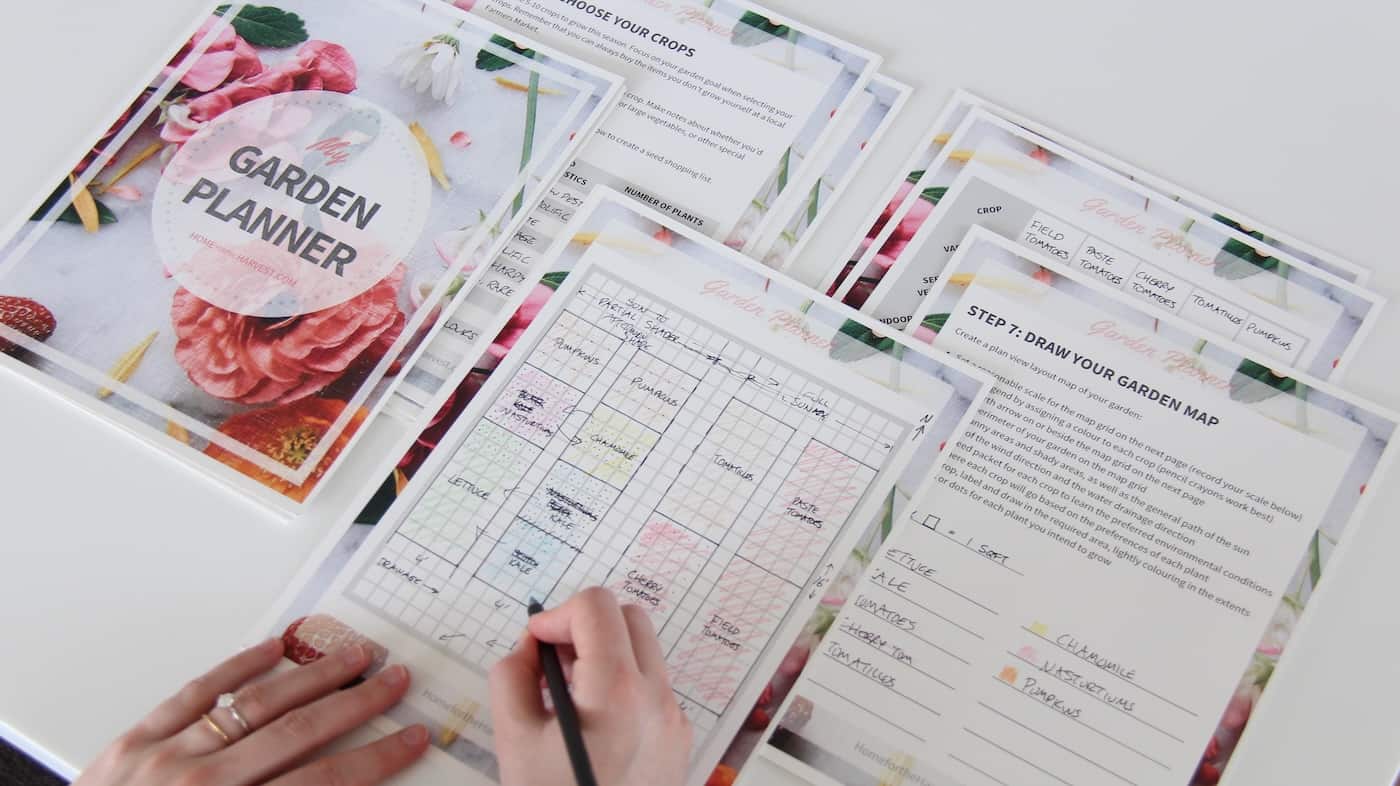
Steps on how to map out your garden layout
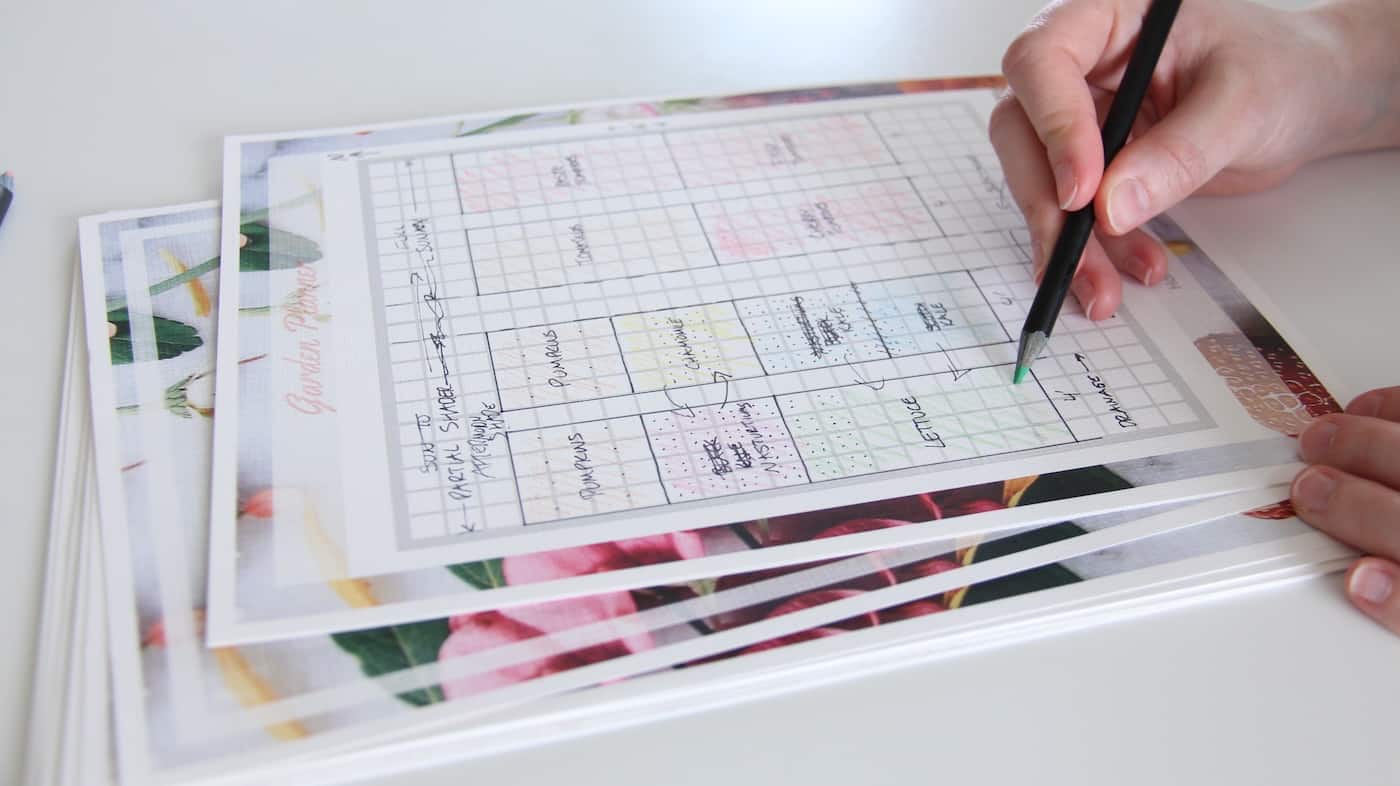
Your garden planner includes a handy-dandy layout mapping page. Get your planner out, along with some stationery. I usually use a ruler, pencil, thin black Sharpie, and pencil crayons for the garden mapping process.
Step 1. Set a scale for your garden layout map
Mapping out your garden begins with setting a proper scale. I like to draw out my garden layout so that each box on my garden map represents one square foot of real garden soil. It doesn’t matter what scale you set. It just matters that you use it consistently as you make your map.
You’ll have to have the real outdoor dimensions of your garden to complete this step. Now is a good time if you’ve not already measured your garden (or planned out where it will go).
Step 2. Draw the framework onto your garden layout map
Once you’ve decided on a scale, it’s time to draw out the perimeters of your garden on your map. Use a pen or dark color to draw the outside of your garden onto the mapping page (or graph paper). Write the length of each real side beside each side you draw.
At this point, it’s also helpful to draw in environmental factors. This includes common wind directions, rainy or dry areas, the direction of water drainage (lowest area), the pattern of the sun, and any shadows from large structures or trees. These factors will be important as you decide which crops to place in different areas of your garden map.
Step 3. Draw your crops onto your garden layout map
Now that the framework is set, you can get to work penciling in your crops. When drawing in your crops, consider each crop’s specific needs. Consult the seed packets or catalog/website from which you ordered the seeds to get the specific details.
Some plants, such as salad greens, don’t need too much sun and actually prefer shade during hot afternoons. Other plants like all the sun they can get (as long as they have enough water)! Some plants like lots of water, while others are fairly drought-tolerant. Think about the unique features of your garden, and be sure to take the suggestions for each crop into account when choosing where to place things.
Use the required area you’ve calculated in your garden planner to draw in the area for each crop on the garden layout map. Use a different color of pencil crayon for each crop to shade in the area of the garden used for that crop. Record your crop colors in the legend on the first mapping page. You can also draw a black dot for each plant if you like (especially for the plants that take up lots of room – maybe not for carrots – but hey, you do you).
Fill in the rest of your garden planner
Once you’ve drawn in the perimeter of your garden, penciled in other factors like trees, paths, and buildings, and sketched in all your crops, you’ll have a very clear idea of what your garden will look like in the spring.
Those are the basics of garden layout mapping – and you can even take it one step further by using tools such as Google Maps or satellite imagery to get an even better view of the area. By taking advantage of these resources, you can make sure that your plants have enough space and proper sunlight exposure to grow healthily. It will be easy to plant your crops outside now that you have a simple, easy-to-follow plan of where to plant things!