Microgreens are one of the easiest and healthiest edible plants to grow at home. They can be harvested a week after planting rather than waiting the months it takes to harvest most vegetables. Once you learn how to grow microgreens, you’ll have them growing in your kitchen all the time!
Introduction to microgreens
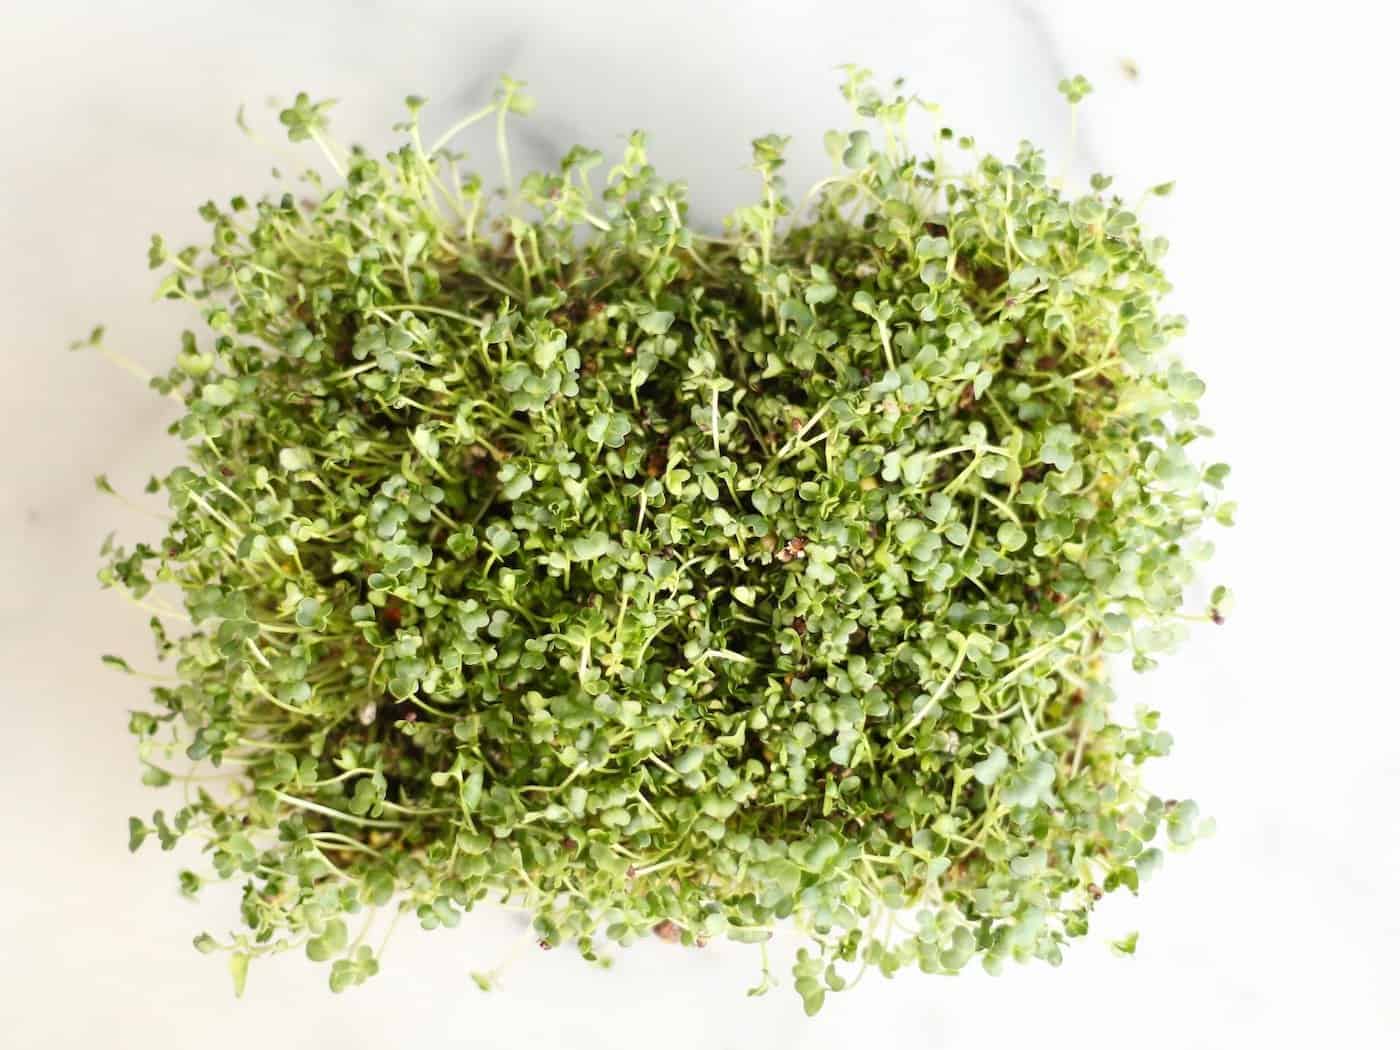
Microgreens are the tender shoots of baby vegetable plants. These miniature versions of select edibles have a delicate flavor and are packed with nutrients. Microgreens are quickly becoming a restaurant’s mainstay as customers look for fresh options.
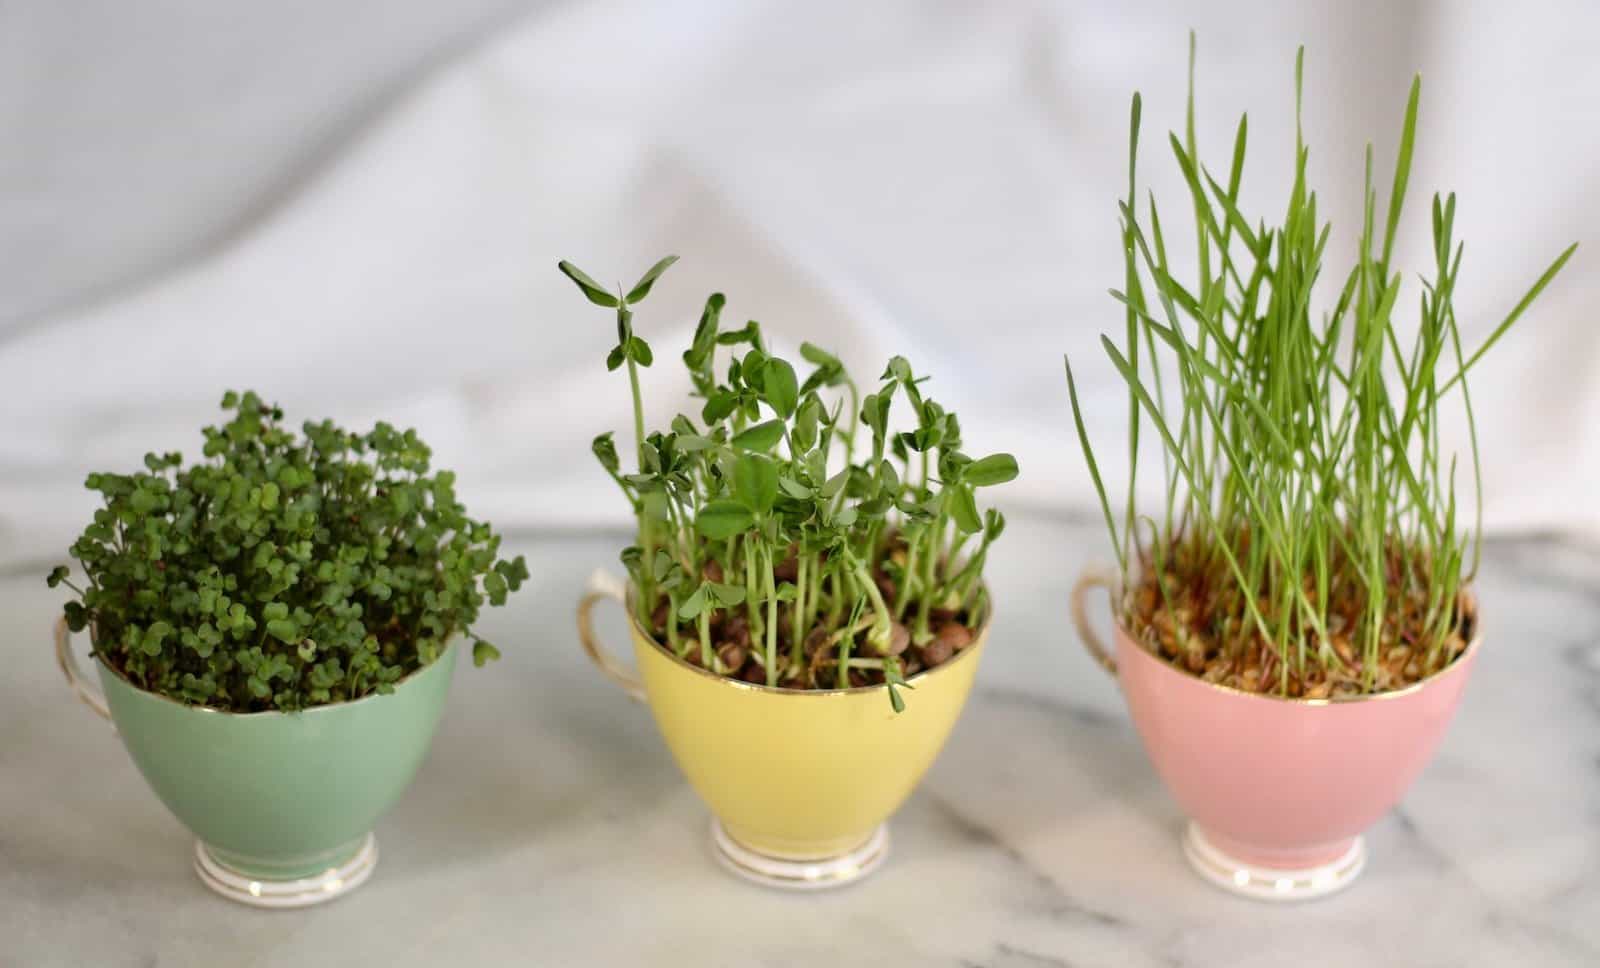
You might have seen microgreens mixed into a fresh salad or perched on top of a plated dish. Some popular types of microgreens include parsley microgreens, basil microgreens, sunflower microgreens, and radish microgreens.
Microgreens are very similar to sprouts but are grown with soil and light rather than just water. Microgreens have a lower risk of bacteria than sprouts because they are grown in an open-air, soil-based environment similar to an outdoor garden.
How to grow microgreens at home
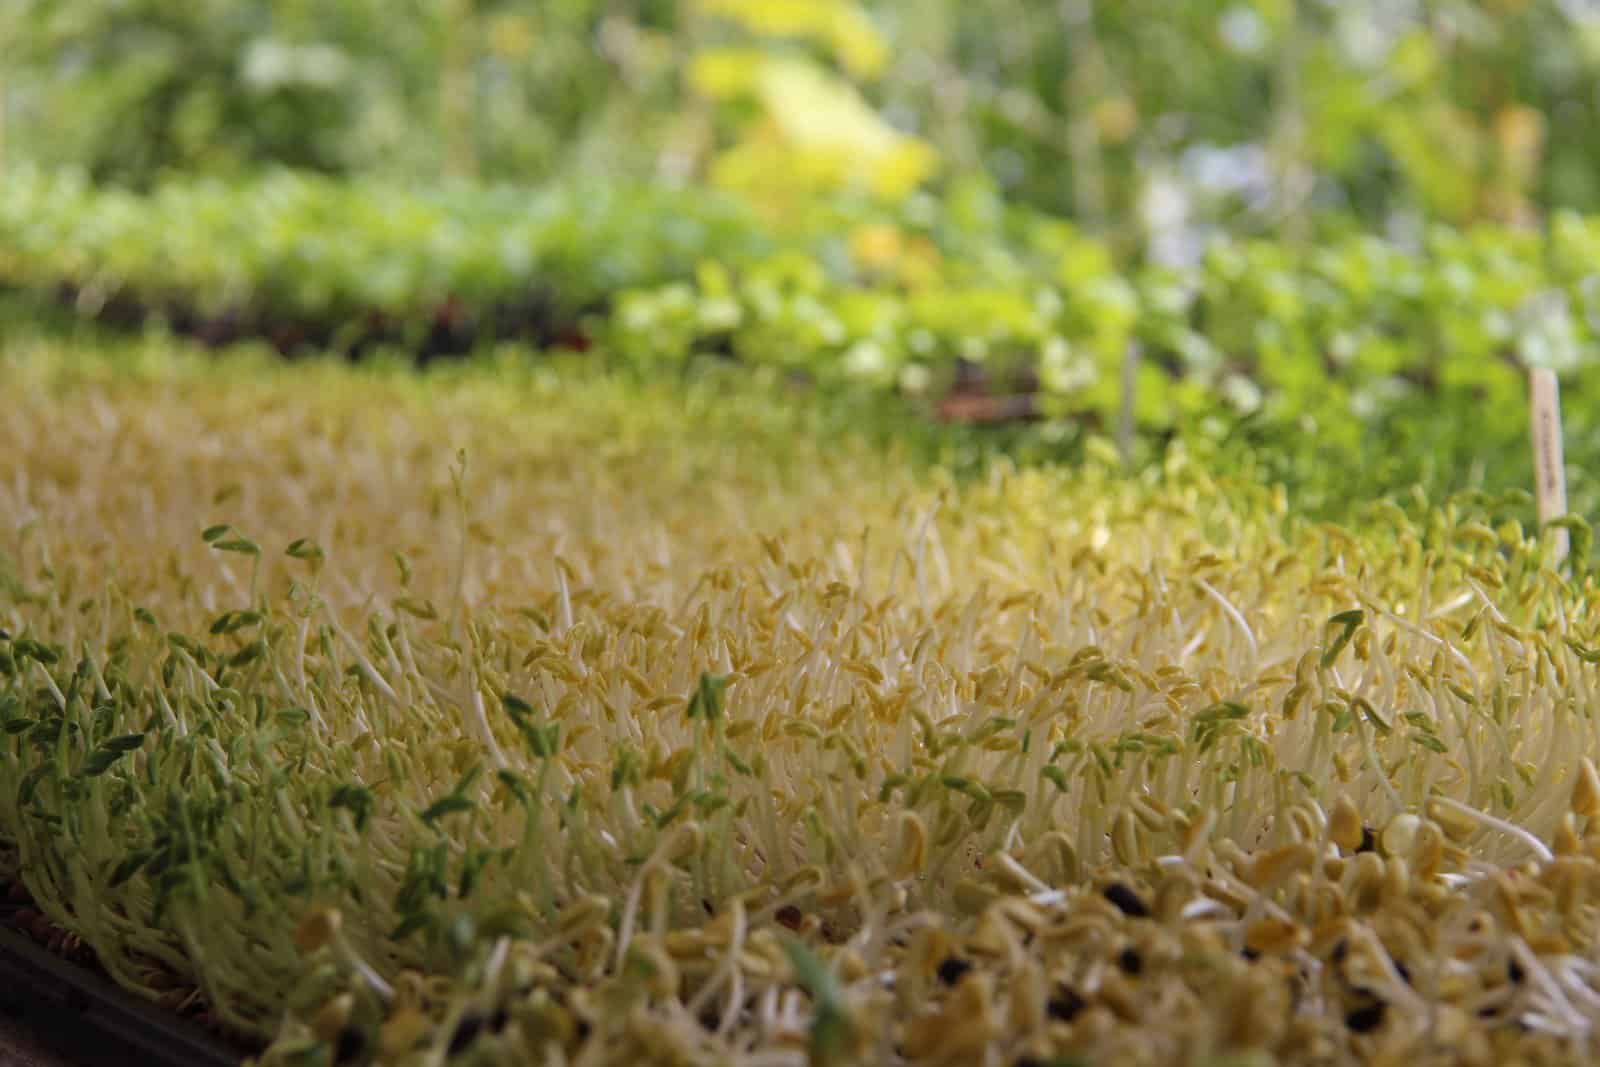
Fortunately, microgreens are easier to grow at home than most vegetables. They also cost very little once you have the supplies. Once you get set up and learn how to grow microgreens, you can have a year-round source of healthy vegetables on your kitchen table. You simply sprout vegetable seeds (or specialty greens like wheatgrass) in sterilized soil, allow the plant to grow into a little shoot, and then harvest when they are a few inches high.
Once you’ve learned how to grow microgreens, you’ll love using them in the kitchen. Toss in some microgreens with a store-bought salad for an instant gourmet facelift. They are also perfect for sandwiches and tacos. Microgreens can also be included in smoothies, a stir-fry, or placed on top of a bowl of soup. I even place them on top of cooked fish for a pop of color.

How to grow fresh microgreens at home
Here are the basics of growing your own microgreens.
Supplies to grow microgreens indoors
- Tray: Seed-starting trays or repurposed take-out trays. If you don’t want to use plastic, you can use a single baking tin or Pyrex dish (between 1″ and 2″ deep). Having a lid or cover for the tray will help with germination.
- Mesh strainer: Metal or plastic. Ensure the holes in the strainer are smaller than the seeds so as not to wash out any seeds.
- Seeds: Certified Organic, Pathogen-Free Sprouting Seeds. Start with large seeds such as peas, sunflower, buckwheat, or wheatgrass (peas are my favorite!).
- Potting soil: Sterile seed-starting mix for a growing medium. Choose an organic mix that does not have chemical fertilizers mixed in. Here are some tips on choosing potting mix.
- Hydrogen peroxide: 3% hydrogen peroxide solution (sold at drugstores and grocery stores).
- Light: Sunny patio/window or a plant light; If you have a very sunny window or patio free from pests, your microgreens may grow well without any additional light. If you don’t have such a space or would like bushier microgreens, use a plant light.
- Water: Filtered water is best. If using tap water, allow it to sit on the counter in a container for several hours to off-gas.
- Spray bottle: A misting bottle full of filtered water.
- Knife: Sharp chef’s knife (or scissors if greens will be used immediately).
If you’re just starting, you may consider buying a microgreens kit. It may be more economical than buying all the supplies separately.
Steps: Preparing the seeds and planting the microgreens
- Measure out your seeds. Pour enough seeds into the tray to cover about half the available area. The small seeds should be almost touching each other, but not quite. Set the seeds aside.
- Sanitize all your supplies and your work area. I use my dishwasher’s sanitize setting to sanitize the tray, mesh strainer, and knife.
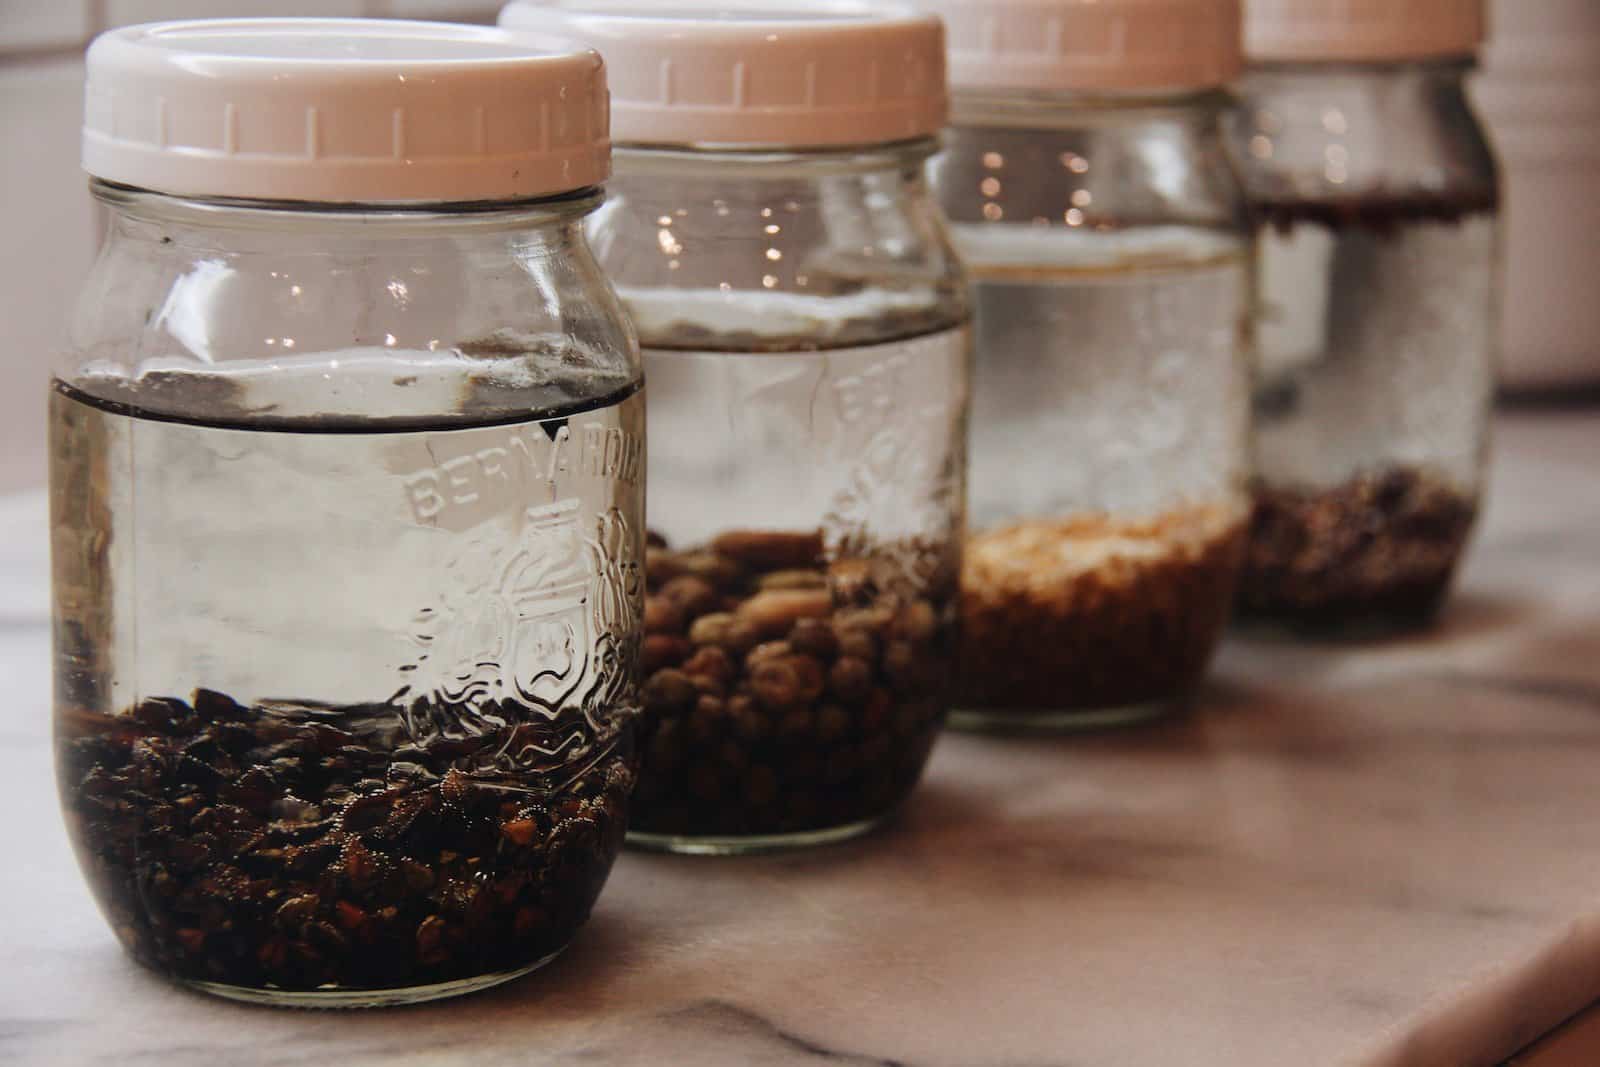
- Treat your seeds to combat pathogens/fungi. I follow the University of California method, in which seeds are immersed in a mixture of warm water and hydrogen peroxide for 5 minutes. Ensure you don’t let the seeds sit in the solution for too long, and be sure to rinse them thoroughly following treatment.
- Following treatment, soak the seeds in the tray for 6-8 hours in filtered water.
- Pour seeds into the mesh strainer, rinse, and set aside to drain.
- Fill the tray with sterile soil until the mix is about 3 cm (1 inch) deep. This amount of soil doesn’t have to be exact. Using less soil is cheaper, but using more soil will raise the greens and make them easier to harvest. Gently compress the soil mix in the tray as you fill it to create a flat planting surface.
- Water soil with filtered water so that the soil is moist but not dripping wet.
- Evenly distribute the rinsed seeds onto the moist soil surface.
- Lightly compress the seeds into the soil.
- Cover the tray with the lid. If your tray has no lid, cover the tray with another tray or with clear plastic wrap. It is possible to grow microgreens without any sort of lid, but the lid can help with the germination process.
Steps: Care and maintenance
- Once or twice daily, lift the lid and check on your seeds. If the soil has become dry, mist the seeds with filtered water to keep them moist.
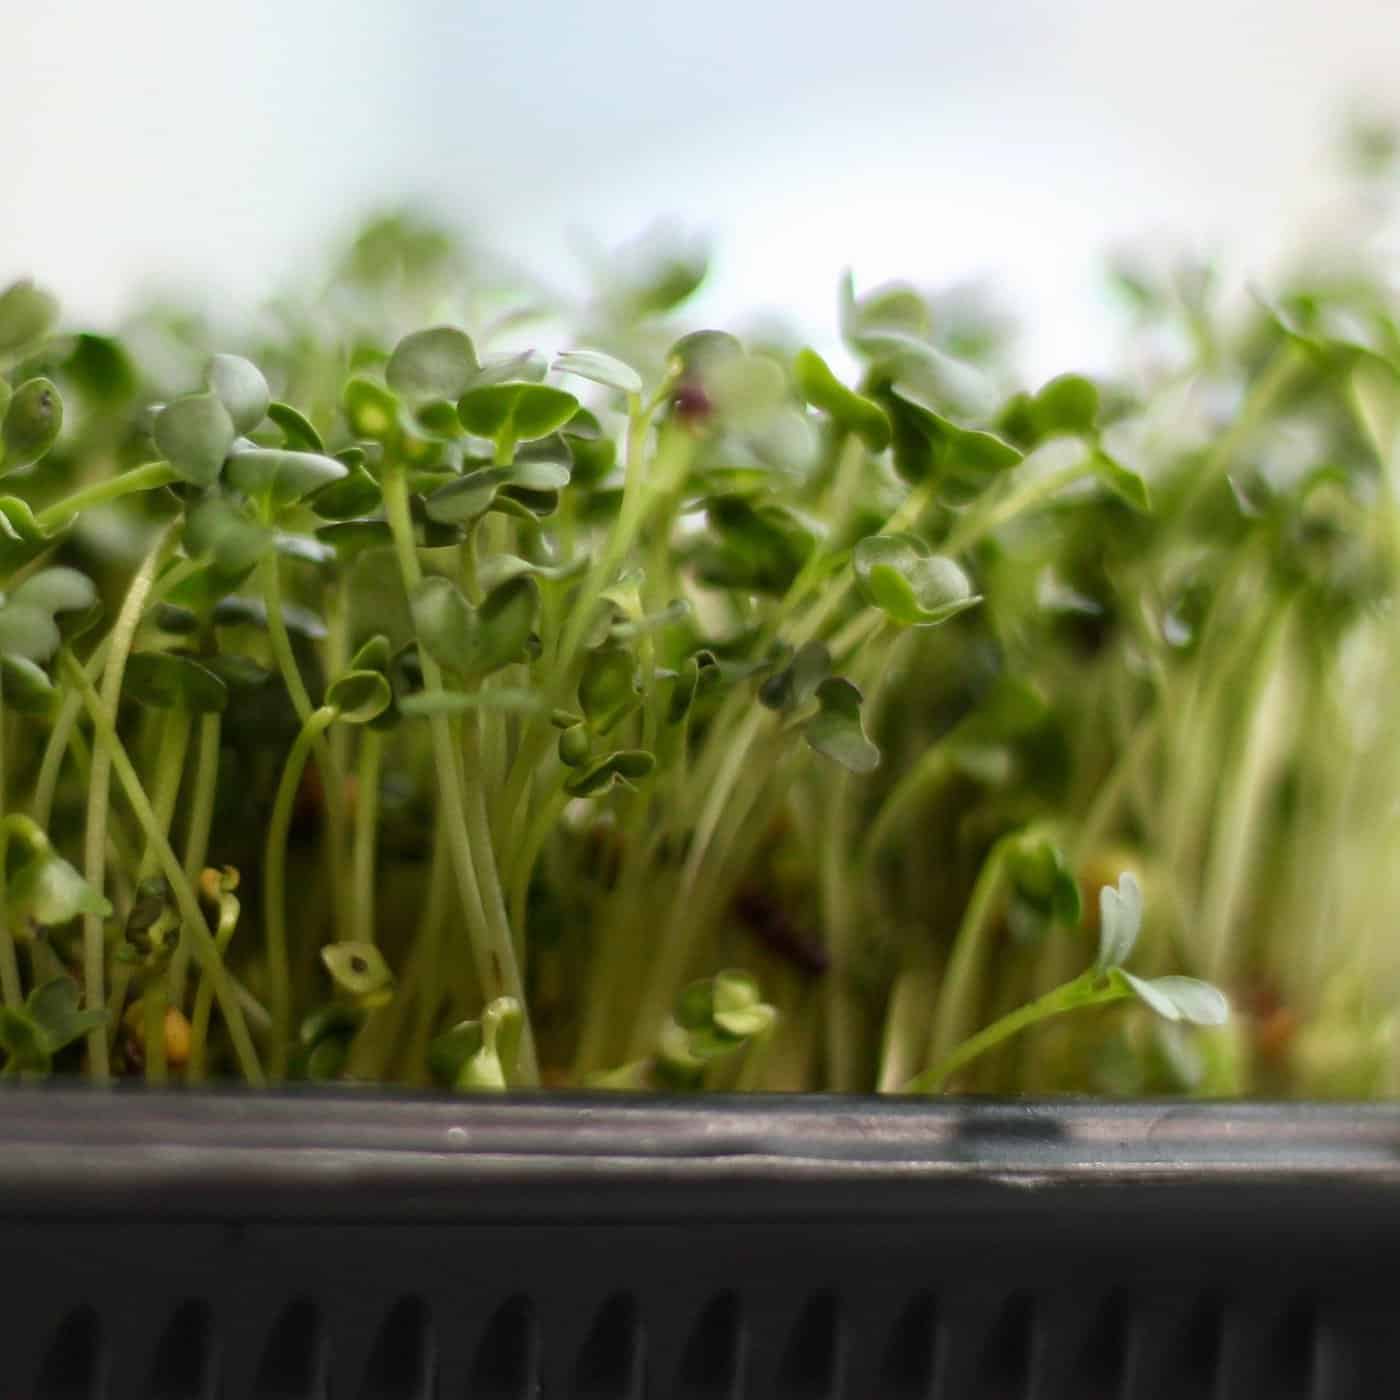
- When the seeds have germinated and you can see a little sprout, remove the lid/covering and place the tray in a sunny warm indoor area, on the patio, or under a plant light.
- As the greens grow, ensure the growing medium is moist but not overly wet. Pour off any excess water to prevent fungus problems.
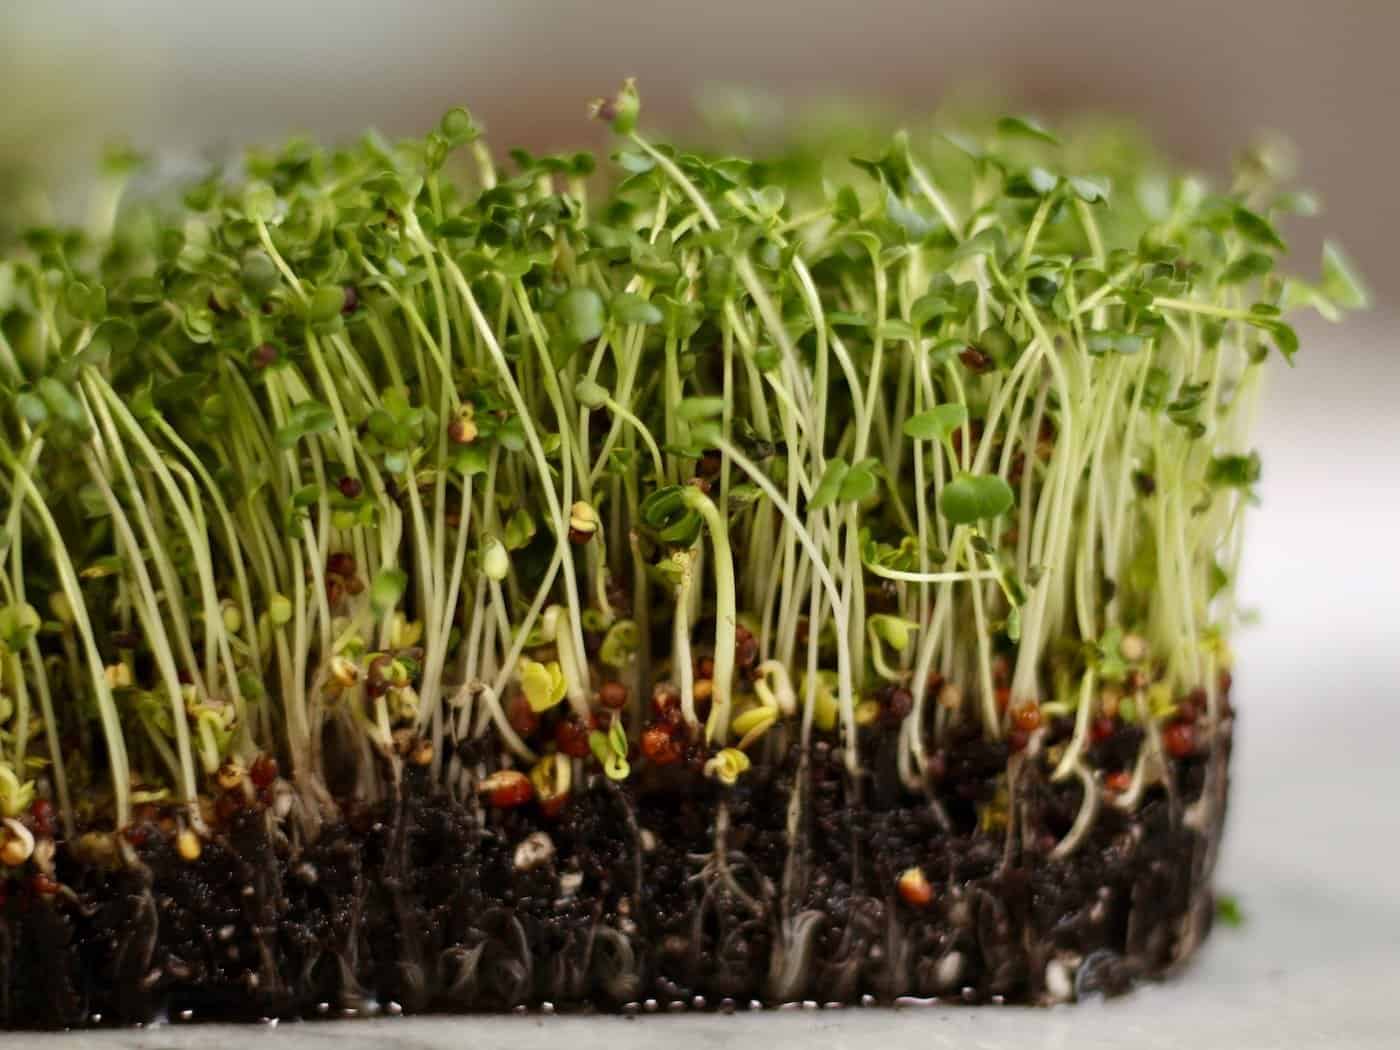
- Check the seeds daily for growth and soil moisture. Harvest just as the second set of leaves appear (7 to 14 days after germination). Experiment with different ages of microgreens to find the stage that you like best.
- To harvest, cut the microgreens with a sharp knife right above the soil line. Only use scissors if the microgreens will be used within a few days. Harvesting microgreens is best done right before you cook with them.
- Wash the greens by fully submerging them in cold water.
- Spread the greens onto a clean towel to dry.
- To store, wrap them in paper towels and place them in an airtight container or bag in the fridge.
- The used soil can be composted, and you can start all over again!
Microgreens are the perfect way to learn to garden.
Microgreens are a great way to learn to garden and can be grown indoors in the middle of winter using small seeds from your local grocery store!
You can learn the basics of how seeds sprout and grow into plants by growing microgreens with sunflower seeds or other tiny seeds. Before you know it, you’ll have your own green thumb!
Gardening often requires patience and skill. Some crops take years of investment before you can enjoy the fruits of your labor! Fortunately, not everything requires experience or a lot of time. Growing microgreens at home only takes a week or two, and it’s the best way to start gardening if you’ve never grown plants from seeds before.
Tiny, fast-growing vegetables
Microgreens are baby seedling versions of their fully-grown counterparts. Both vegetables and herbs can be harvested at their microgreen stage. Popular vegetable microgreens include broccoli, radish, sunflower, buckwheat, and peas. Common herb microgreens include basil, cilantro, and parsley.
Most microgreens can be grown and harvested in 7-10 days! That’s compared to the months it takes to grow and harvest most other vegetables. Because the time between planting and harvest is so short, you’ll have lots of opportunities to practice. You won’t lose months if something goes wrong.
Learning how seeds grow
For some gardeners, getting vegetable seeds to grow into seedlings for an annual vegetable plot can be the hardest part of the gardening season! Getting seedlings started can be tricky, but the practice of sprouting seeds regularly will make annual seed-starting a breeze.
Once you get the hang of how to grow microgreens, you’ll be seeding a new tray weekly. During this weekly practice, you’ll become very comfortable with the seed-starting process. You’ll note how the seeds swell as they absorb moisture, how the seeds sprout after they’ve been soaked, and how the root portion grows downwards while the seedling reaches upwards. Sprouting seeds is a wonderful way to connect with nature and learn about plants regularly.

The equipment for growing microgreens is simple
To start growing microgreens, you’ll need a container, soil, germinated seeds, light, and a spray bottle. The setup is inexpensive and easy to find – you may already have a container that will work for a seedling tray, or you can make a DIY tray by repurposing a convenience food tray. There are also great microgreen growing kits that include everything you need to grow nutrient-packed salad greens.
Microgreen seeds can be purchased from sprouting seed providers or from your local organic/natural bulk food store. As for the growing medium, you’ll need sterile potting soil for your microgreens. Using soil from the garden isn’t recommended, as it is both heavy and also has the potential to carry bacteria that aren’t beneficial to growing conditions. The best mixes are sterile, light, and easy to work with, providing small seeds with an even coverage across the soil level. Look for a mix that is sustainably sourced and safe for organic use.
Using your fresh microgreens
Fresh microgreens offer a burst of flavor and color that can enhance various dishes. Here are some excellent ways to incorporate them into your meals:
- Salad topper: Perhaps the most straightforward way to enjoy microgreens is by sprinkling them on top of your salads. Their crisp texture and vibrant taste can elevate even the simplest of salads.
- Sandwiches: Instead of using lettuce or spinach, try adding a handful of microgreens to your sandwiches, wraps, or tacos. They provide a fresh crunch and a burst of flavor.
- Smoothie Booster: Add a handful of microgreens to your morning smoothies. Types like kale or arugula can add a nutrient punch without overpowering the taste.
- Soup garnish: Just before serving, sprinkle some microgreens on top of soups or stews. This not only adds a fresh taste but also gives your dish a gourmet touch.
- Eggs and breakfast dishes: Whether it’s scrambled eggs, omelets, or avocado toast, a sprinkle of microgreens can bring a fresh element to your breakfast plate.
- Pizza: After baking your pizza, top it off with some microgreens for a fresh and peppery twist.
- Bowl dishes: Toss microgreens into your quinoa, rice, or pasta dishes just before serving. They add a nice contrast in texture and a burst of freshness.
- Side salad: Simply dress microgreens with a bit of olive oil, lemon juice, salt, and pepper, and you have a simple side salad that pairs well with almost any main dish.
- Decorative garnish: Beyond just taste, microgreens can be used to garnish dishes and make them look more appealing and restaurant-worthy.
- Juicing: If you’re into making juices, add microgreens to your mix. They’ll boost the nutritional content of your drink.
- Desserts: This might sound unusual, but certain microgreens, like basil or mint, can be incorporated into desserts for a fresh twist.
It’s essential to remember that while microgreens are versatile, their delicate nature means they’re best added at the last minute to most dishes to retain their flavor and texture. Experiment with different varieties and dishes to discover your favorite combinations!